Now that all the requirements for occupancy have been addressed, I am moving on to the design and construction of the built-ins for our walk-in closets. Jeanine completed an inventory of all her clothes, shoes, and accessories so that I can ensure they will each have a proper-sized space. I have not done the same exercise but should be fine if I allocate myself half of what she needs. Pictured above is an initial concept which is sure to undergo refinement. It features 16 drawers, spaces for 54 pairs of shoes, 11 feet of lineal hanging rod, 20 large shelves, and a countertop.
At long last, we had our final inspections for the River House today. We passed our energy storage system (battery backup) electrical, fire, and building inspections. Only the permitting for the Natural Resource Commission has been more arduous than the battery. Because the technology is so new, the fire inspectors have approached the whole situation with an overabundance of caution. The next Concord family that decides to install an ESS will have us to thank for blazing the trail.
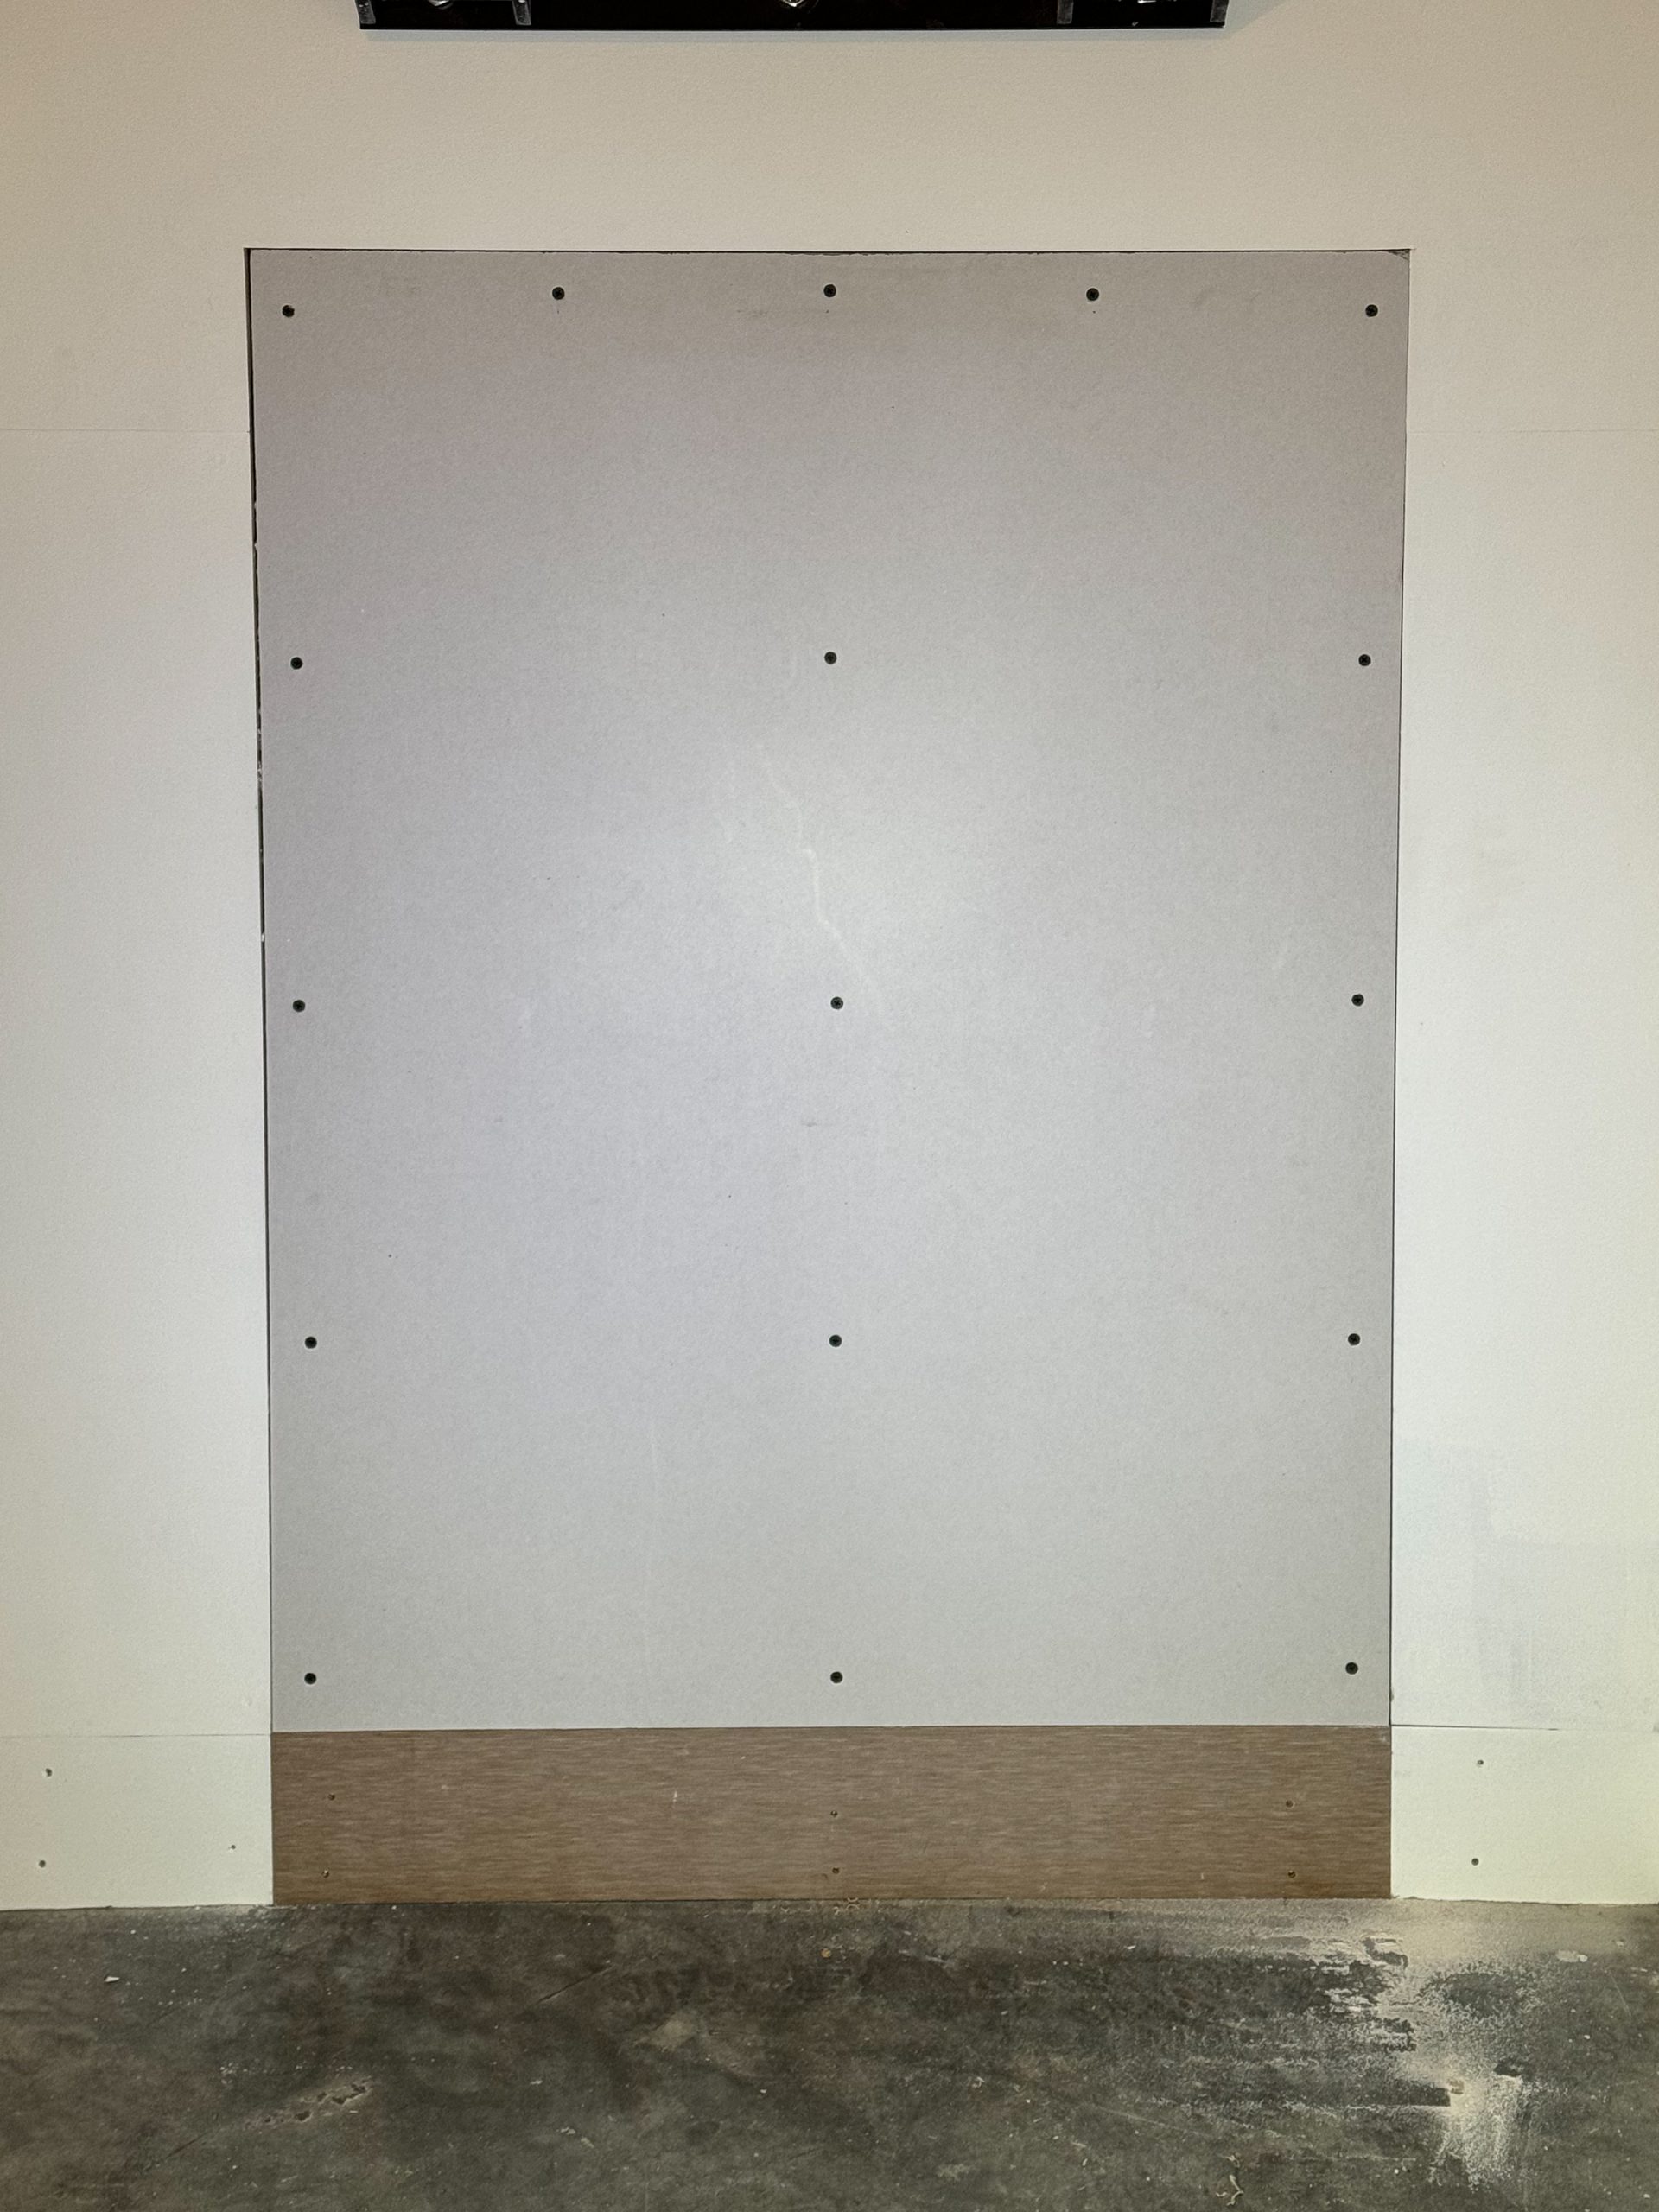
We were not so fortunate with our occupancy inspection. We failed on two counts. (1) We have been using the area under the landing for our basement stairs as a storage area for leftover paint and tile. Access to the space was by way of a 45″x 30″ opening. By code, the interior of this space needs to be finished with 5/8″ gypsum wallboard to impede fire propagation. The amount of work to do this in such a confined and irregular space would not be worth the benefit. Our other option was to permanently seal off the access opening which is what I opted to do. Pictured above is the final result which I completed after a run to Home Depot for the materials. (2) The door to the garage needs to be self closing. The one we have is equipped with self closing hinges but they had not been engaged. I attempted to do so, but a manufacturing defect in one of the hinges prevented me from finishing. I have called our builder to address this problem as it should have been installed with the springs engaged in the first place.
It would have been nice to pass on our first attempt, but I am thrilled that our punch list is so short. As soon as the garage door is addressed we should be good to go.
My nephew Rory has been visiting for the past week and will be with us for the next. He is an talented personal trainer among other things. Nico invited him to Boston for an intense week of physical training and healthy eating. His amputee soccer teammate, Jovan is also staying at the Road House and participating in the training/eating regime. Regrettably, I have been so occupied with preparations for the final inspection at the River House that I have spent very little time with him thus far, a situation I plan to rectify in the coming week.
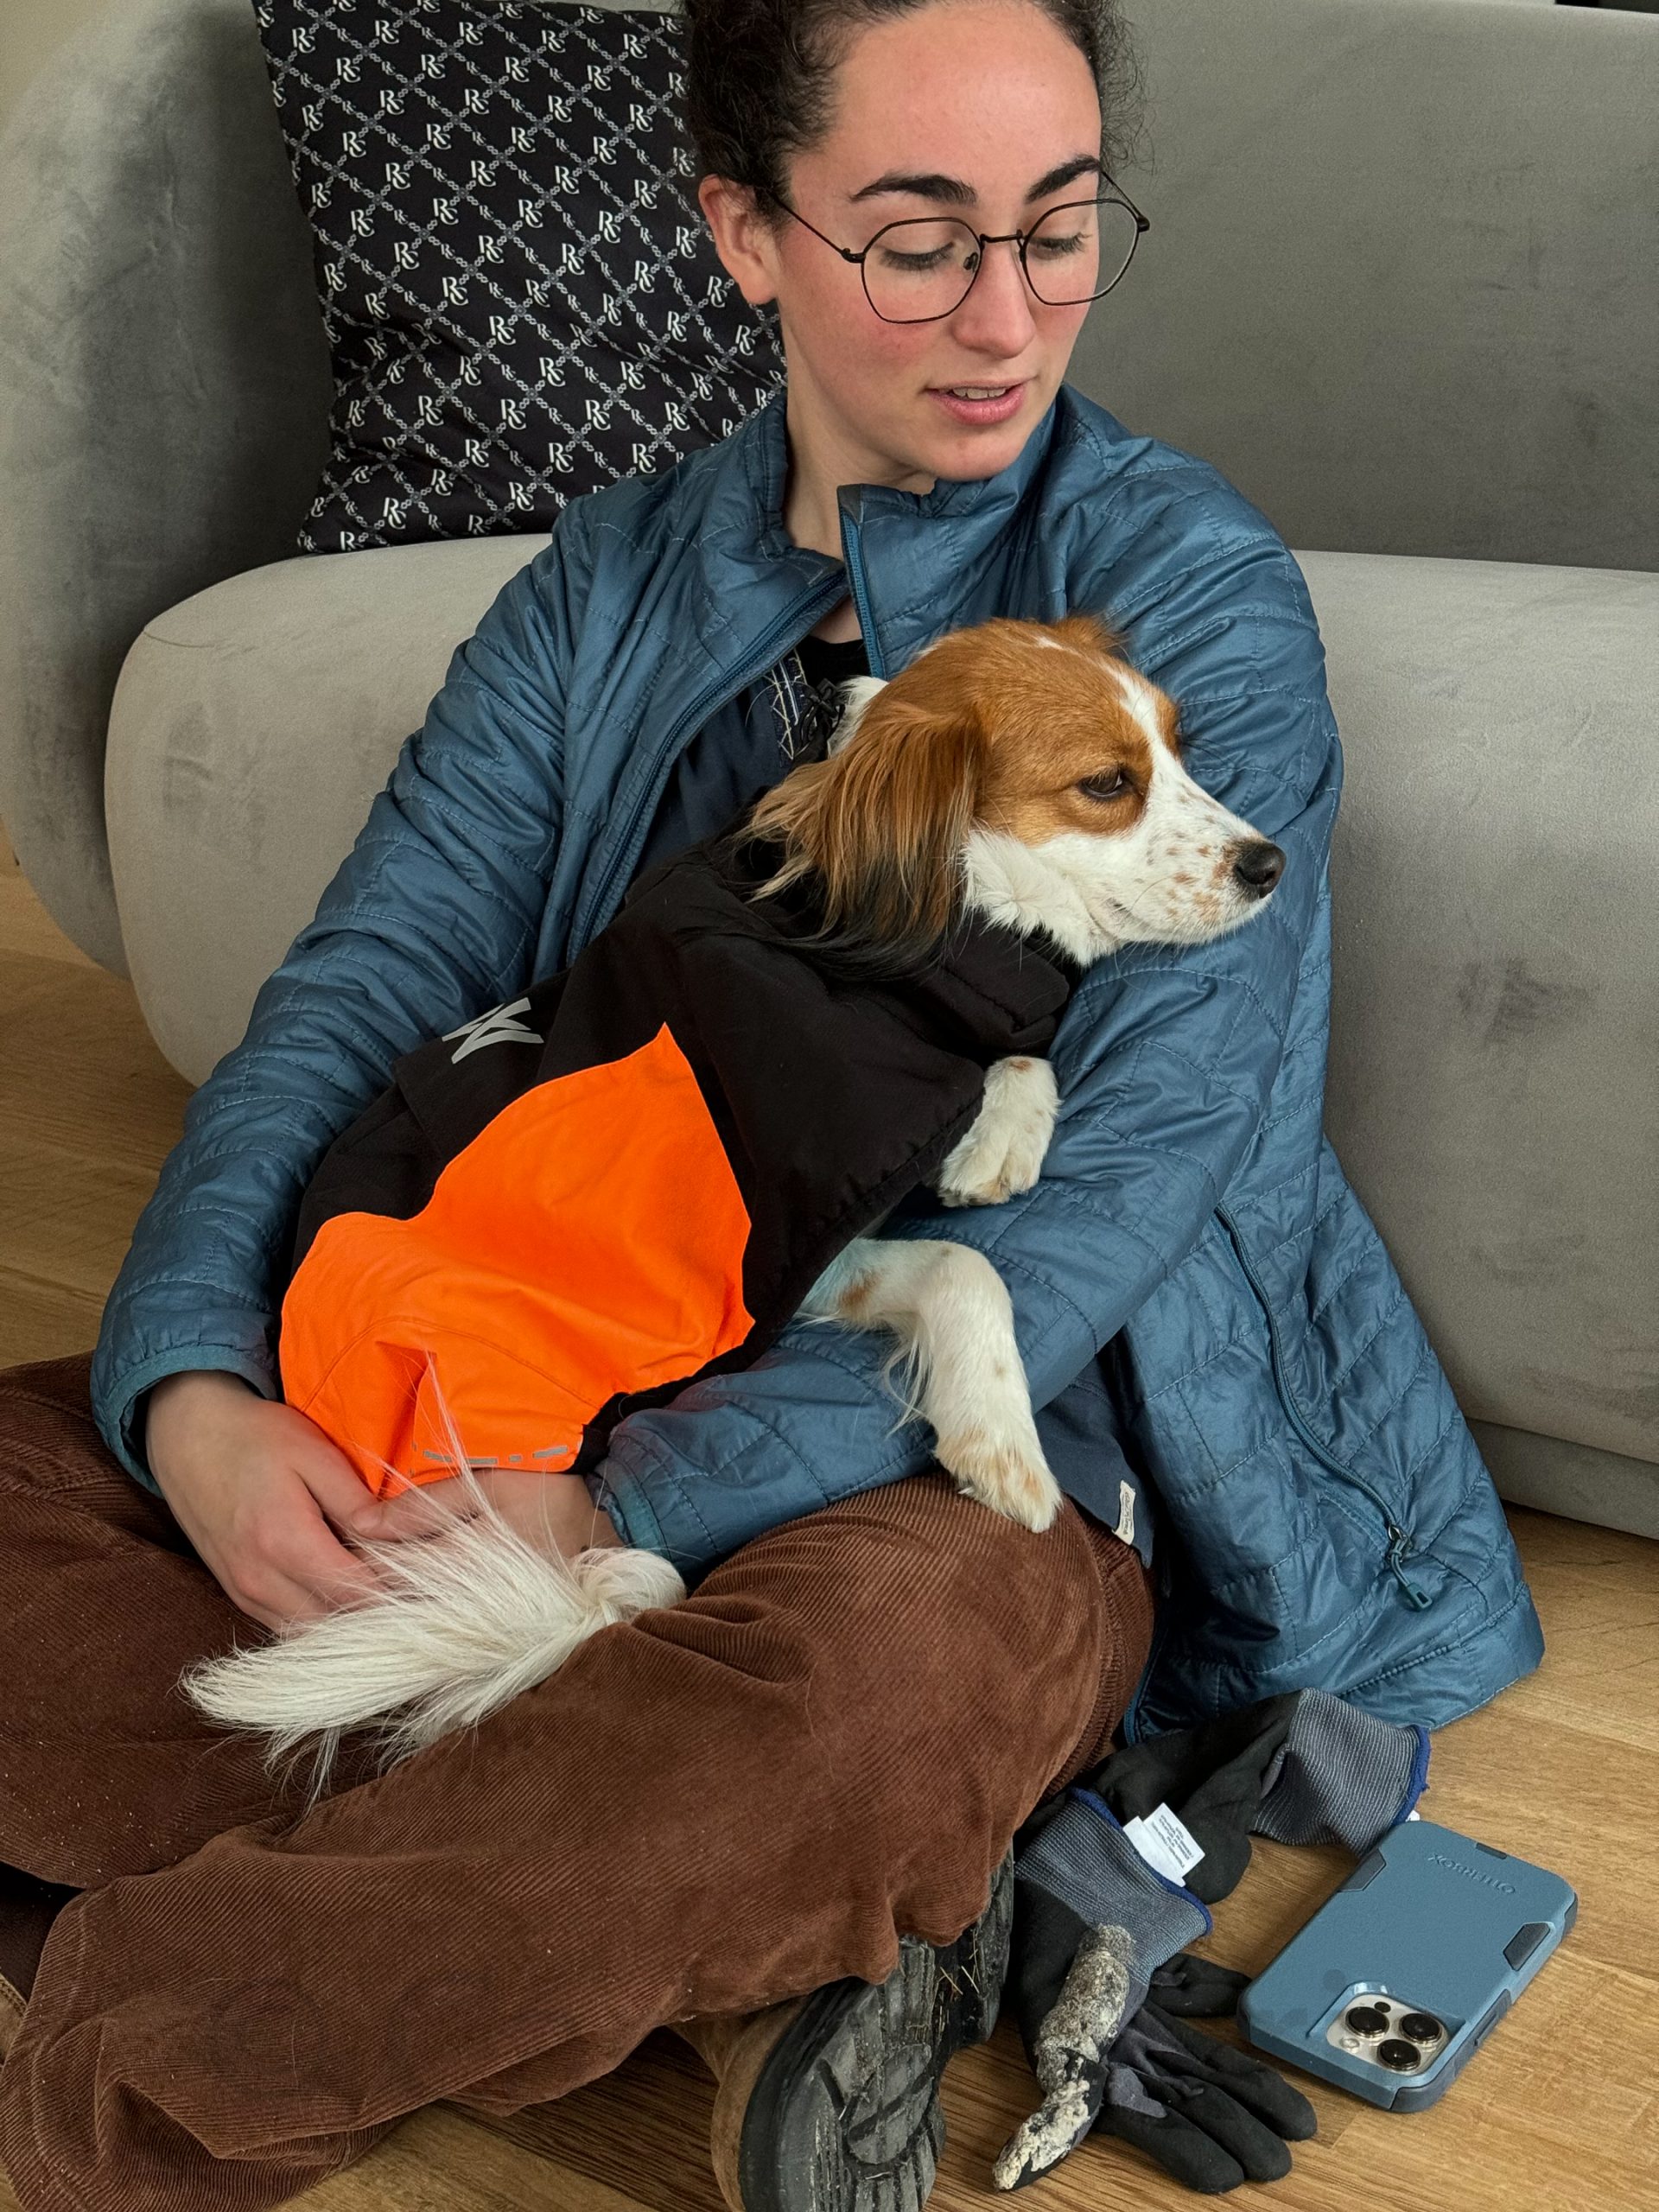
Maya is dog-sitting for Bella again and joined us at the River House this afternoon before embarking on the continuing repairs of her tiny house. Bella is the best-trained dog I have ever known. She can do a handstand or jump up onto Maya’s back on command. She is also adorable and very cuddly once she gets to know you.
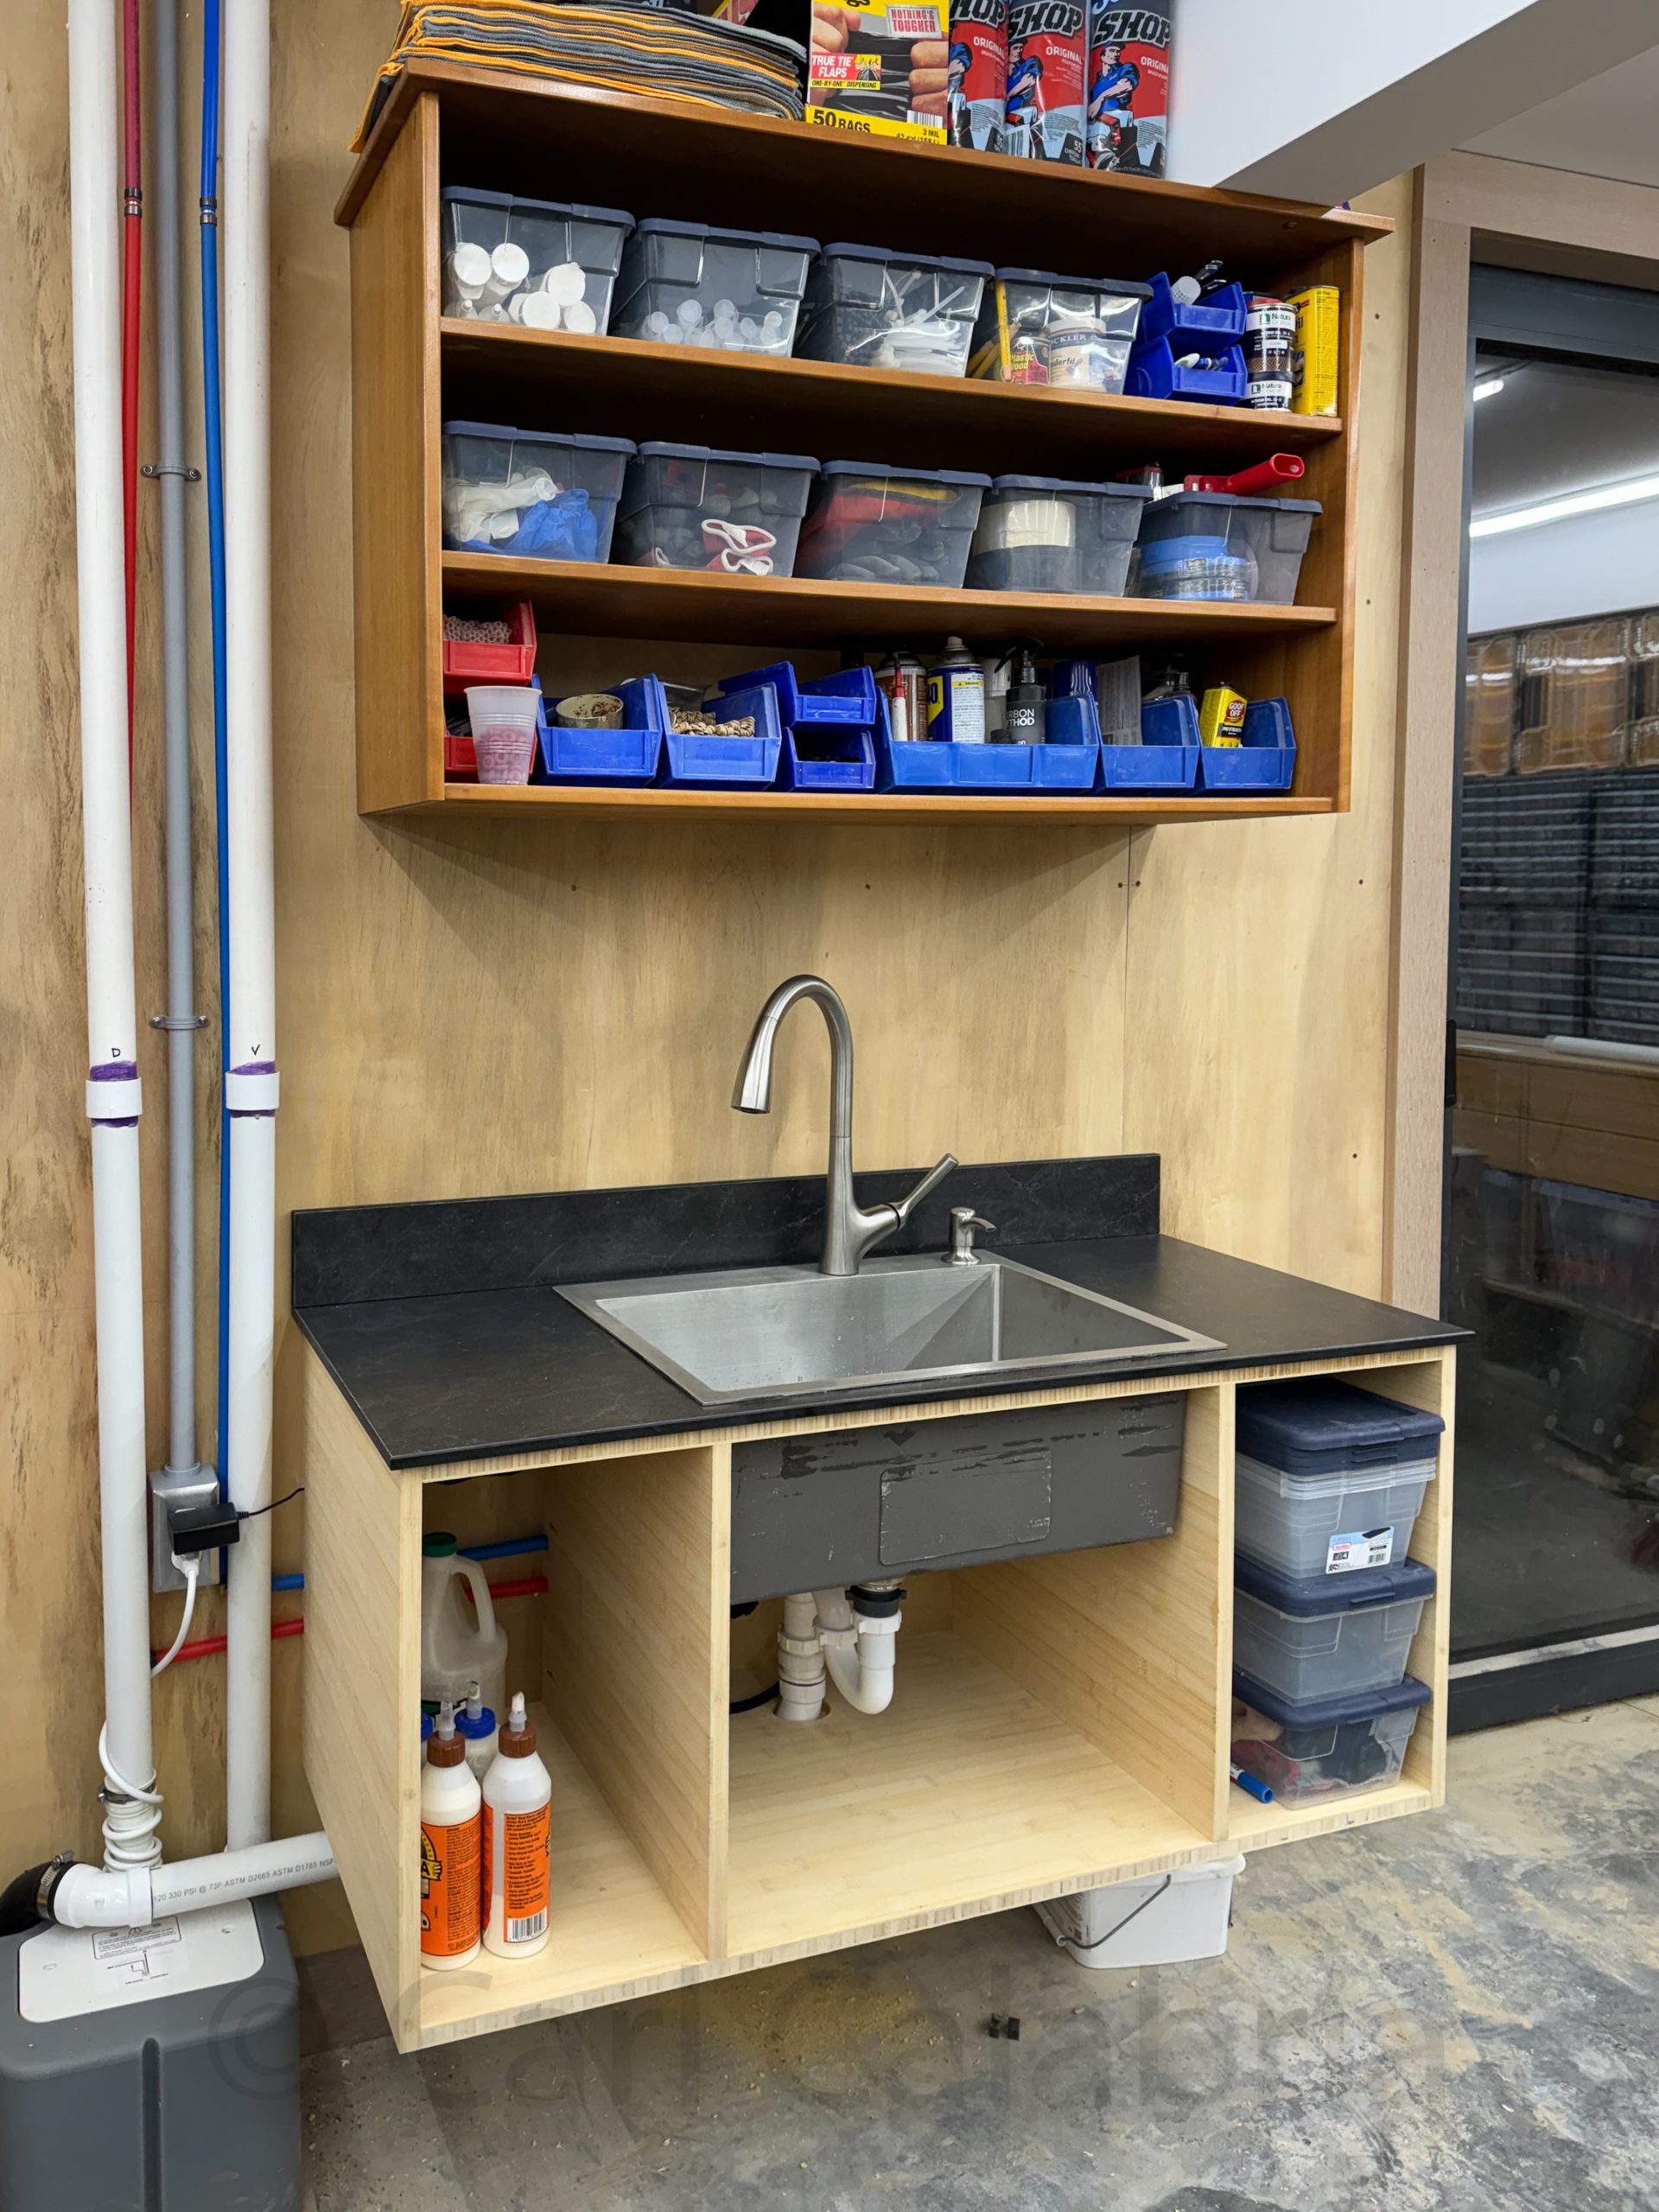
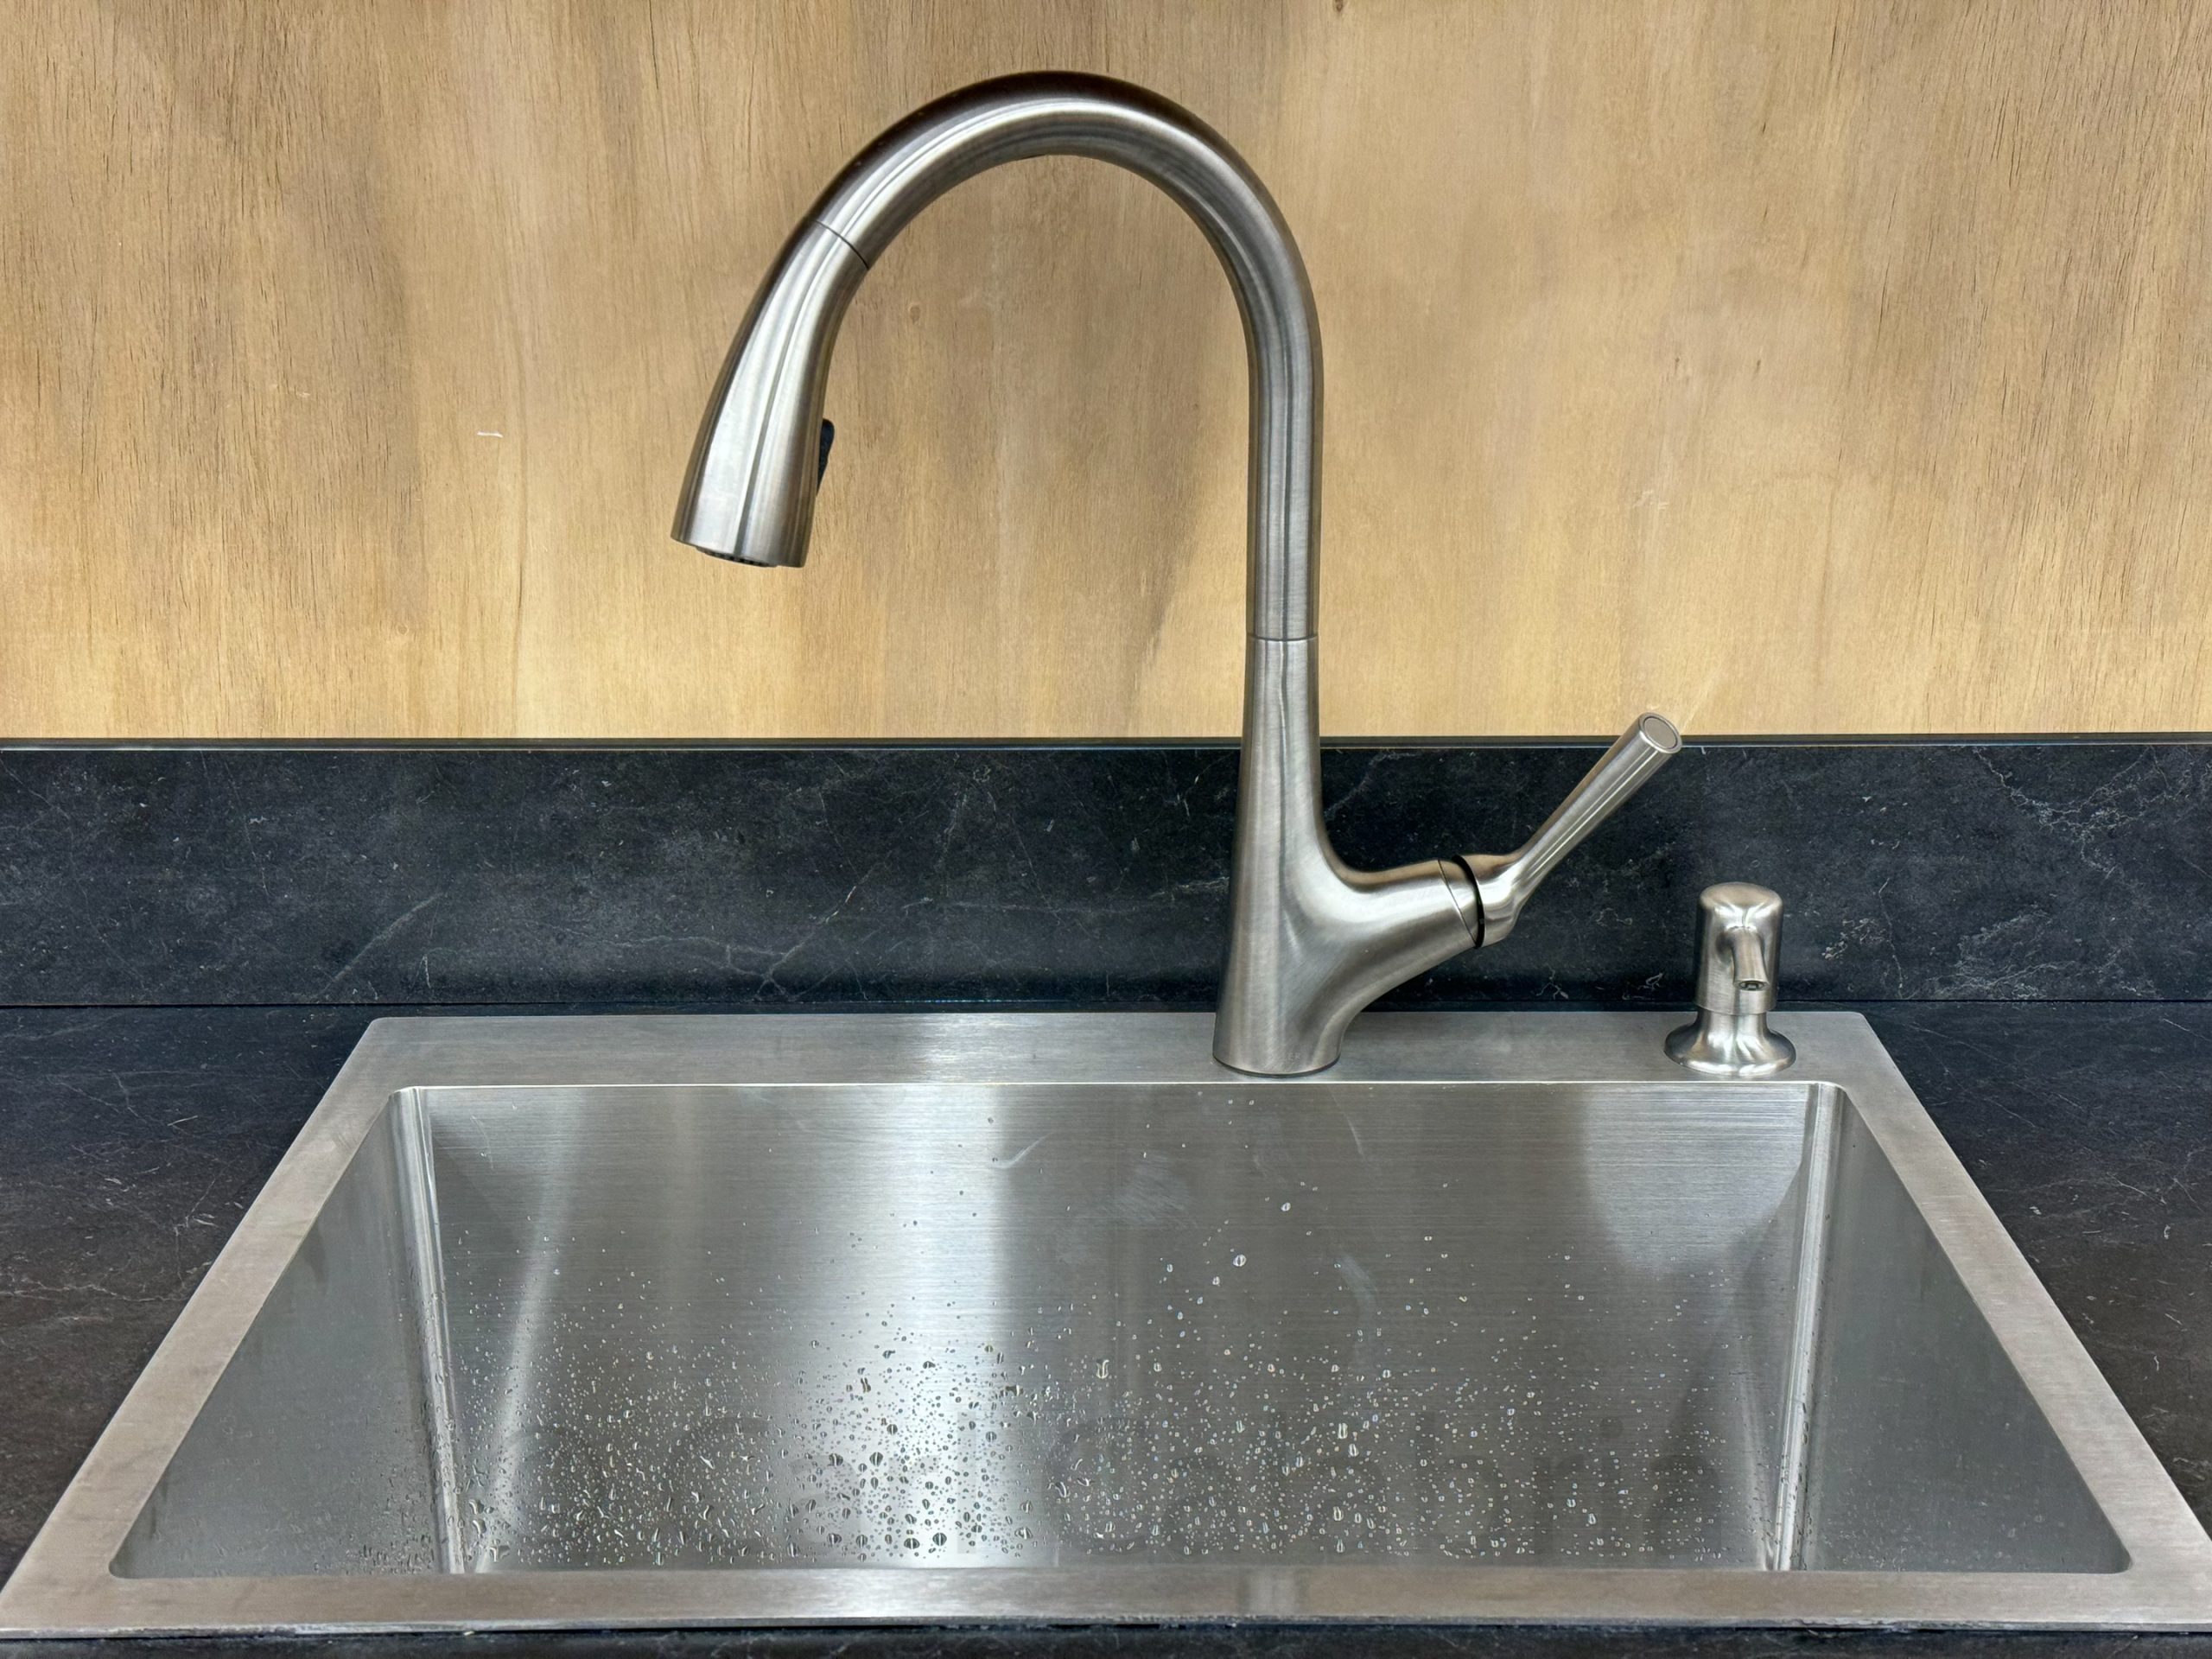
For the last 8 months or so, I have been operating without a shop sink, something that is quite essential when working with glues and finishes. During the first 4 months, I had to go upstairs and outside to the detached garage where our temporary water service was located. Talk about inconvenience. Once the water service was connected to the house, I only needed to walk upstairs to the laundry room, a monumental improvement but still not ideal. Today, I decided it was time to install the sink I had planned for my shop. Because our septic tank is located above the level of the basement a lift pump is needed to pump the drain water up to the main drain line. I had the plumbers leave stubbed lines for the drain, vent, and water supply lines near the shop ceiling in anticipation of this day. The first order of business was to build a cabinet carcass and mount it to the wall. While I was at it, I decided to repurpose a set of floor standing shelves into a wall mounted version. Next, I connected the lift pump (lower left) to the drain, vent, and discharge pipes and plumbed in the hot and cold water supply lines and shutoff valves. Finally, I added the countertop, backsplash, sink and faucet before connecting up all the hoses and wiring . The faucet can be turned on and off with a gesture – very convenient when your hands are covered in varnish and hence the need for wiring. Eventually, I will add drawers and doors to the front of the cabinet but for now I am very content to have an operational sink no more than a few steps away.
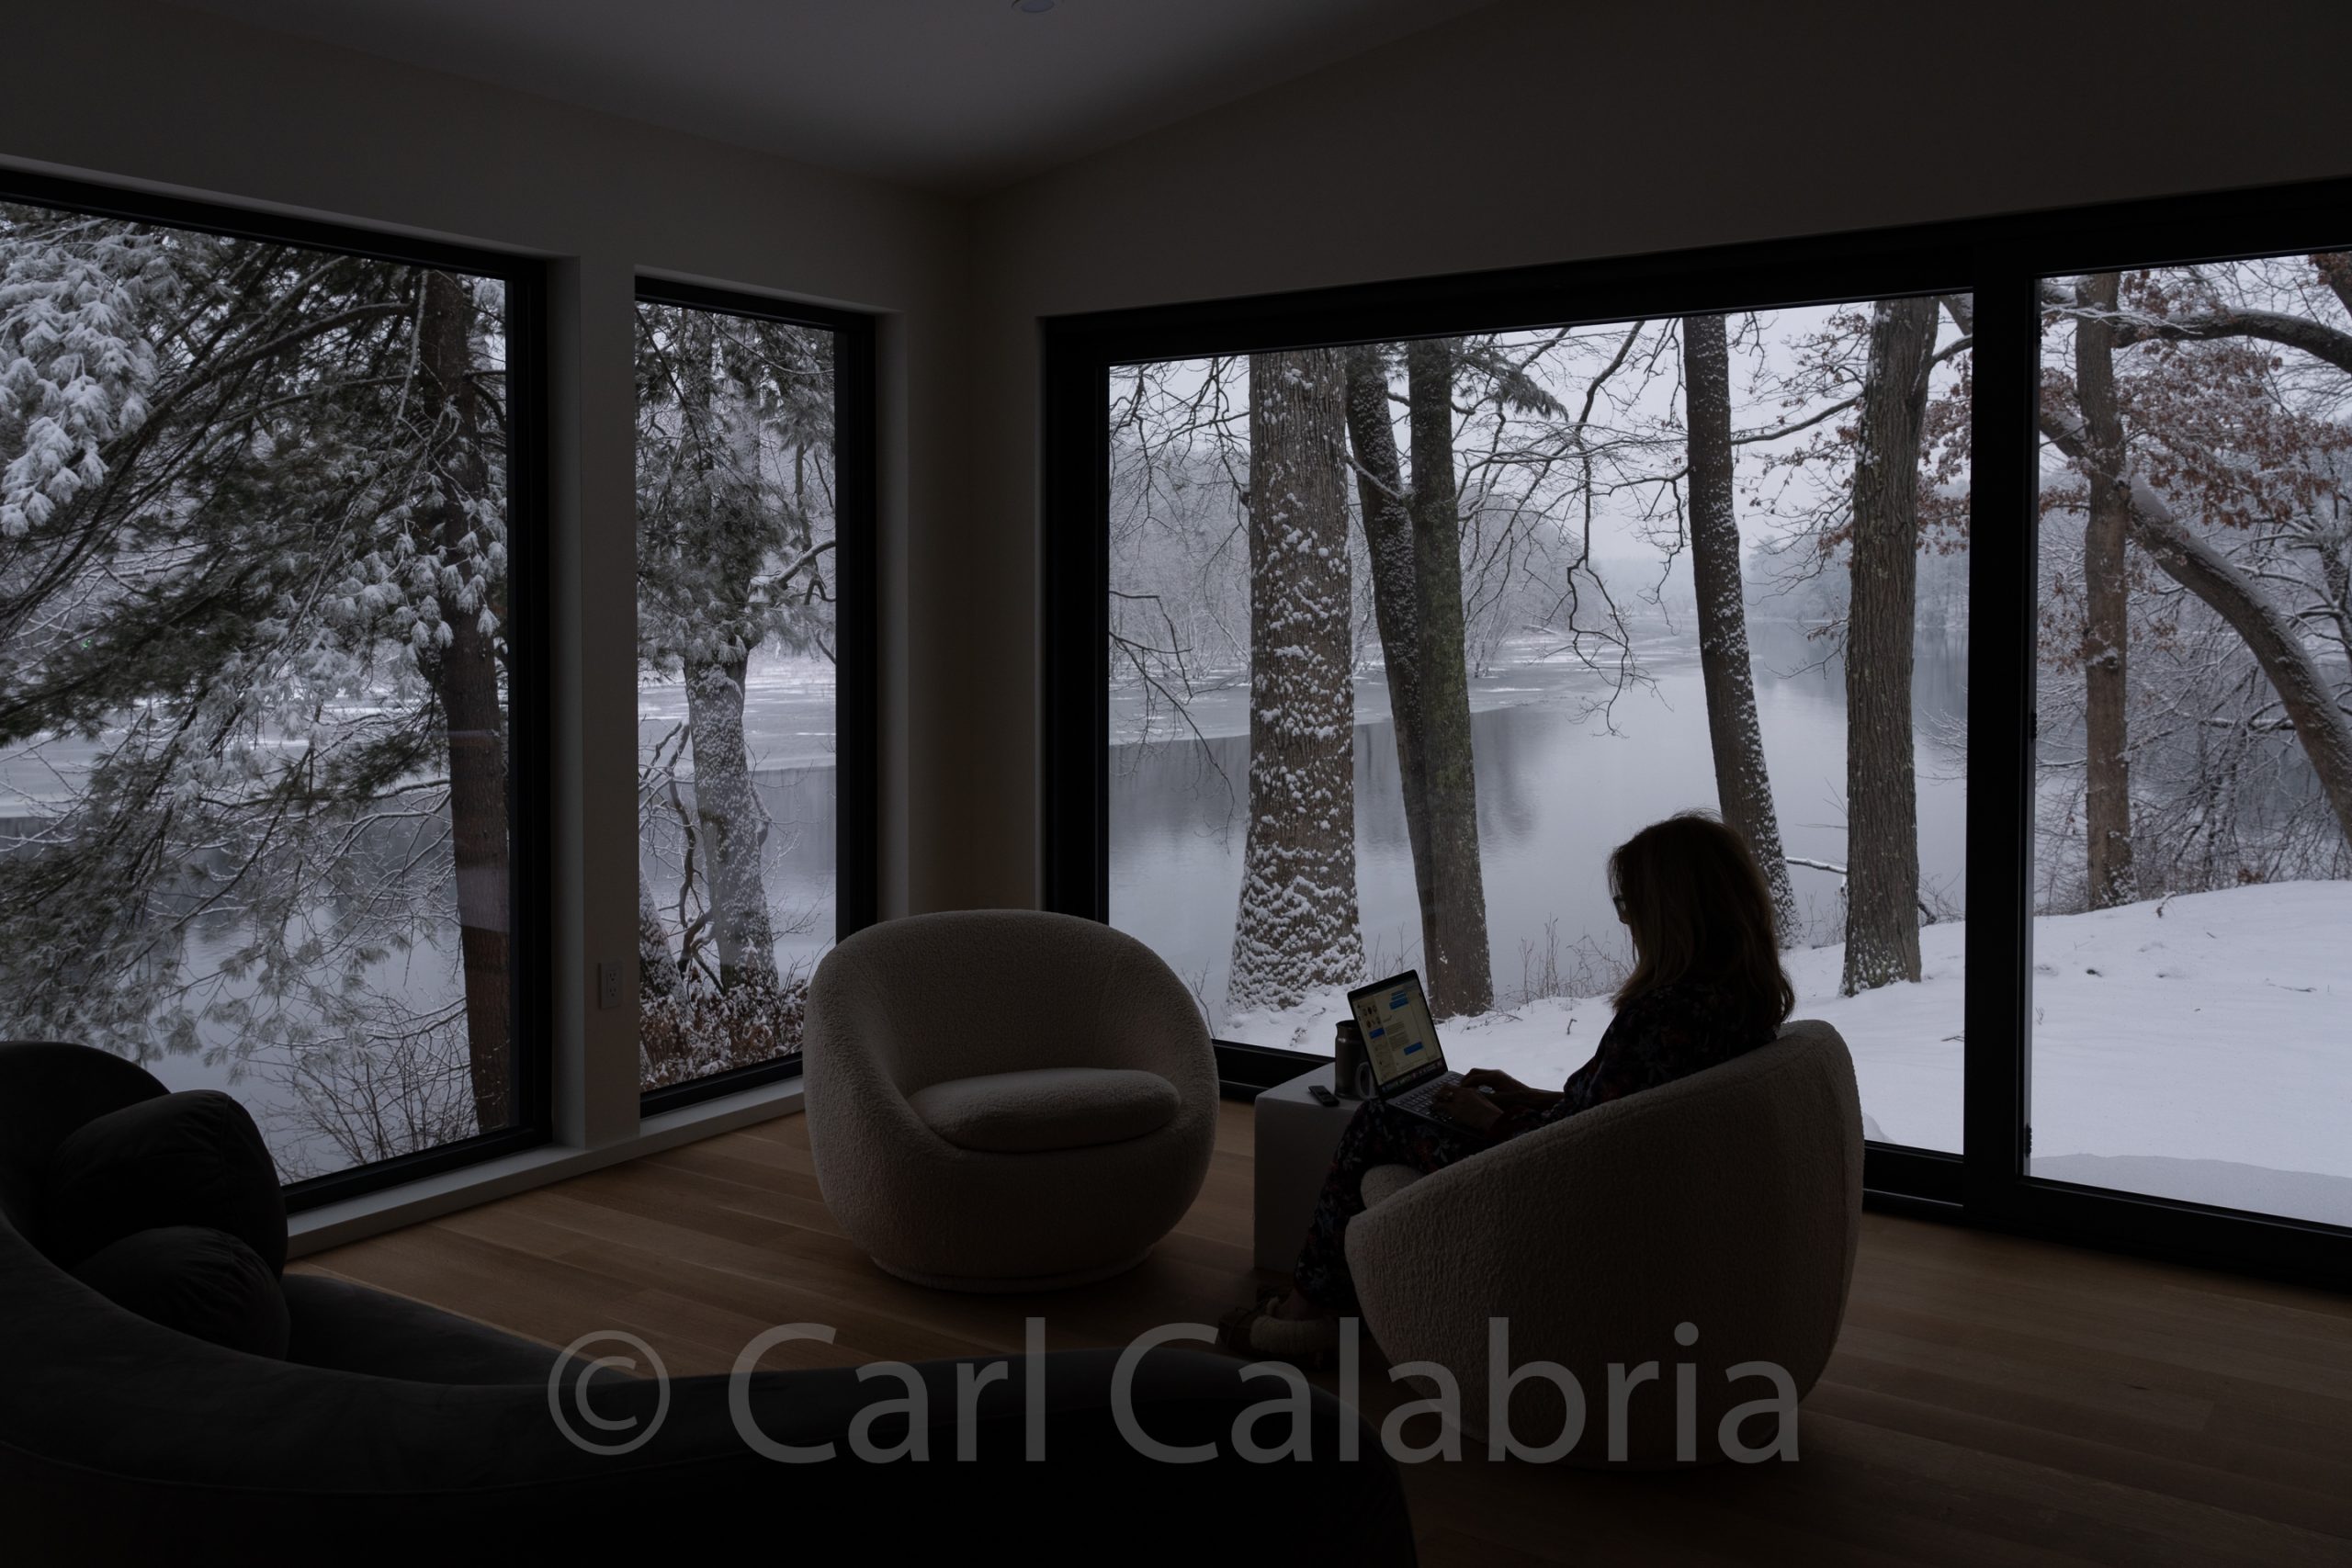
Jeanine and I are spending nights at the River House to free up beds for our guests at the Road House. Visiting from Seattle is our nephew Rory who is here to help Nico and his amputee soccer teammate Jovan, our other guest, with 2 weeks of intense physical training. We woke up to about an inch of fresh snow and Jeanine can be seen here enjoying her morning coffee.
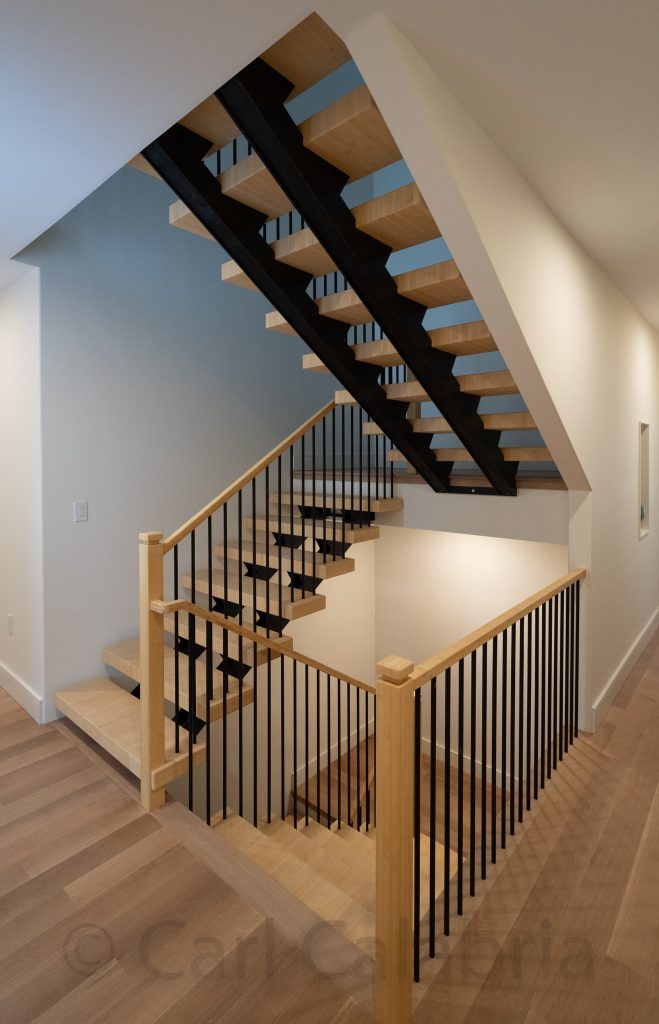
At long last, the stairs and railings are done. I put the final coat of finish on this afternoon and we are now ready for inspection. In total, the railings took about 3 weeks of build time, and the stairs about the same. If I had known just how much work would be required, I might have opted for a turnkey solution. On the other hand, the savings we realized could purchase a small new car. I am most appreciative of my gluing and finishing assistants, Jeanine and Nico.
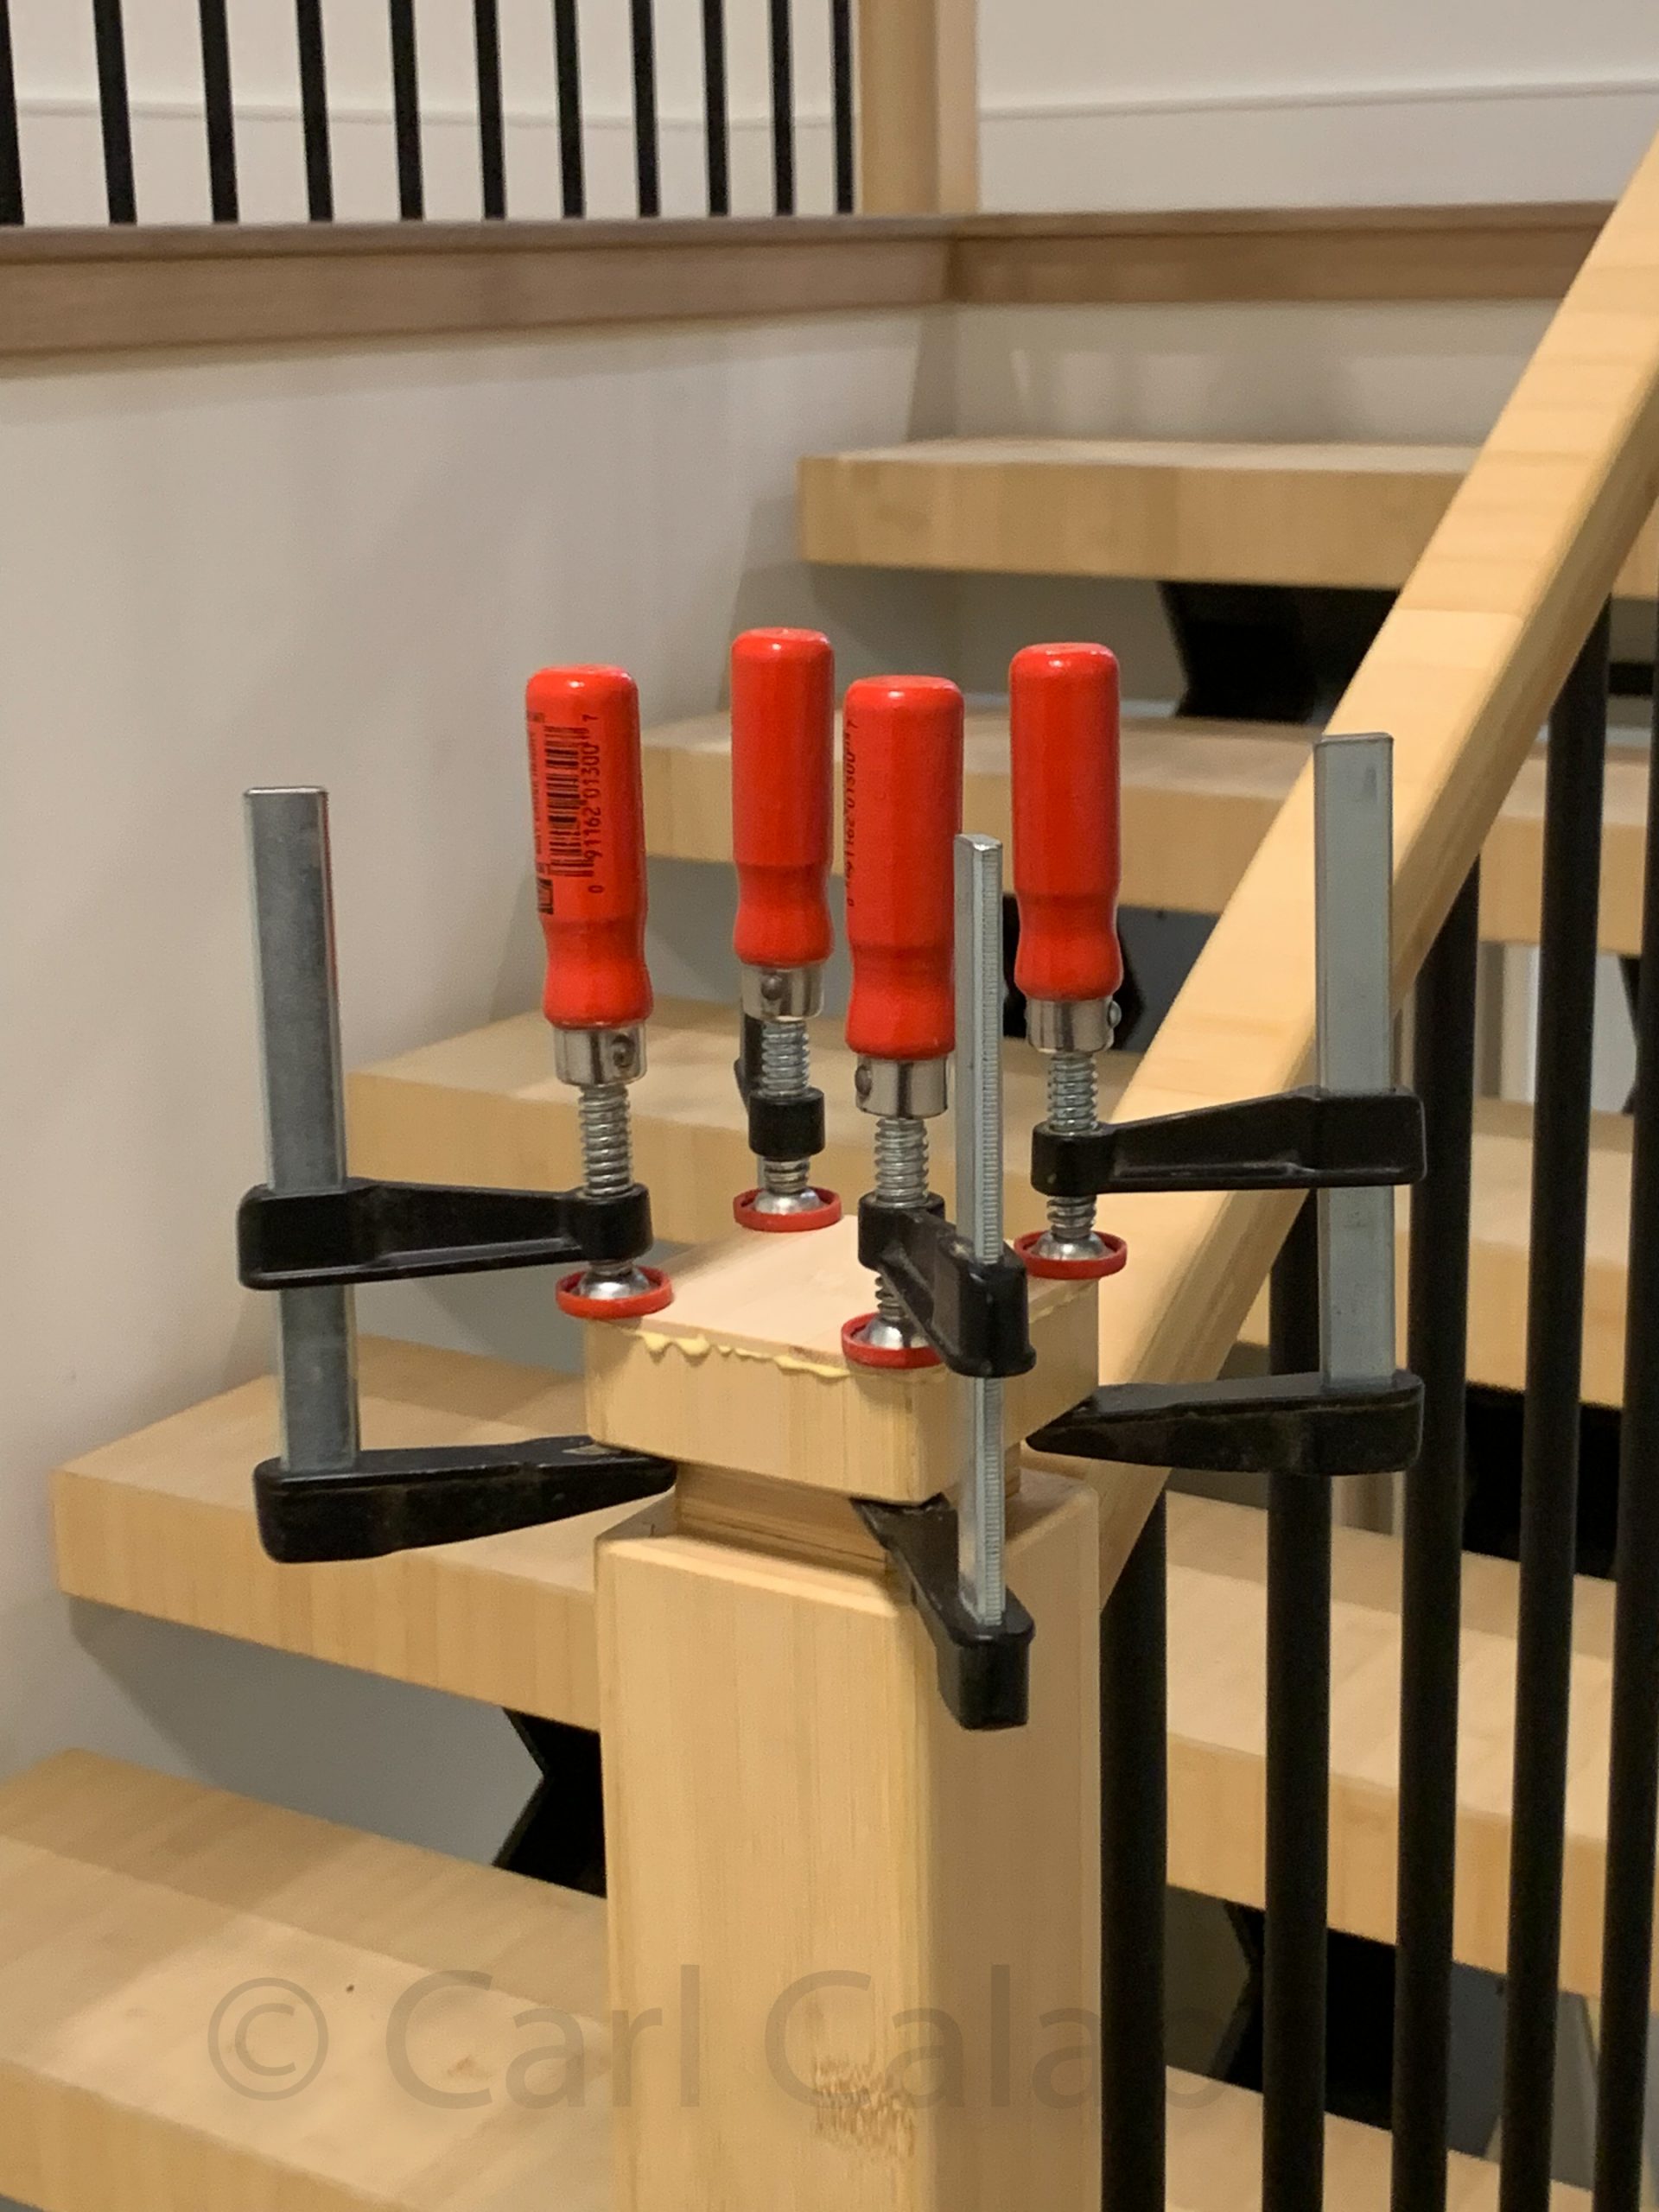
After weeks of work all 150 balusters, 7 Newell posts, 4 hand rails, and 3 guard rails have been permanently installed. The final step was to glue top caps to the Newell posts. We are now officially ready for inspection by the building department and hope to have our occupancy permit shortly. Tomorrow, I will do some final sanding and finishing work and then move on to built-ins for our walk-in closets.
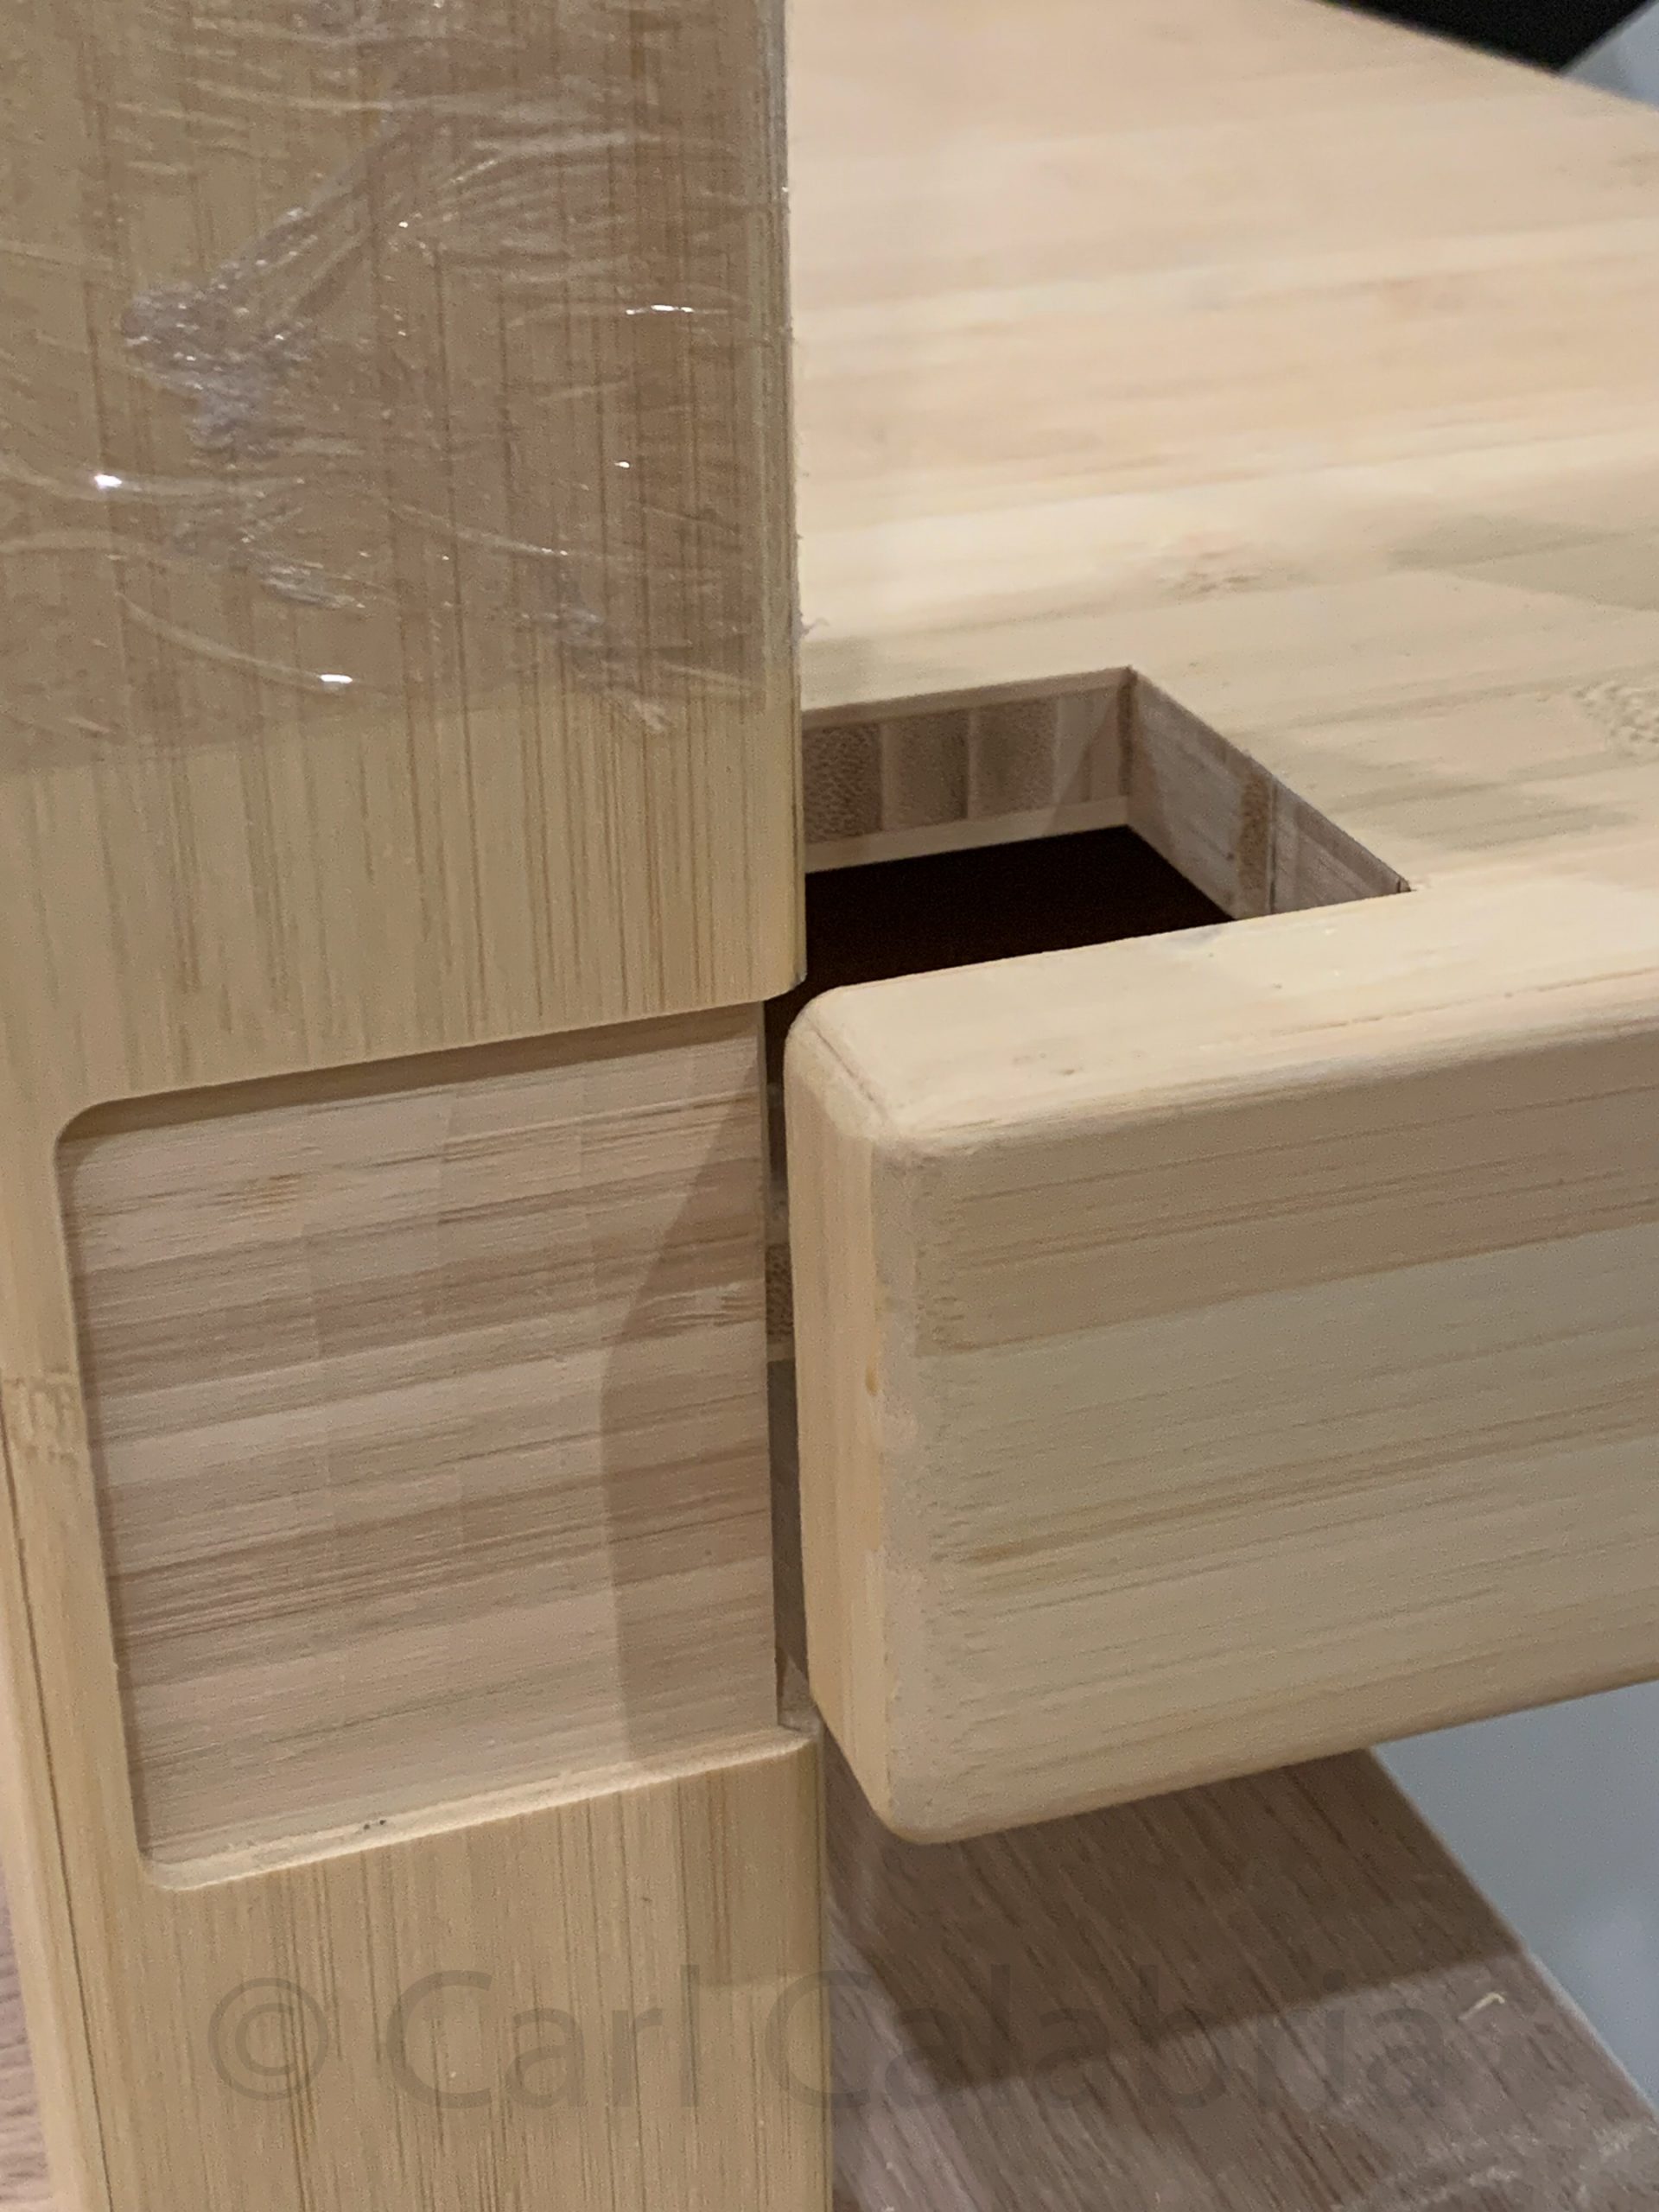
To maximally stabilize the Newell posts I am constructing for the River House, I decided to channel them through the end of the stair tread before fastening them to the floor. This adds a considerable amount of strength at the expense of a rather complicated mating joint with multiple critical dimensional tolerances. Machining these was possibly the most stressful work I have done on the house thus far The slightest mistake on either part would have resulted in a depressingly large amount of rework. I perfected my approach on scrap material before attempting the work on the final components and thankfully this led to a successful outcome.
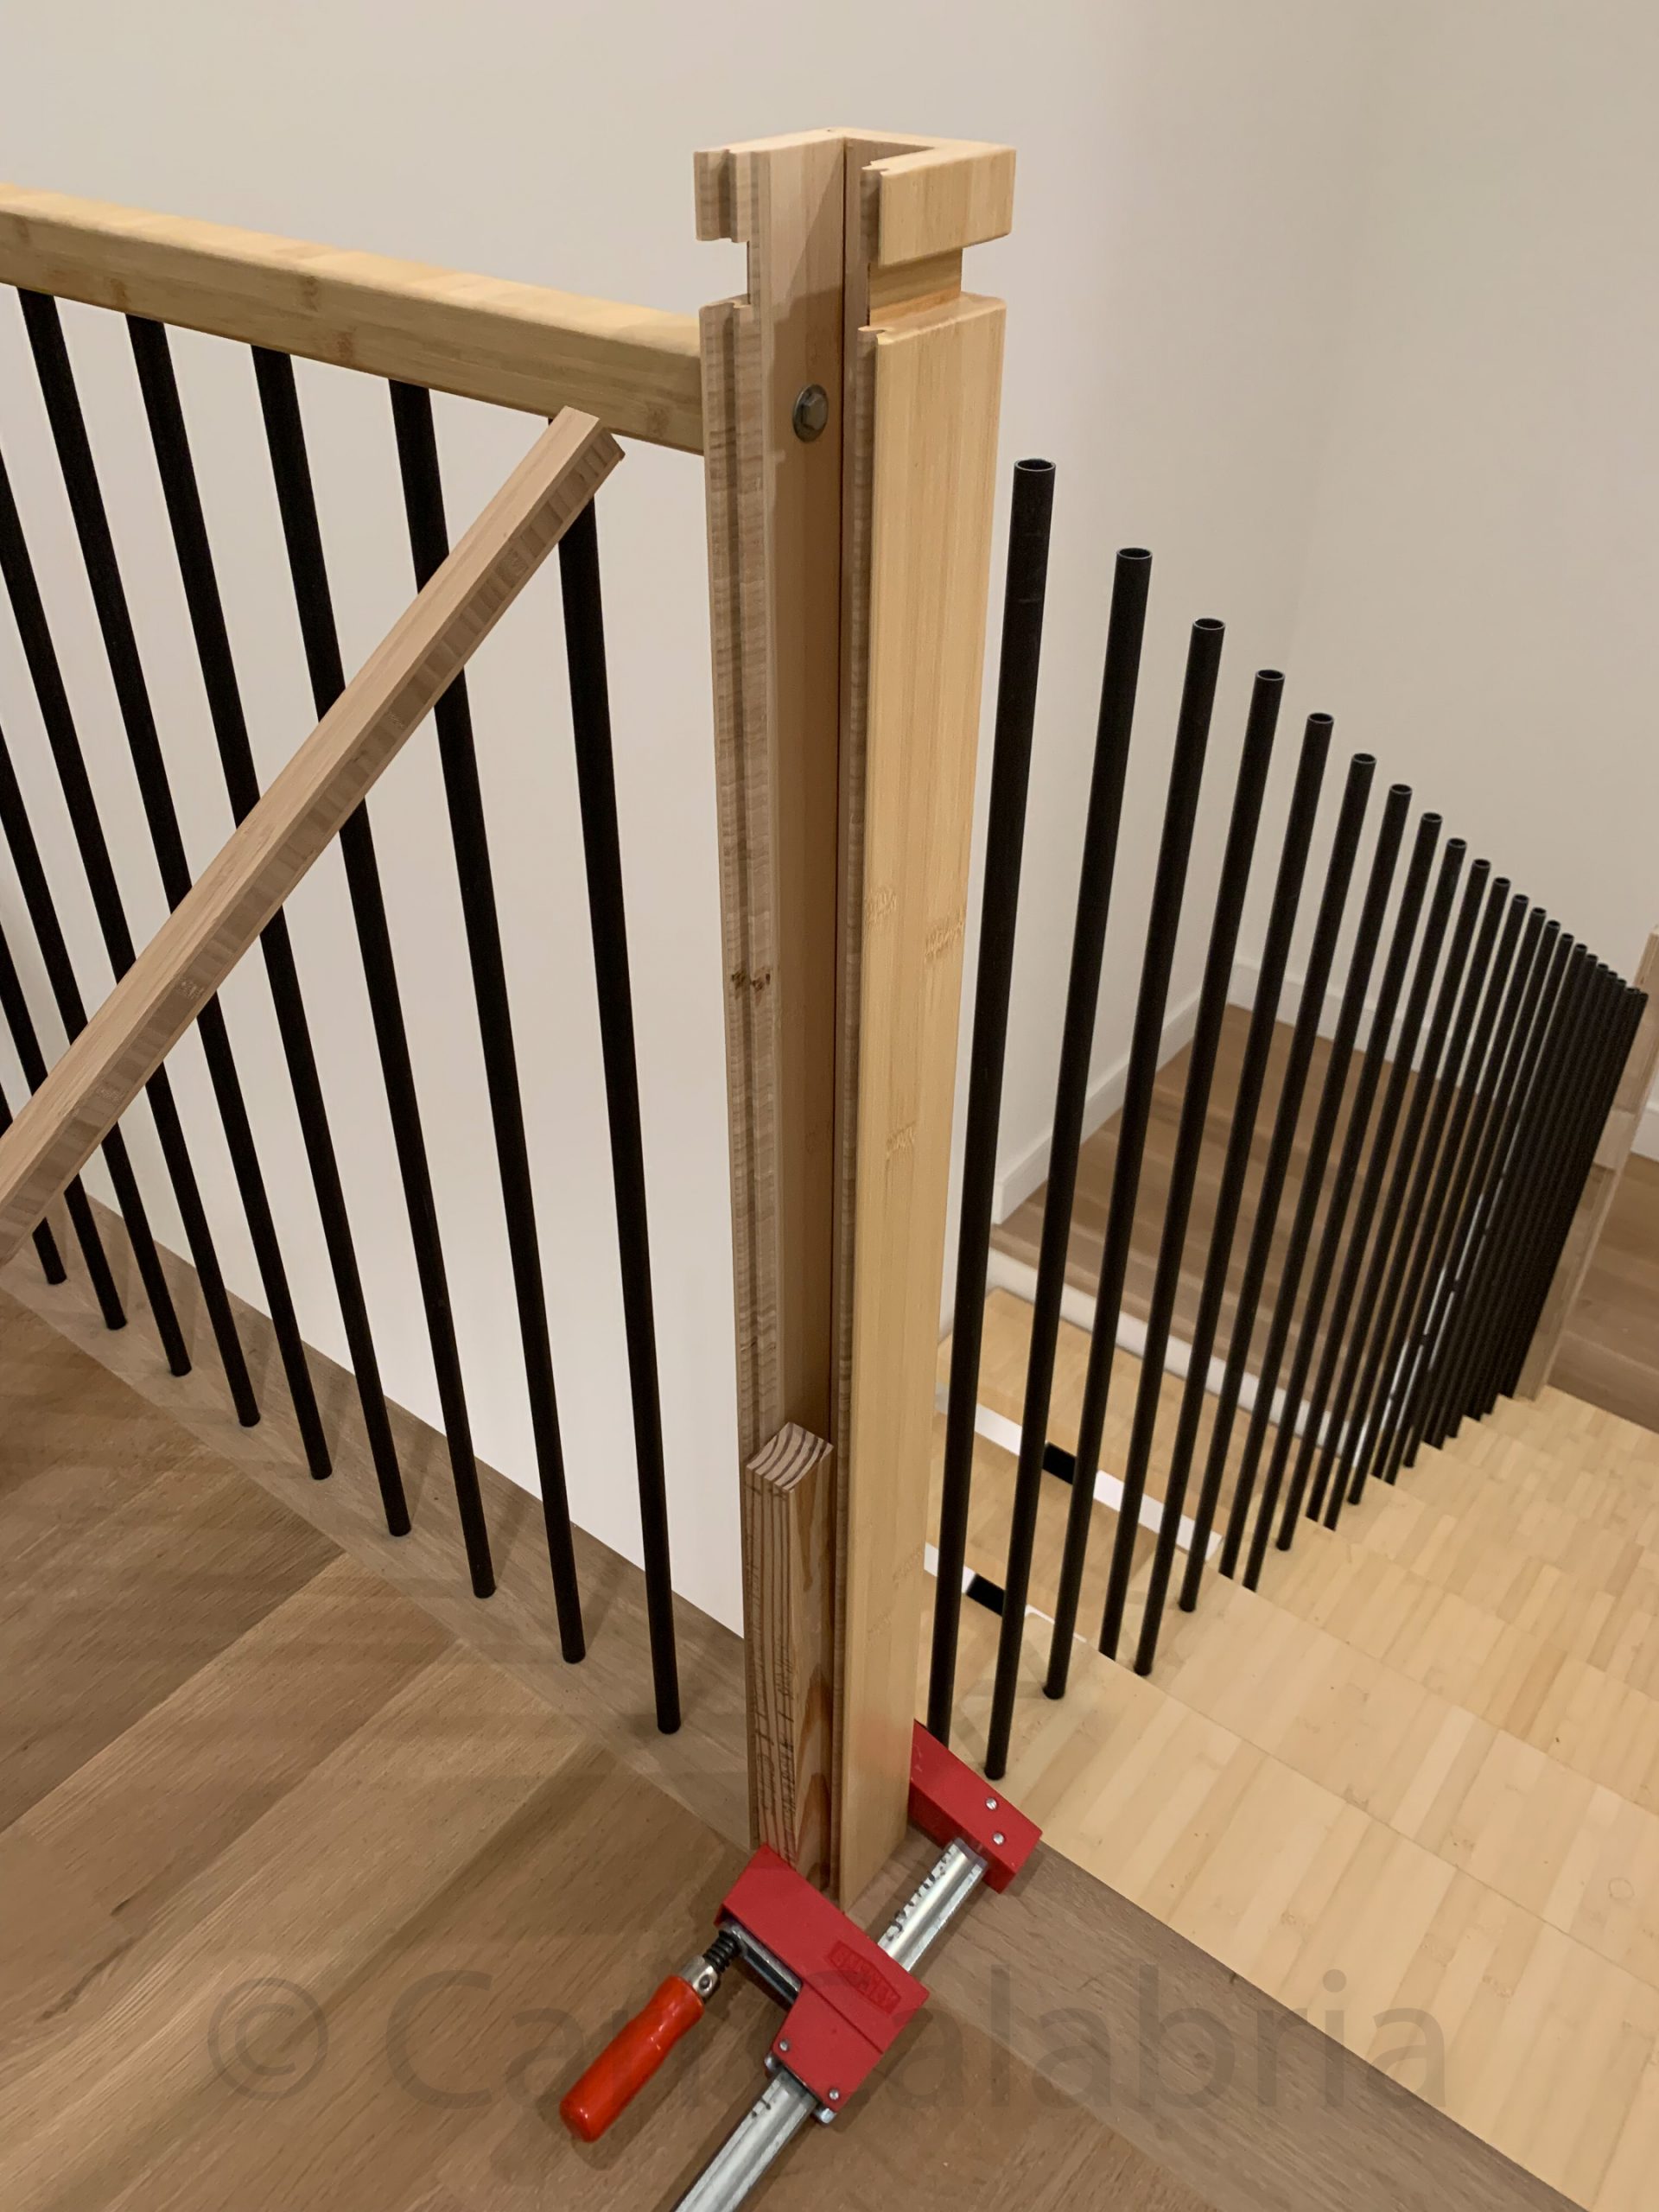
I installed three out of seven Newell posts today. More accurately, I installed three-quarters of each post. I have left one side open so that I can secure the railings with a bolt driven from the inside. Tomorrow, I will glue on the missing face and top cap. The base is glued to a cleat that is the same size as the inside of the hollow post. The cleat is secured to the floor with a massive lag screw. If tomorrow goes smoothly, I should be finished with the railings by the end of Monday and we will then be ready for our certificte of occupancy inspection. Fingers crossed.
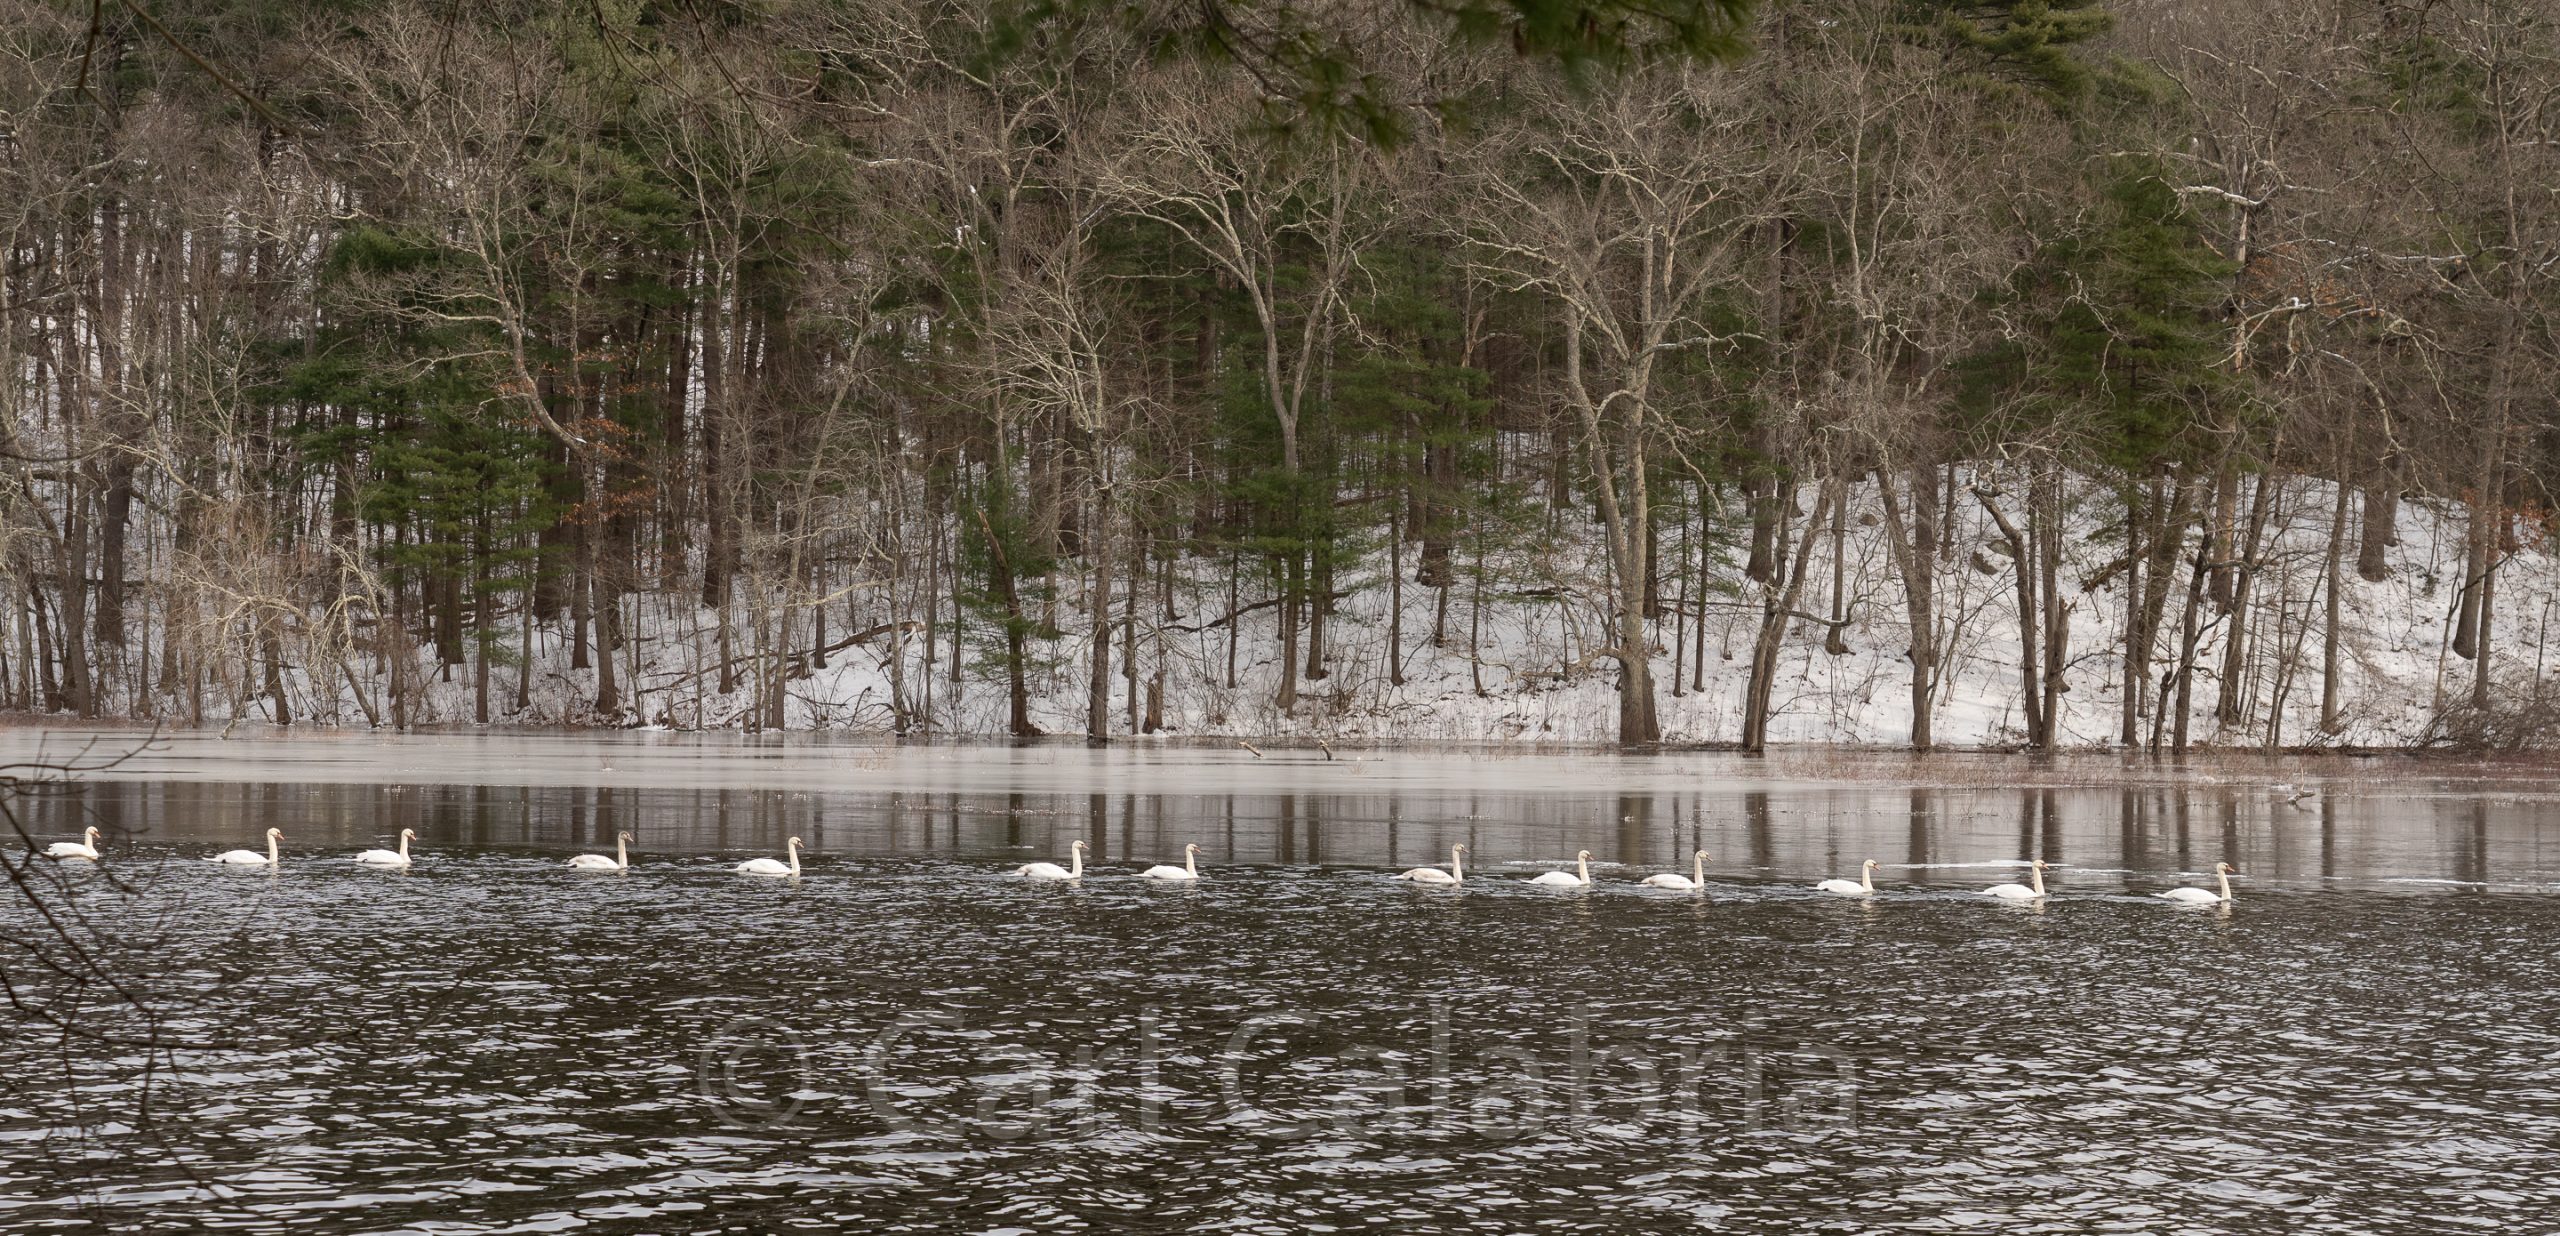
Thanks to our neighborhood list server, I was alerted to the approach of a bevy of swans, 13 in total. I was able to grab my good camera and photograph them as they swam past the house. Ice has begun to form near the banks but the bulk of the river is still flowing. If I had to guess, I would say they were having a leisurely swim, resting from what was likely several hundred miles of flying. Jeanine arrived at the house shortly after they passed by on the water but spotted them in the air as they resumed their migration.
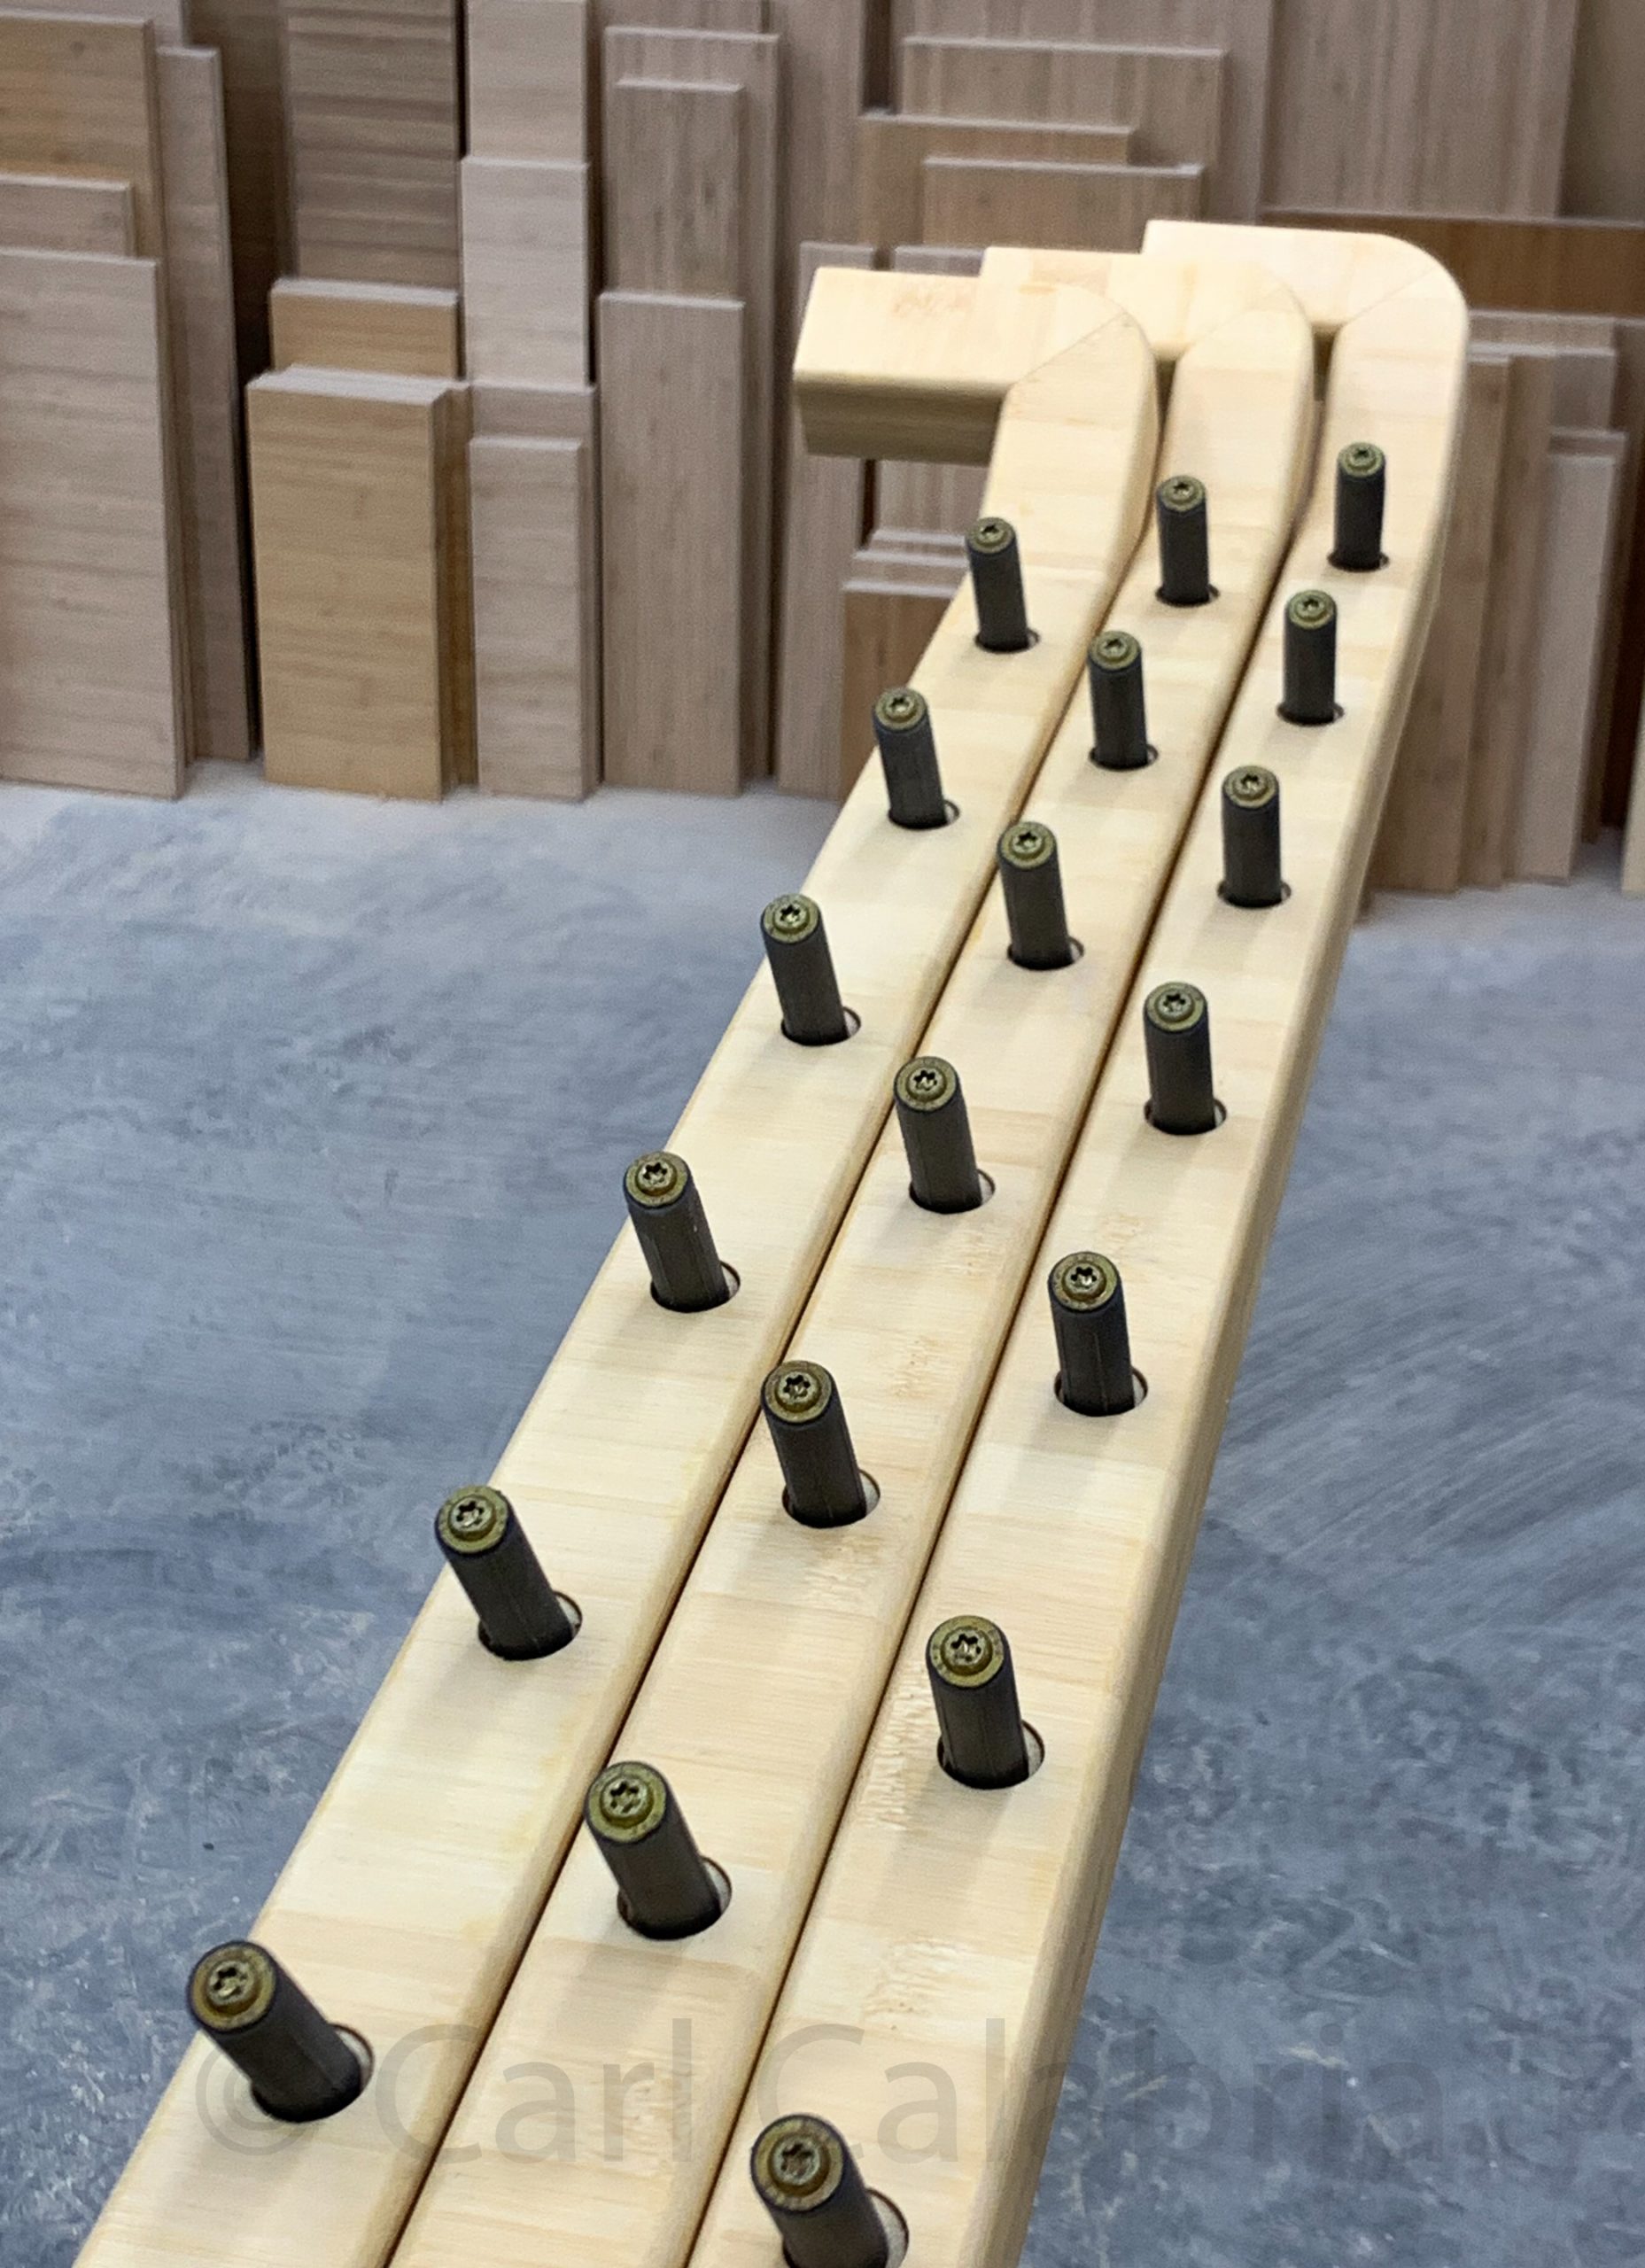
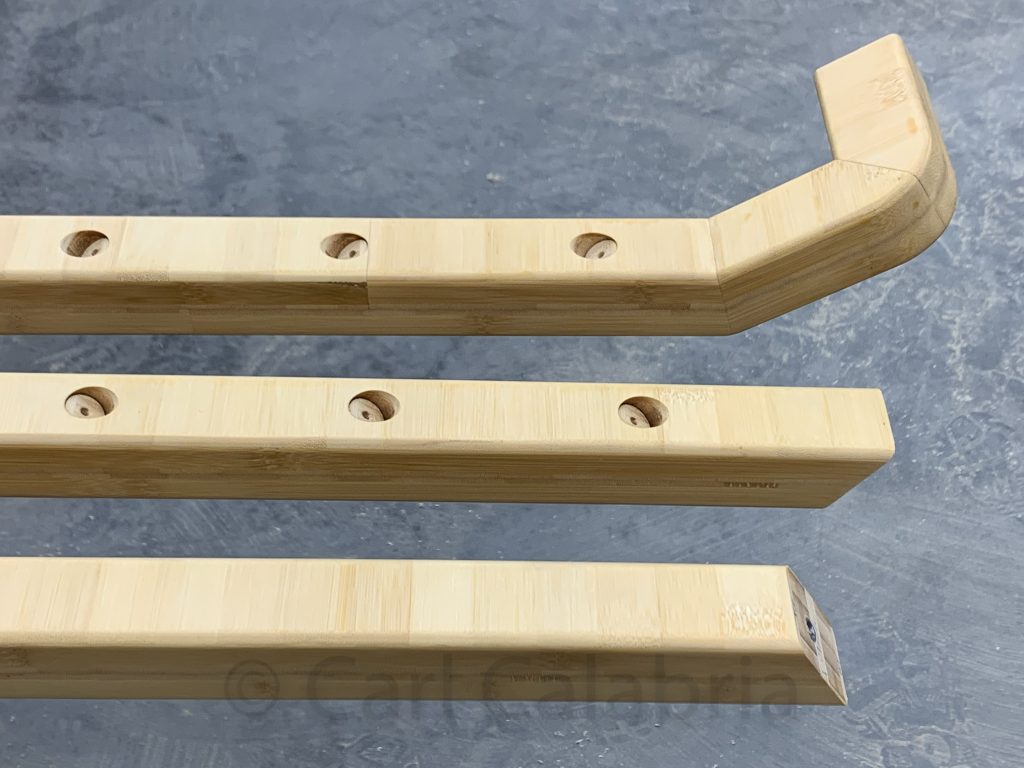
I completed the last three railings for the staircase today by machining the holes needed to connect and secure the balusters to the rail. The anatomy of the rail is pictured below. The balusters are slid over the connector to mate with the rail at an angle of 32.5 degrees. The ends of the rails have a threaded metal insert that will accept a fastener to secure it to the Newell posts. One end of the rail has a 16.25 degree compound joint followed by a mitered right angle return. The rail itself was made by laminating non-overlapping 4 foot long sections of bamboo plywood together (for a perfect match to the stair treads).
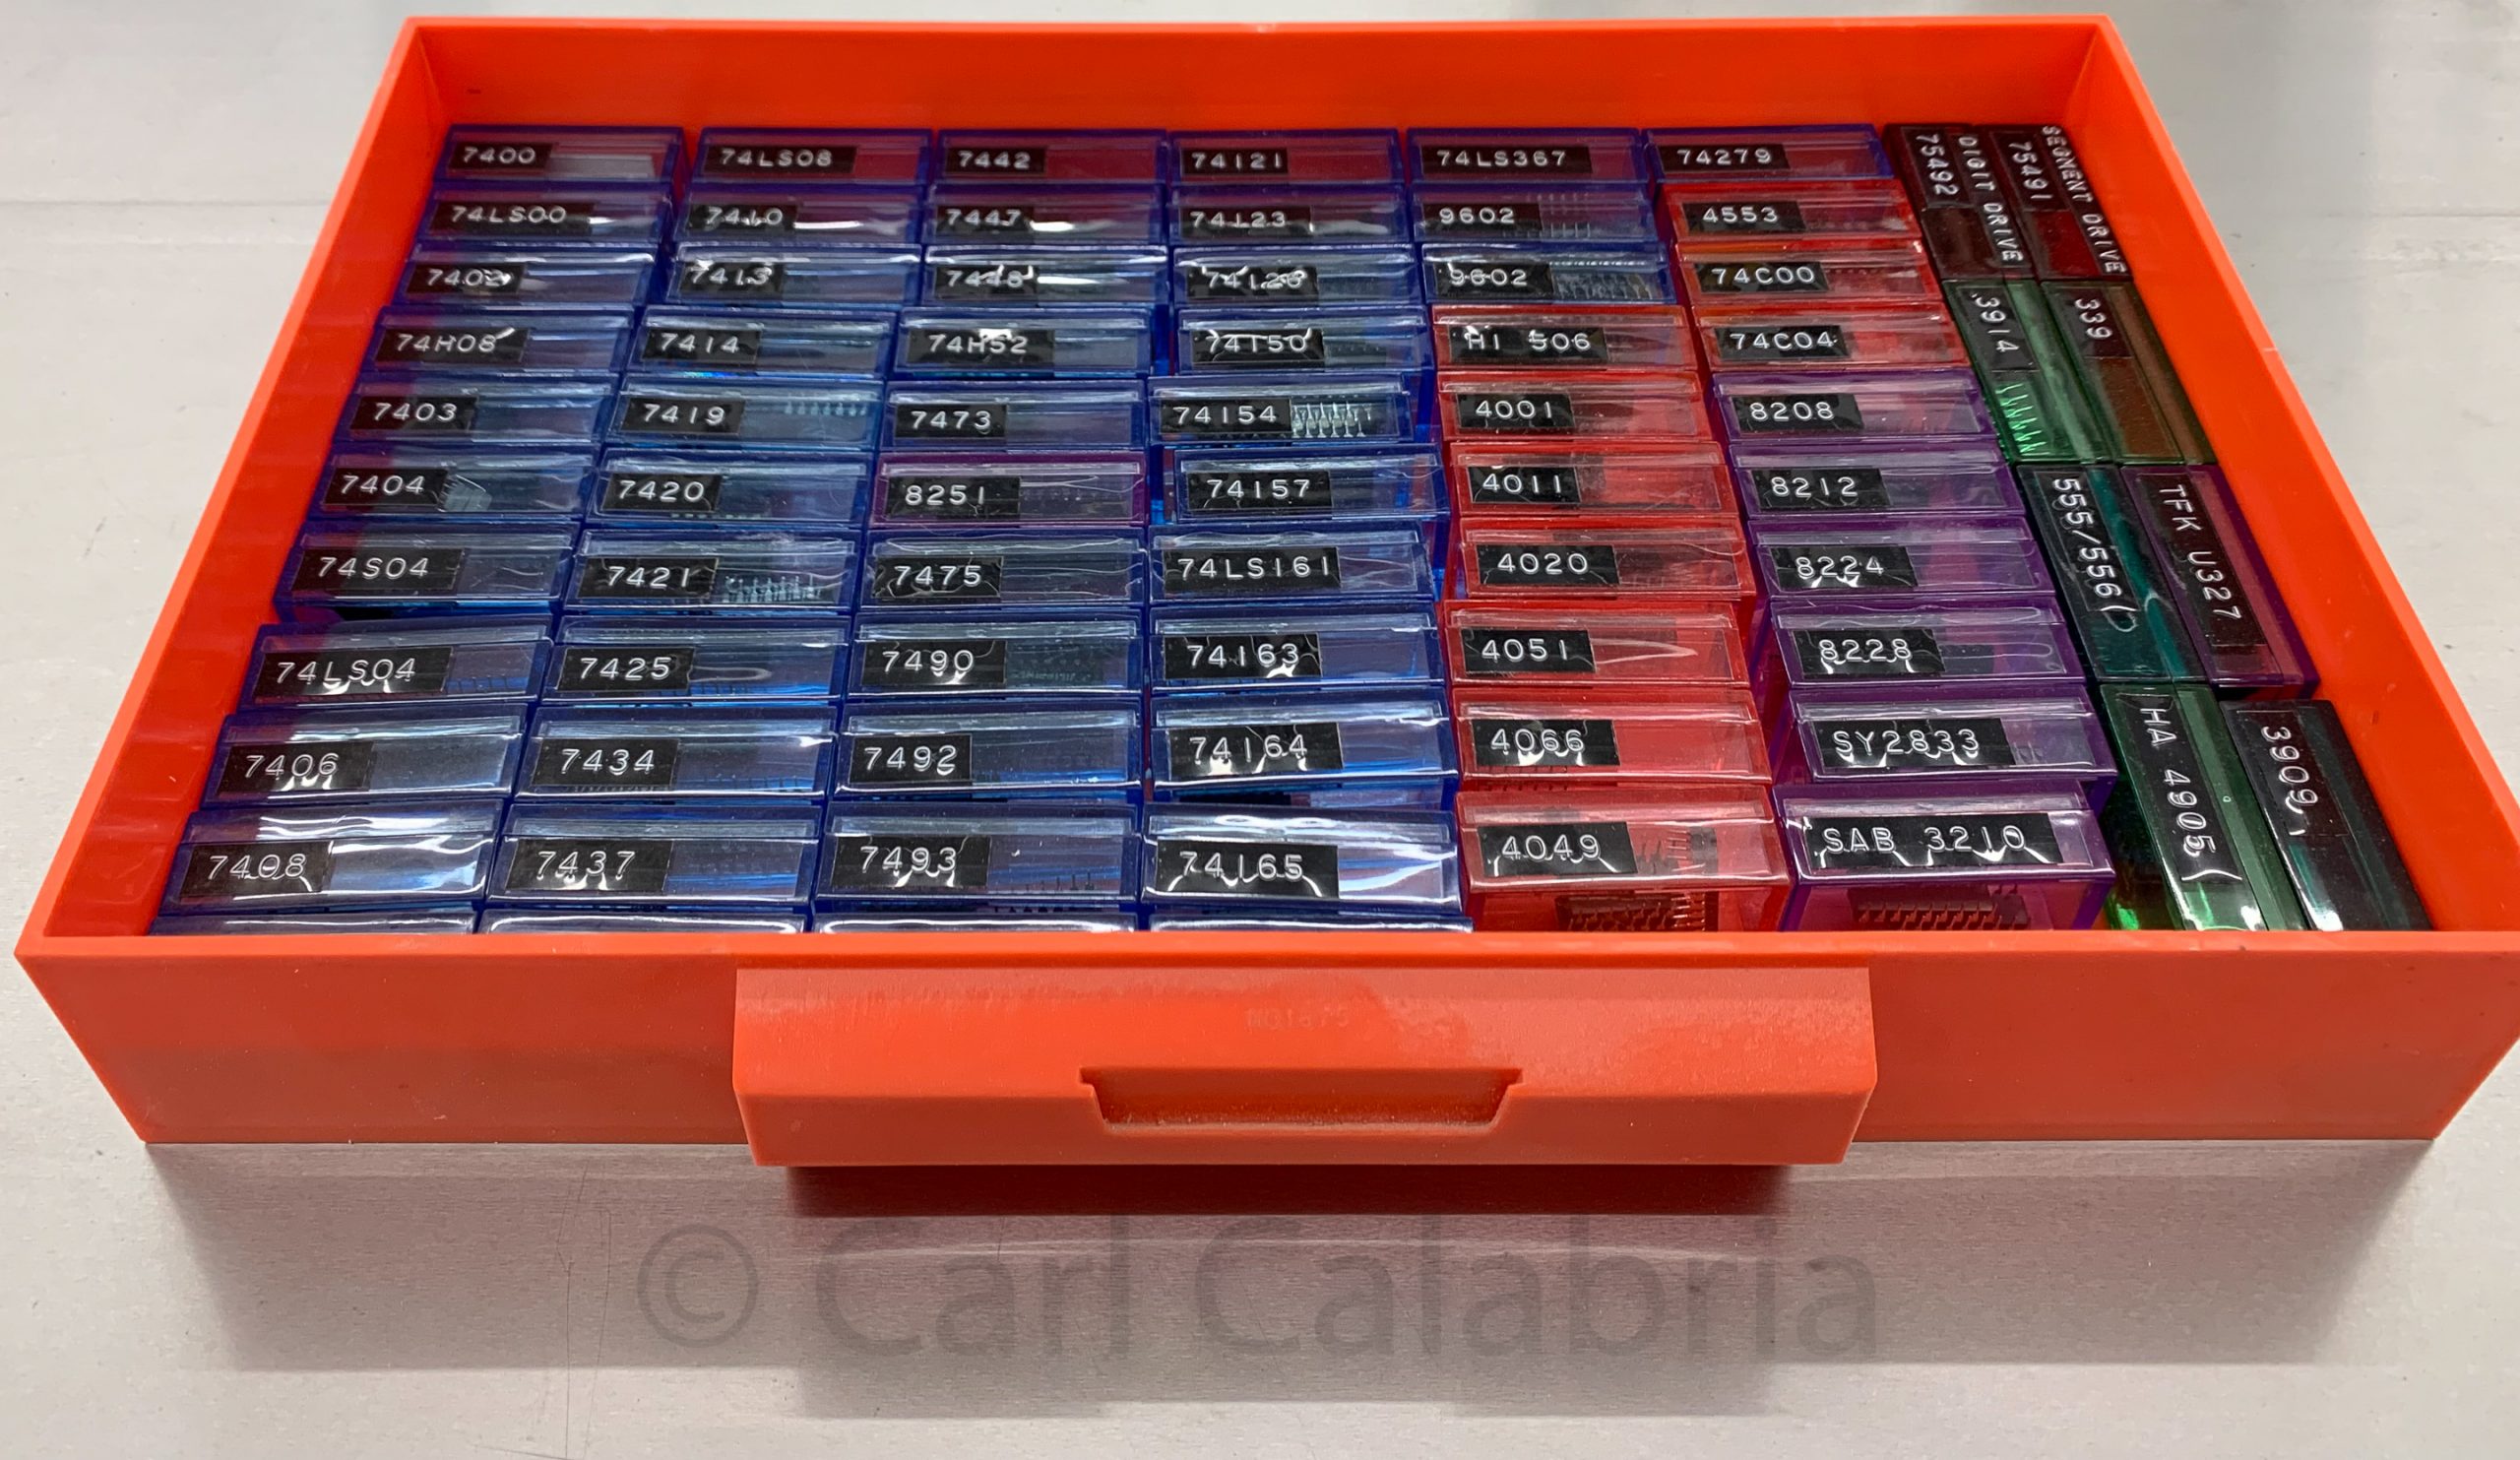
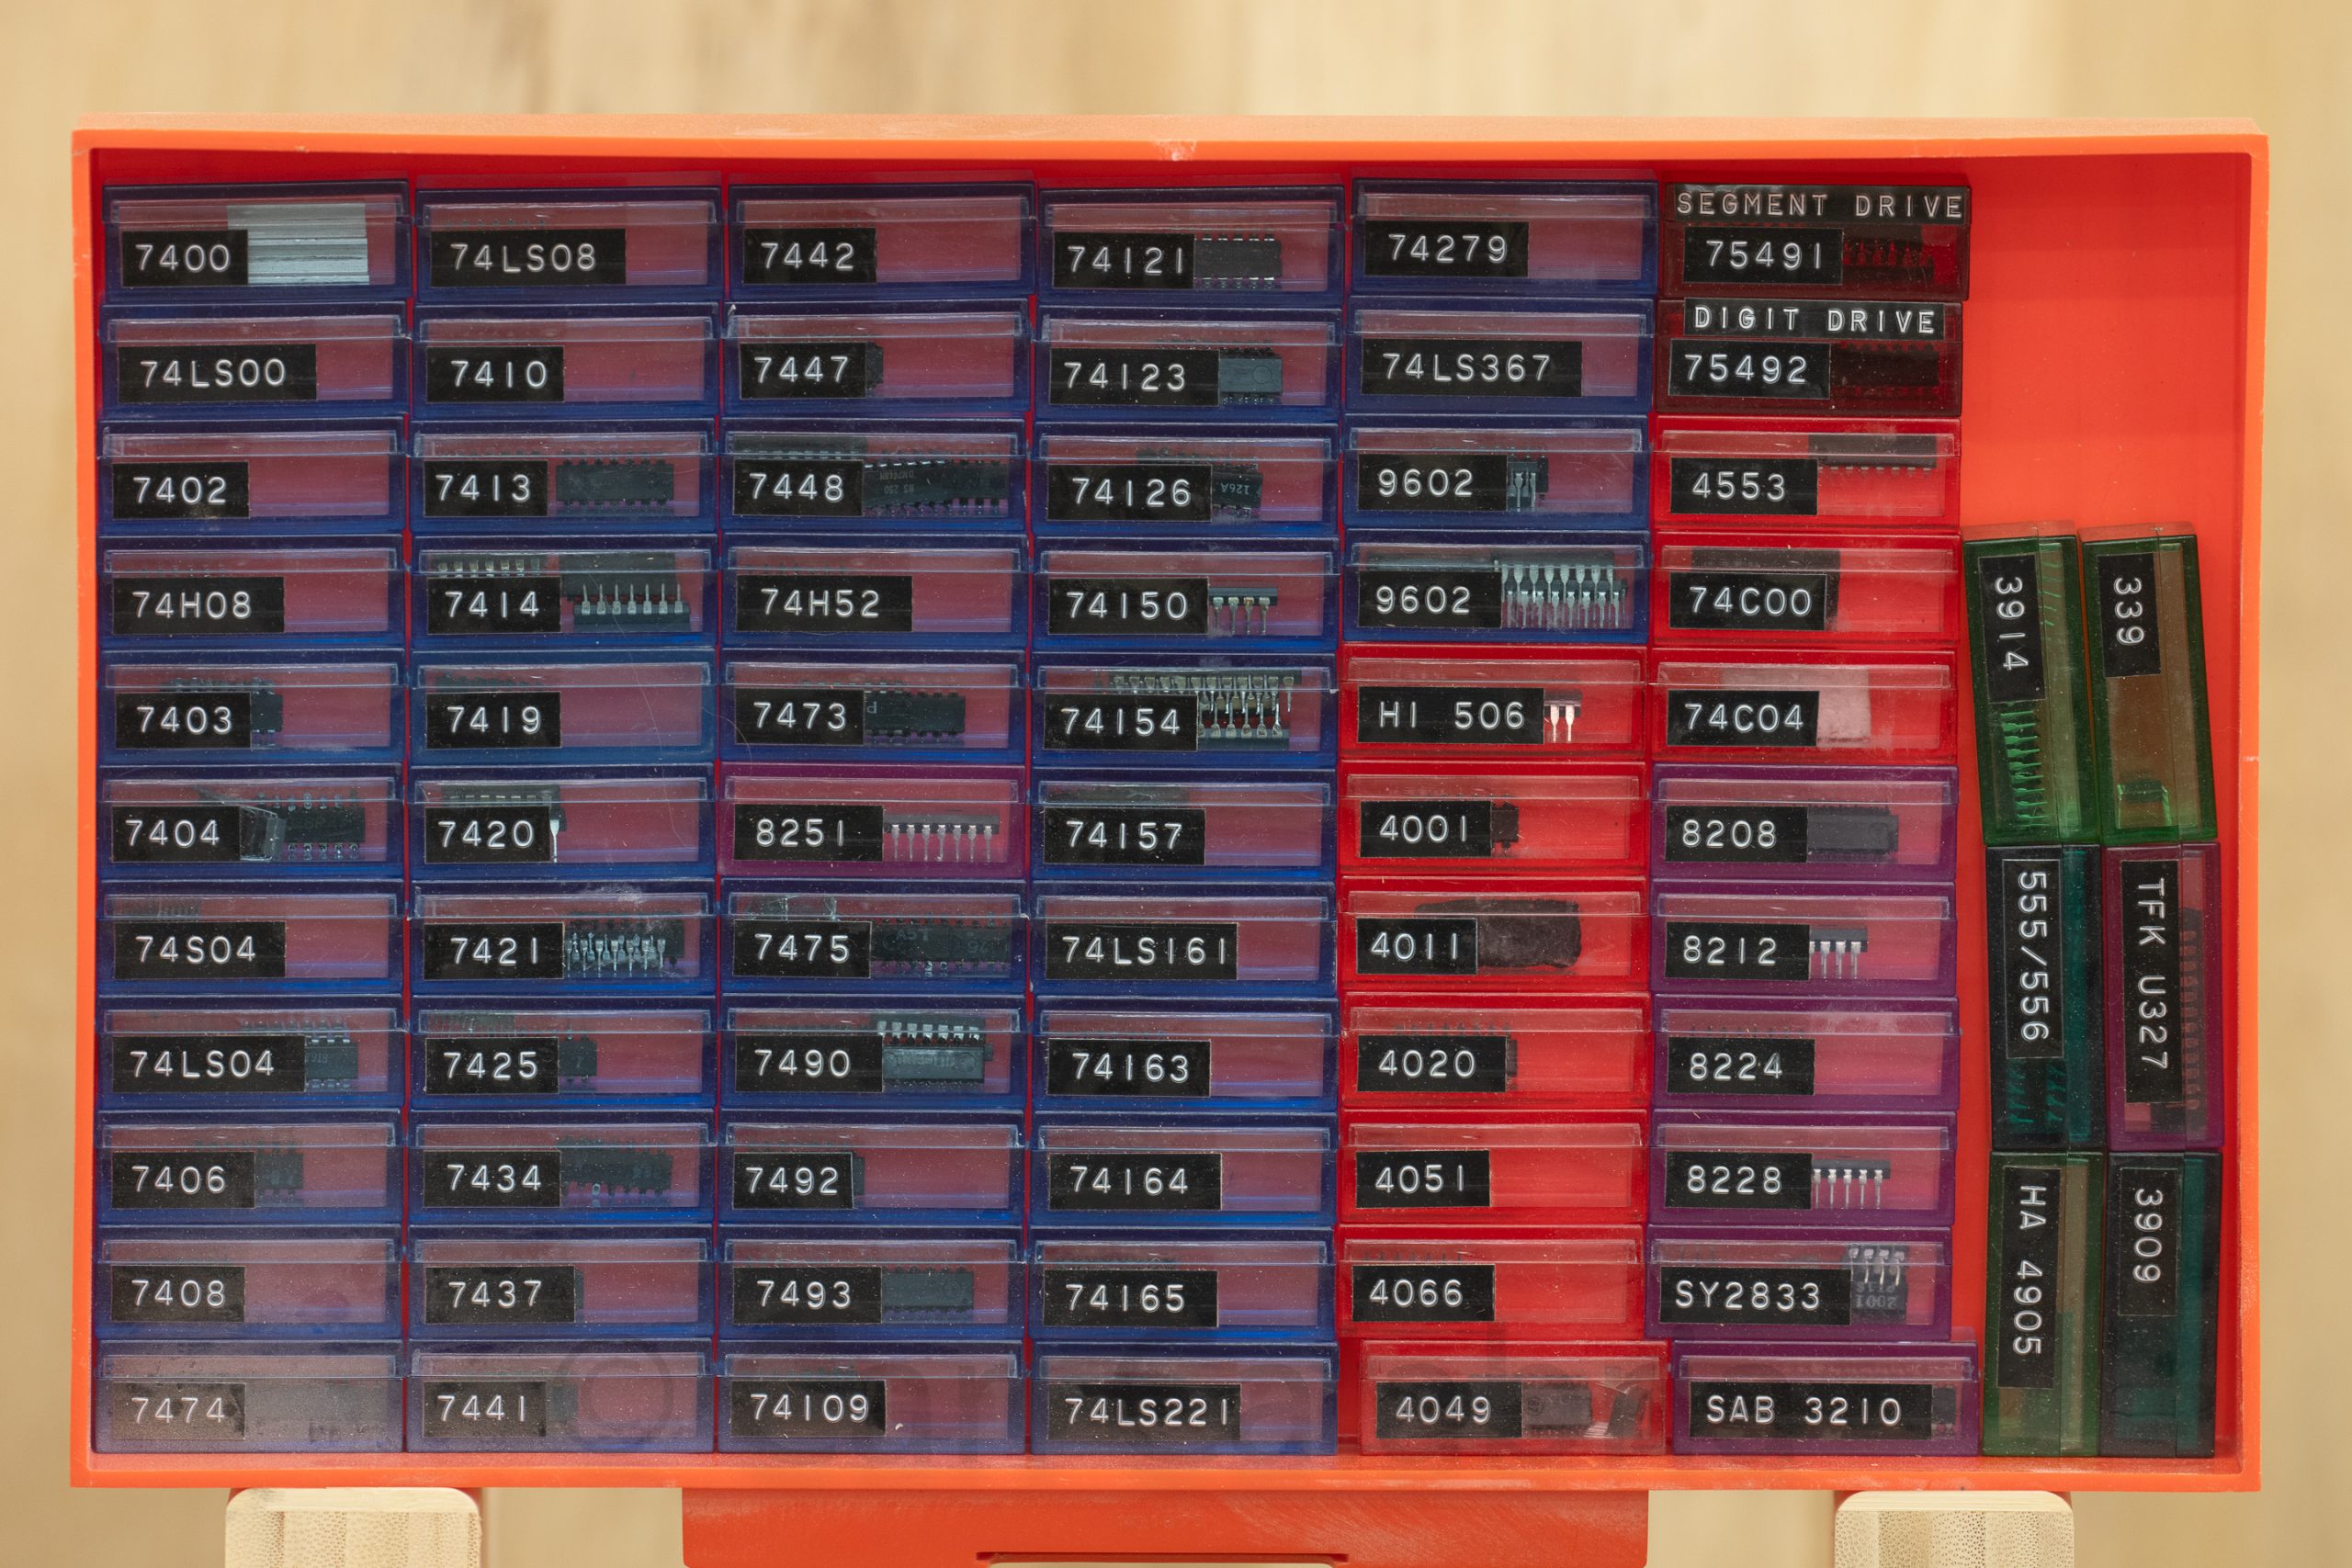
Although my college degrees are in Electrical Engineering, it is only because the field of Computer Engineering was in its infancy. My primary concentration was in logic design and computer architecture. Even the most advanced computers today are still based on the same basic building blocks that perform the logical operations of AND, OR, and NOT. When I was in grade school, these logic elements were constructed out of individual transistors. By the time I was in high school, they had become available on integrated circuits that offered multiple gates, shift registers, flip-flops, multiplexors, and a bunch of other more sophisticated functions. Pictured above is the collection of chips I assembled while in college so that I could quickly prototype my ideas. My first self directed design was a 16-channel logic analyzer which won me the Stearn’s Prize awarded to the outstanding student in electrical or computer engineering at Union College.
Alas, It has been more than three decades since I built anything from these parts and I decided that they would not be making the move to the River House. Jeanine and I are making a concerted effort to get rid of all of the things we have accumulated over the years but no longer use.
Today, I decided to make a timelapse video of a typical day in the shop. Unfortunately, or fortunately depending on your perspective, my camera ran out of both storage space and battery so only two hours were captured. The video lasts less than 2 minutes and shows the construction of seven Newell posts. Order of operations: Rip boards to 3-inch width, cut to length at the miter saw, move to the router table to create a lock miter joint along all edges (most time-consuming), return to the table saw to make relief cut in half the boards to prevent tearout, empty the dust collector at some point, dry fit the Newell posts and move on to routing and sanding the hand rail I glued up earlier in the day. Not shown, the other 6 hours of work before returning home to snow blow the driveway. Gotta love retirement?
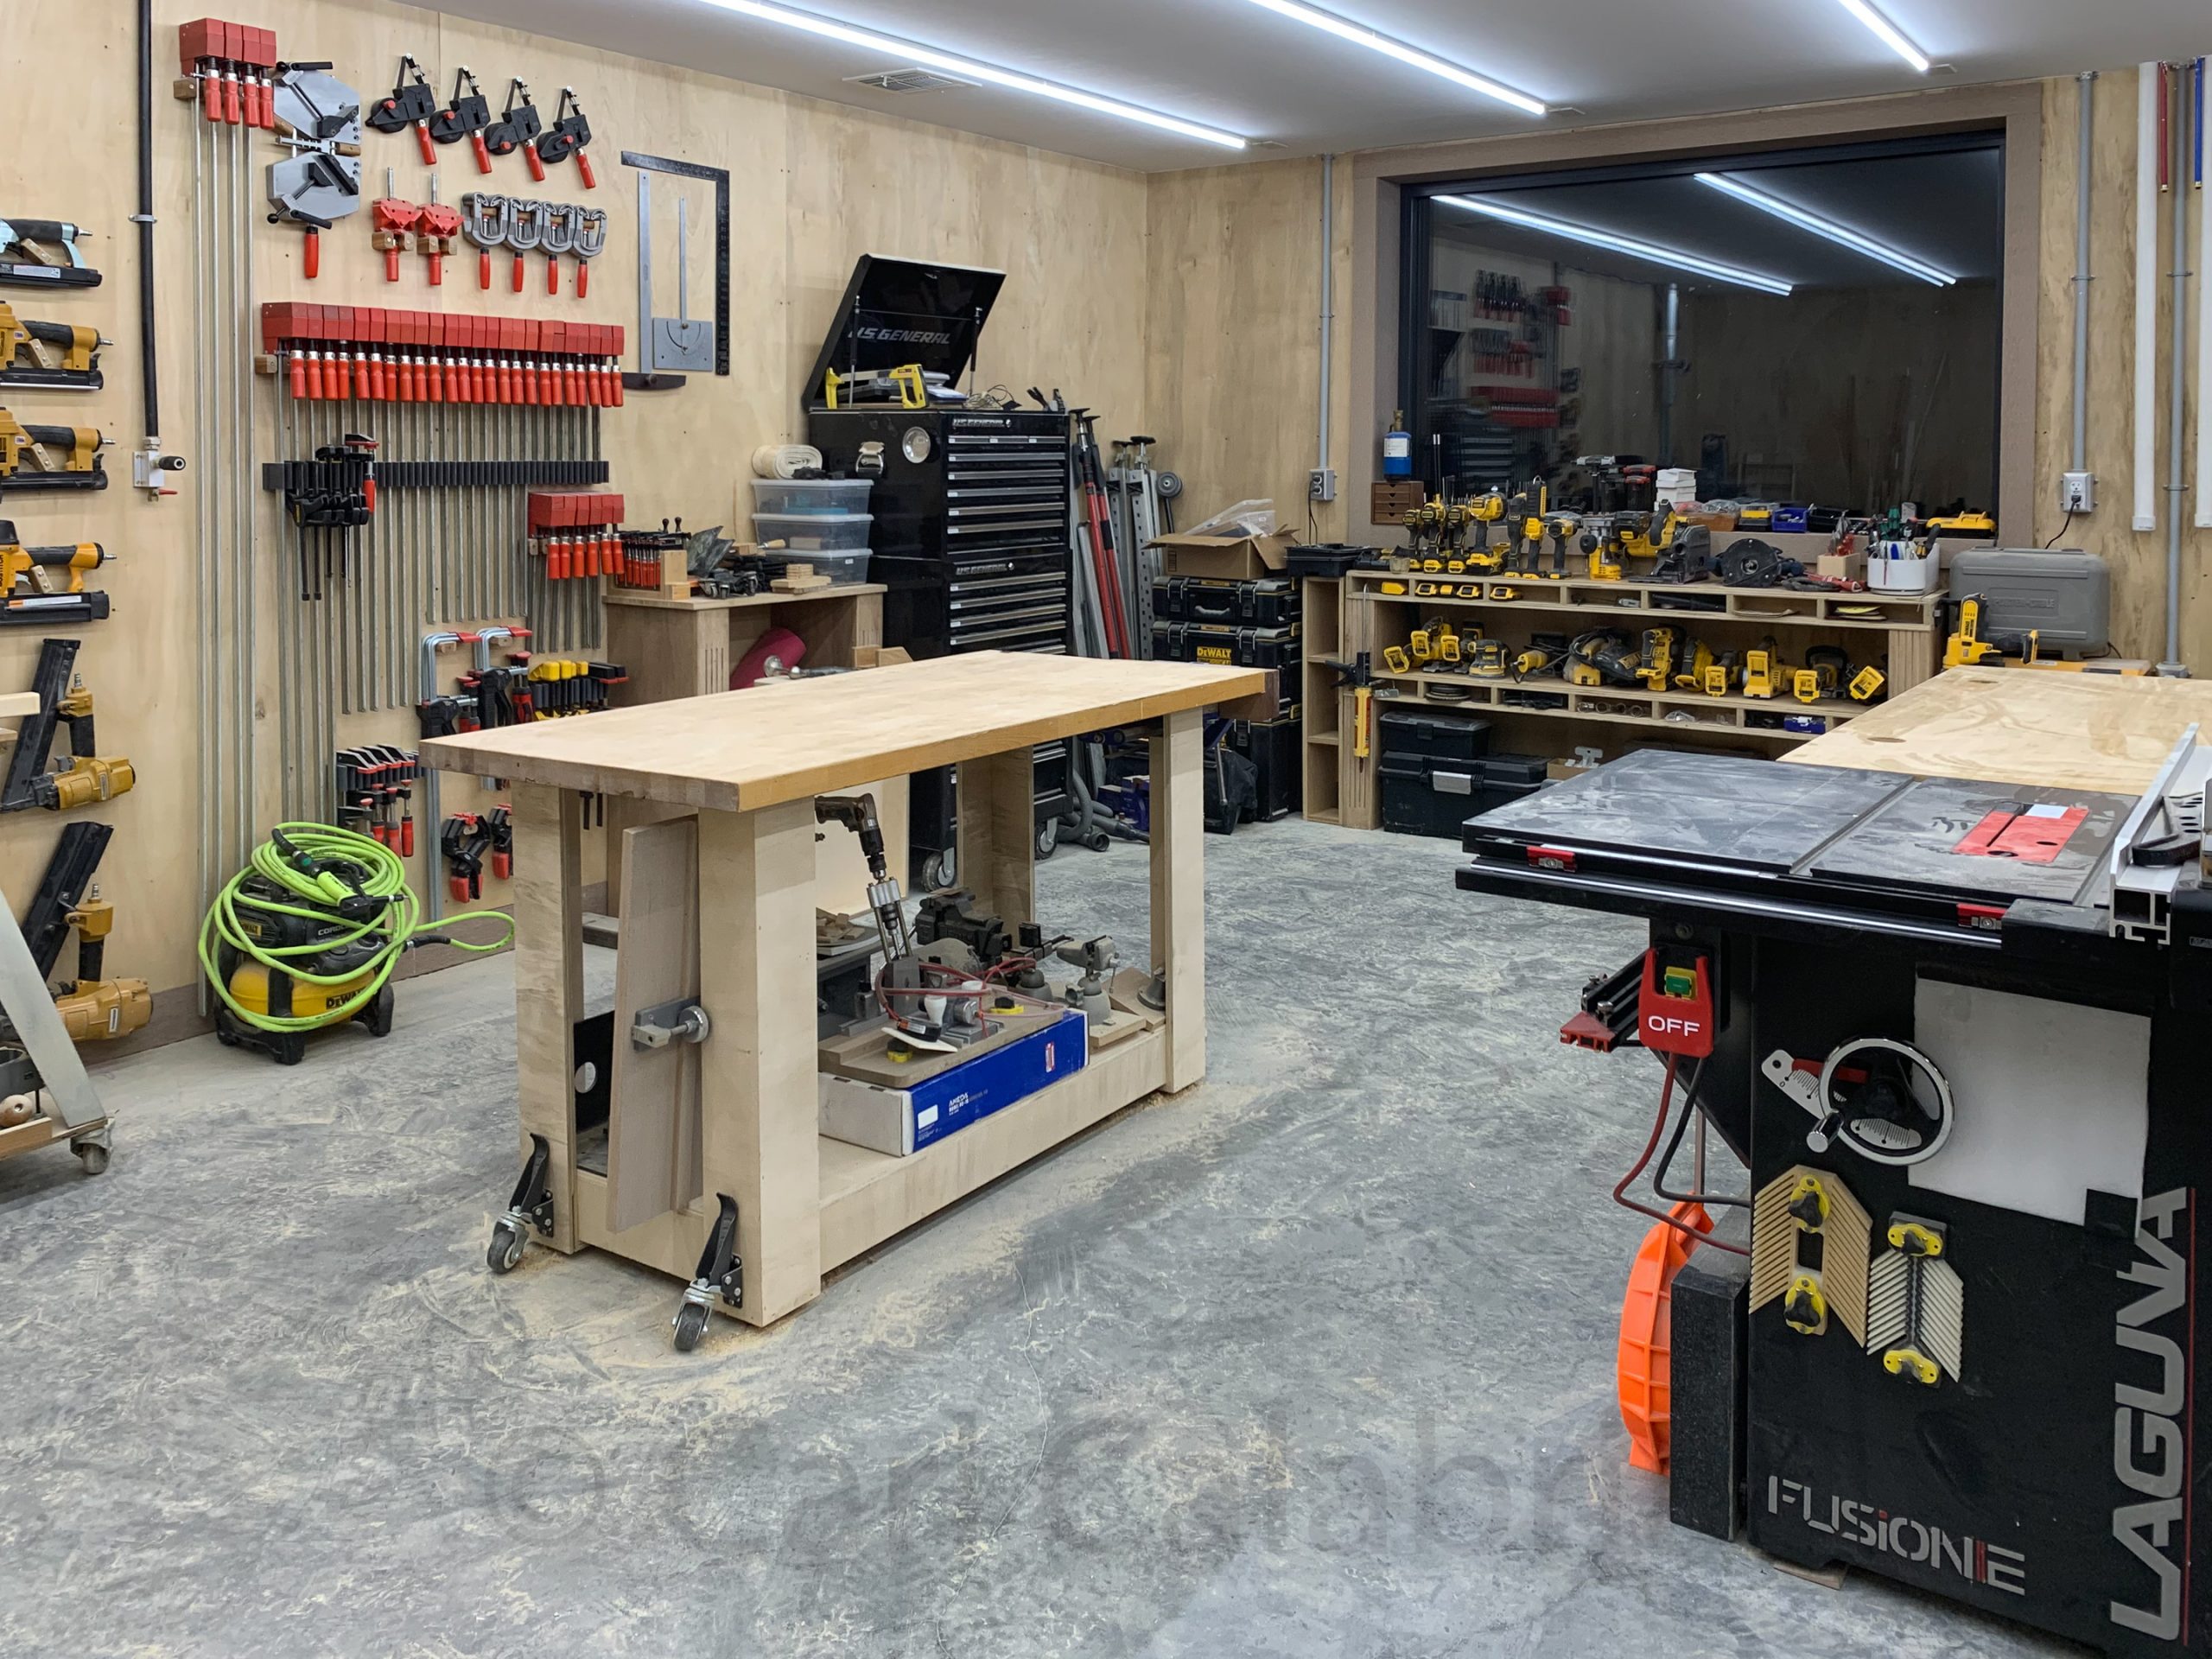
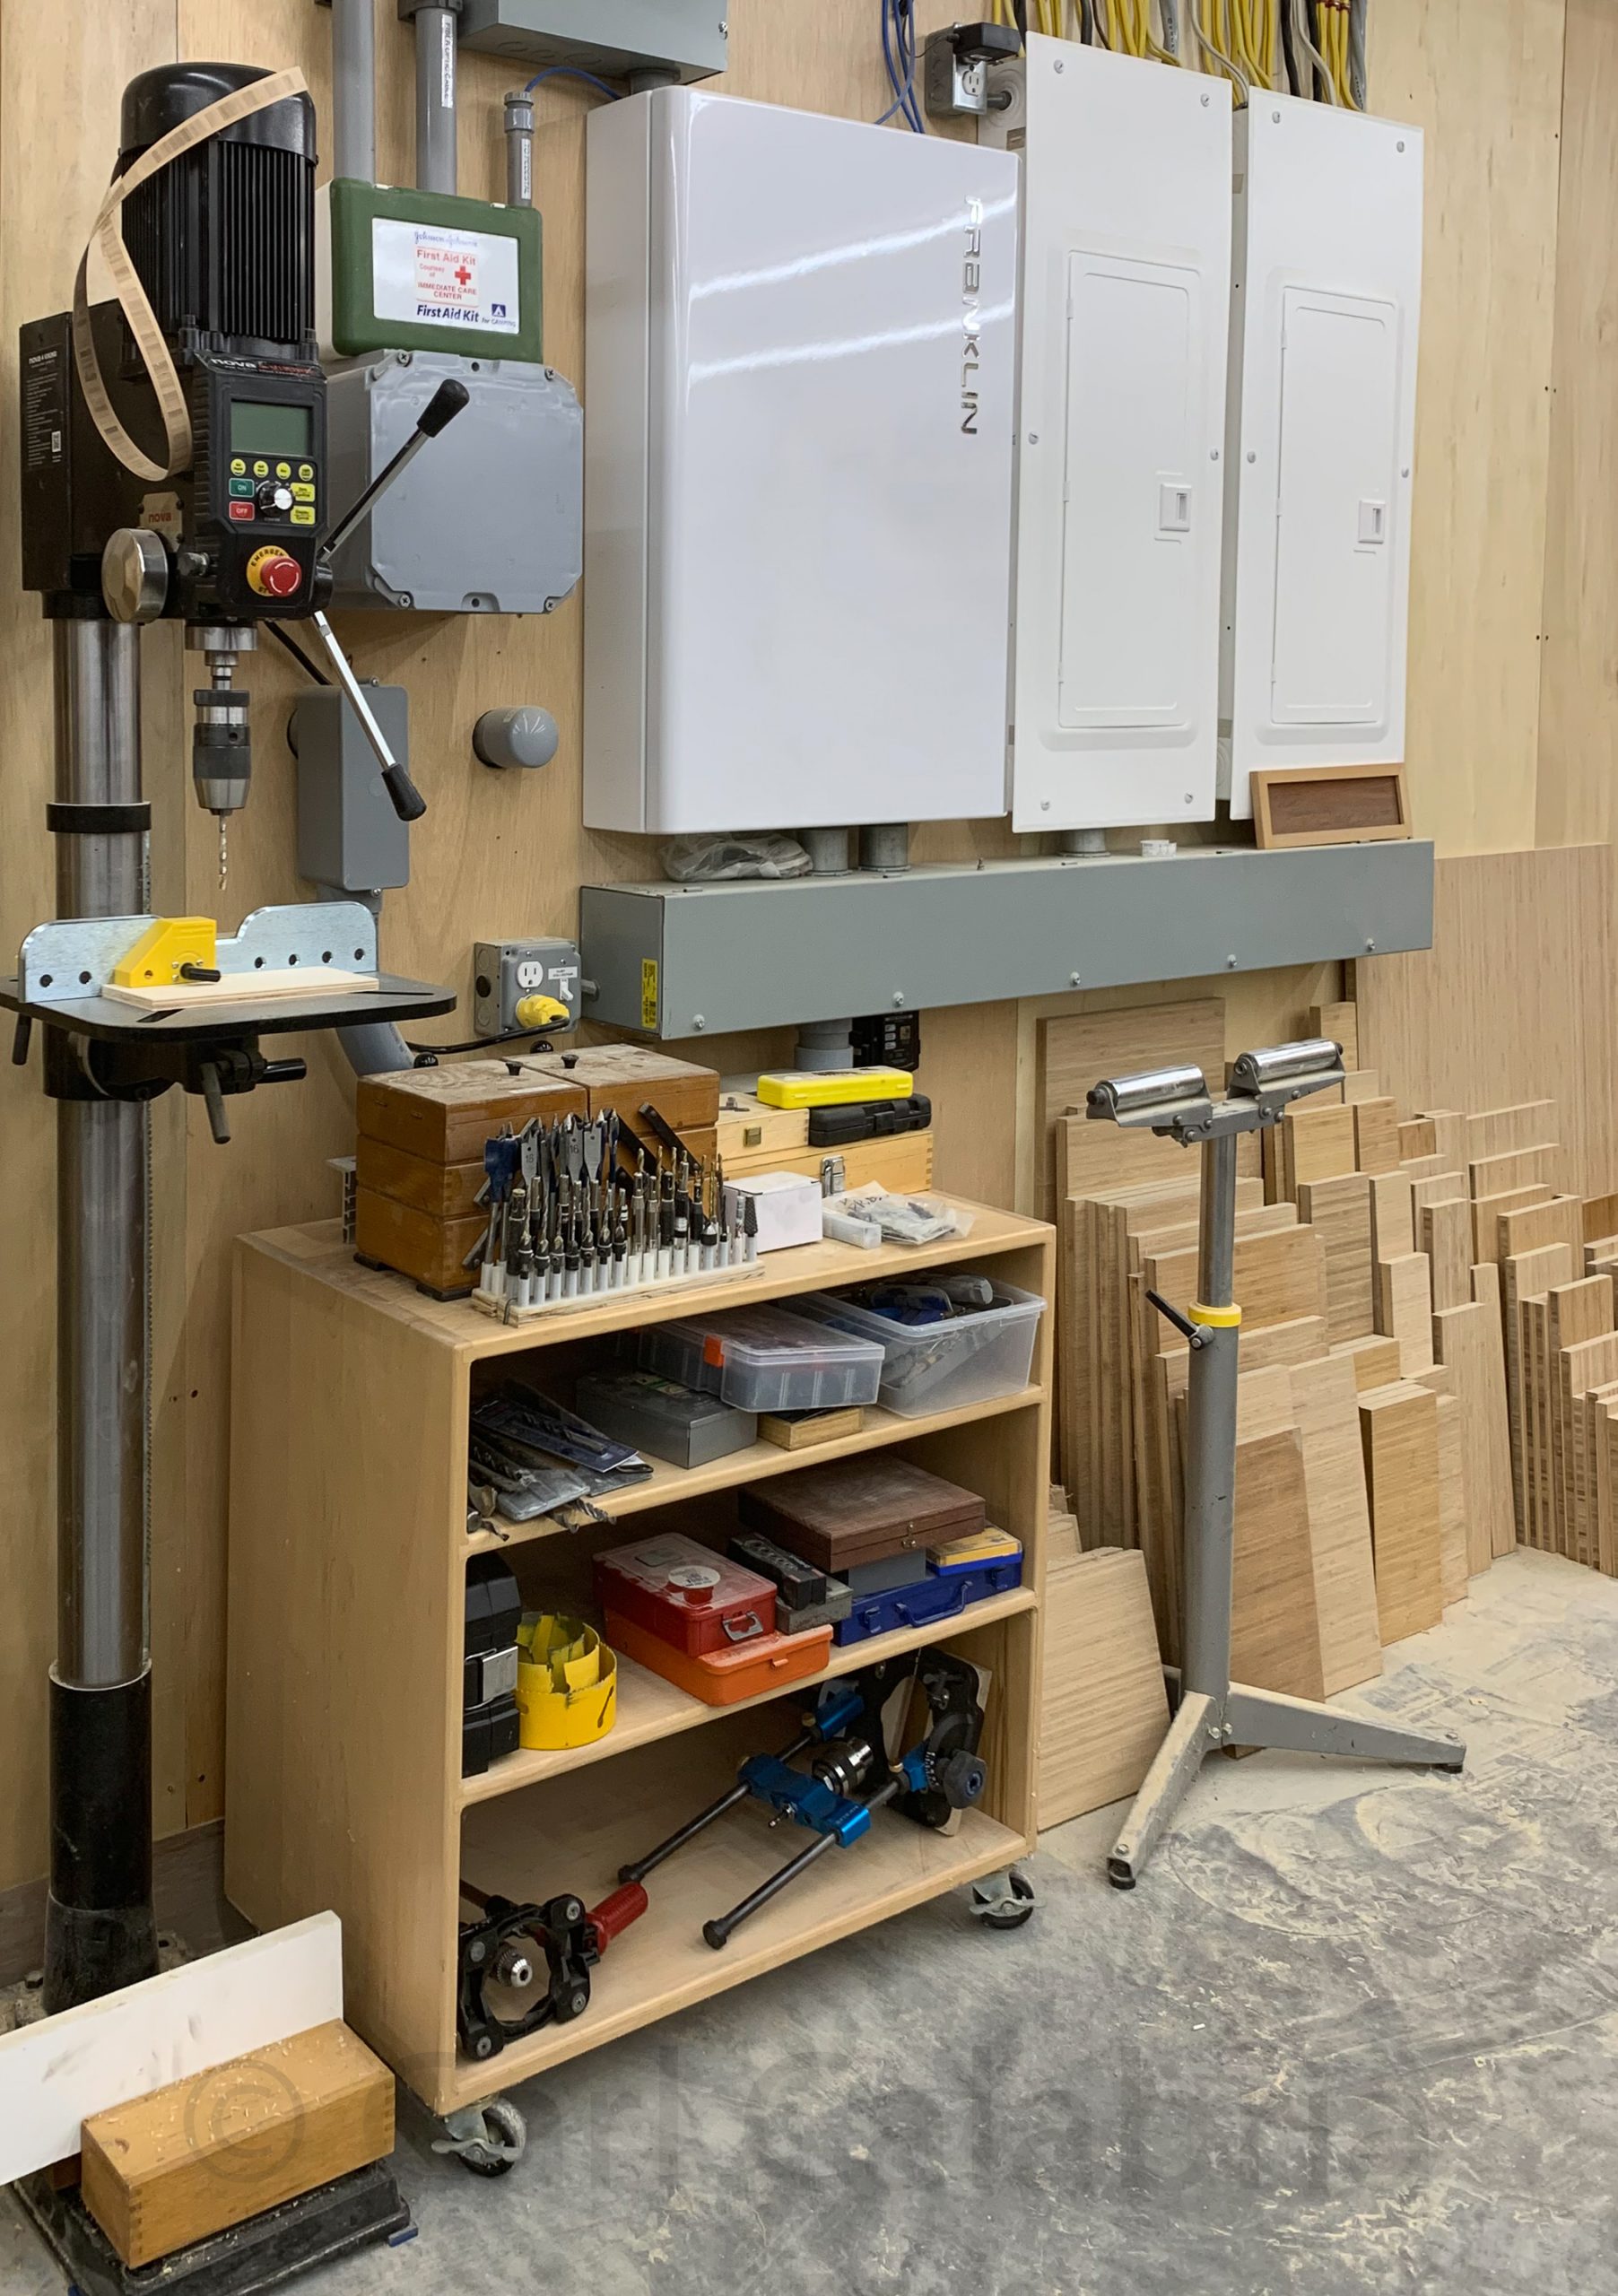
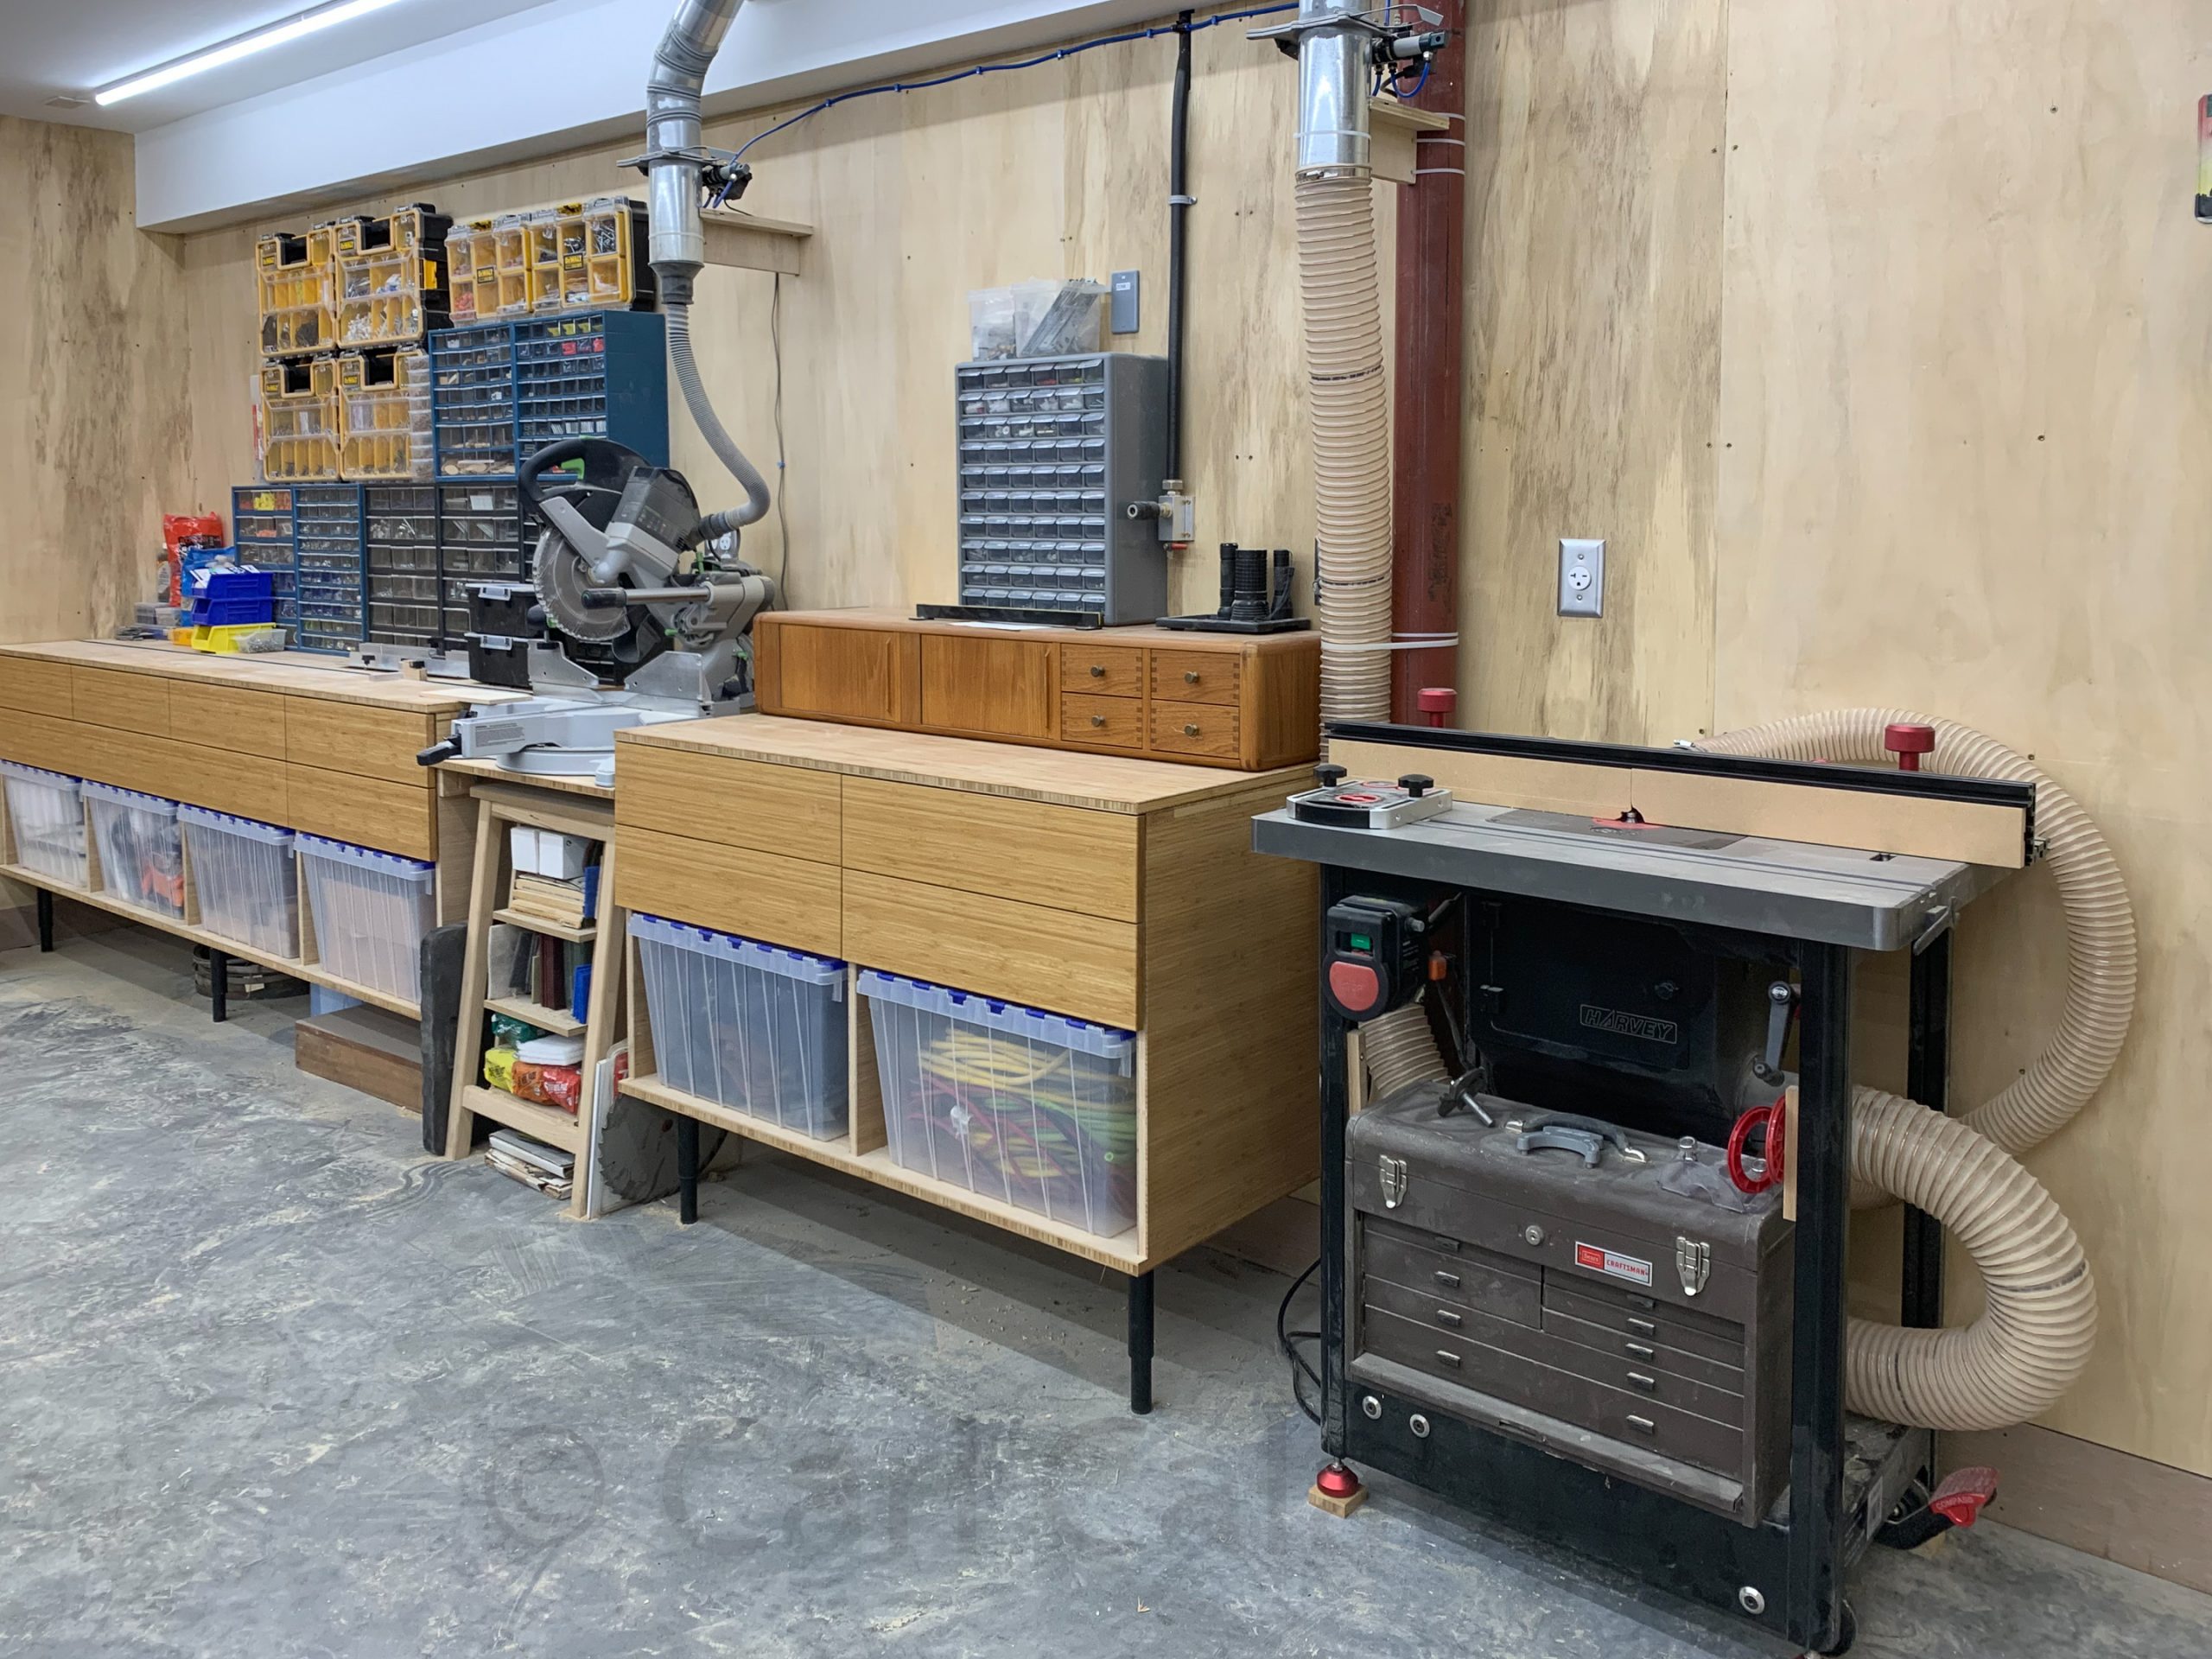
Shoptimization continued today. First, I moved my tablesaw and jointer/planer 6 inches to the east. This small change permits me to machine 10-foot long stock which was not possible before. Second, I built a set of shelves for my cordless tools that are now located under the picture window. Moving them from their previous location also opens up the space where I plan to install a sink one day. Third, I consolidate all my tools on the north wall of the shop where they are close at hand to my assembly tables. Fourth, I located my drill press on the east wall and repurposed a portable shelving unit I made for my old shop for drill bits and accesories. When all was said and done, I moved every last thing in my shop except the bandsaw and miter saw. I am very happy with the final layout and do not plan to make any future changes.
The remaining bamboo plywood needed to complete the stair railing for the River House is scheduled to arrive tomorrow and I found myself with a free day. I decided to spend the time optimizing my shop, a process I call “shoptimization.” With six months under my belt, I had a very clear plan for the changes I wanted to make. First, I moved my router table to where the drill press used to be. I aligned the table height with that of the miter saw to take advantage of a free outfeed table. Second, I moved my “harware store” (small part cabinets with all manner of screws, nuts and bolts, etc.) from the north wall to the south wall. This freed up some prime real estate where I will locate more frequently accessed tools. Third, I moved my sanding station from next to the outside door to the corner where the router table used to be. This location allows me better access to the machine and is already plumbed for dust collection. Tomorrow, I will figure out where to locate the displaced drill press.
This website is dedicated to sharing, with family and friends, the day-to-day adventures of the Calabria family.