
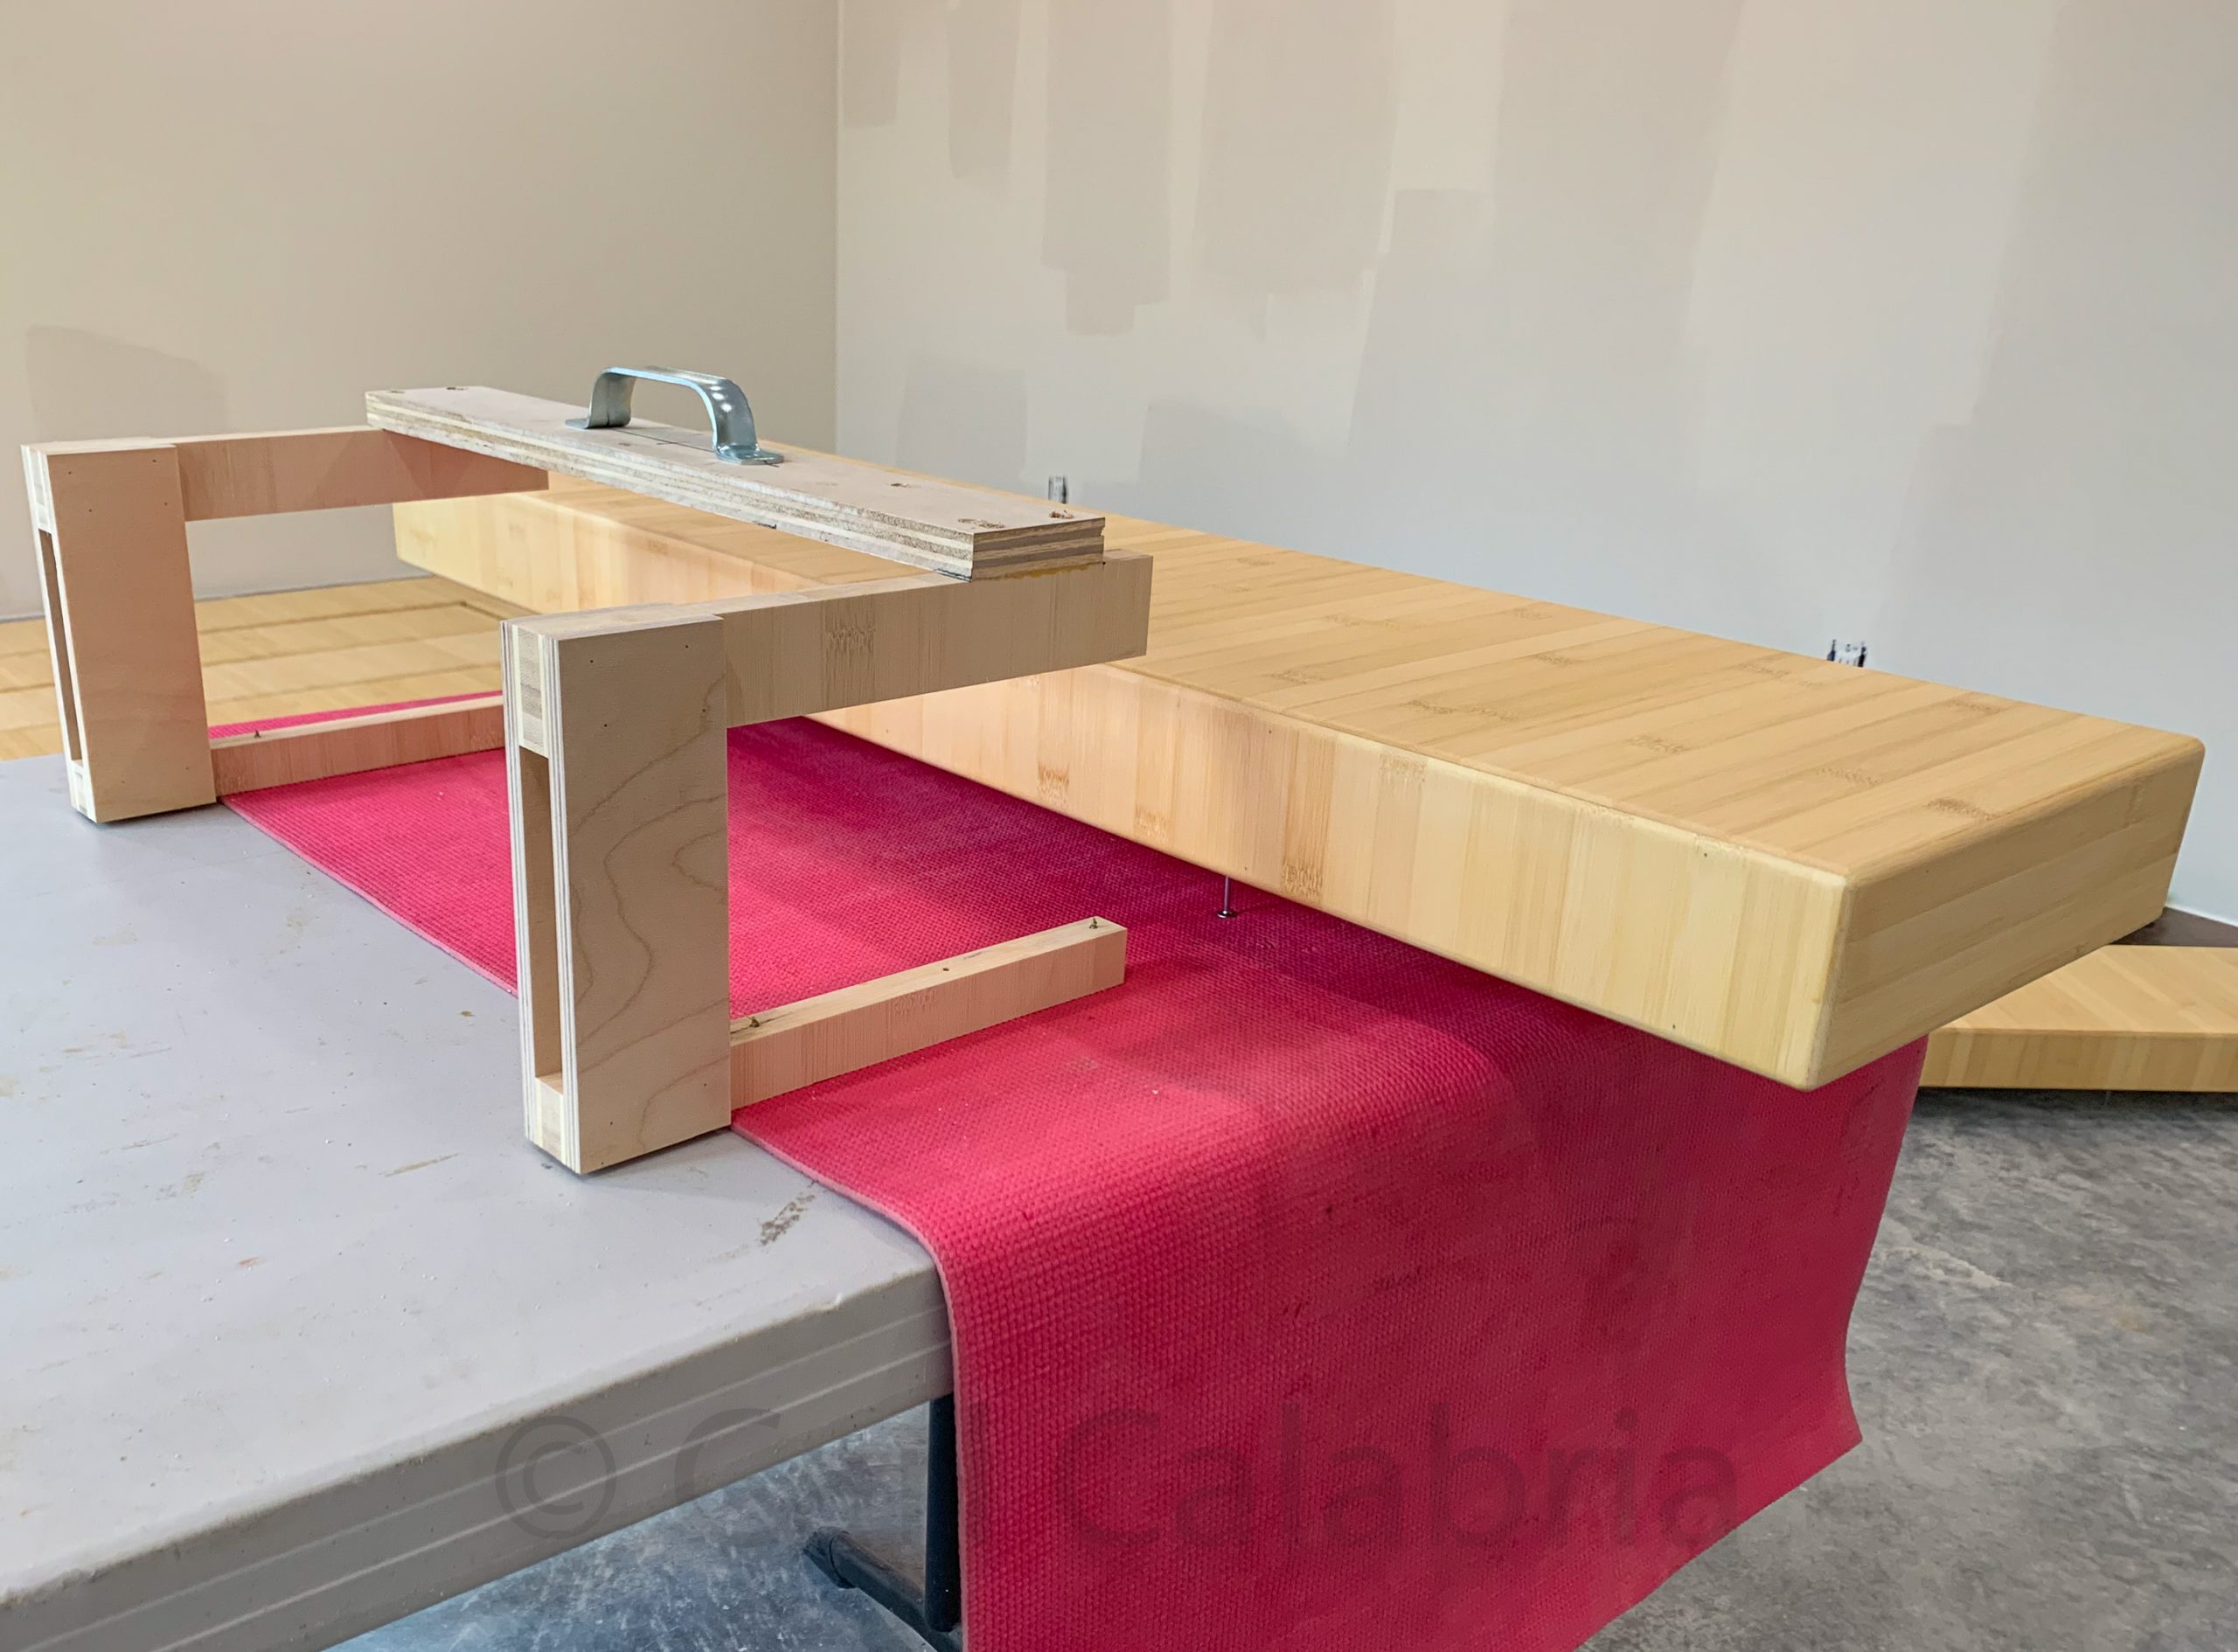
Pictured to the left of the stair tread in the photo below is a tool I fashioned to facilitate the movement of treads when wet with finish on all sides. I rather like the whole system I developed for finishing the treads of which we need 29 plus a spare. Before starting, I screwed 4 long screws into the bottom of each tread in a location that will be covered by the stair stringers. These act as feet. The tread is placed feet up as the finish is applied to the bottom. It is then flipped over onto the feet and the finish is applied to the top and sides. Now the entire tread is wet with finish and must be moved to a drying area so the next tread can be processed. The “U” shaped jig has four screw points emerging from the bottom leg. It is slid under the tread and lifted by the handle which captures the tread on top of the screw points. It can now be moved to an open area on the floor where it is set down to dry.
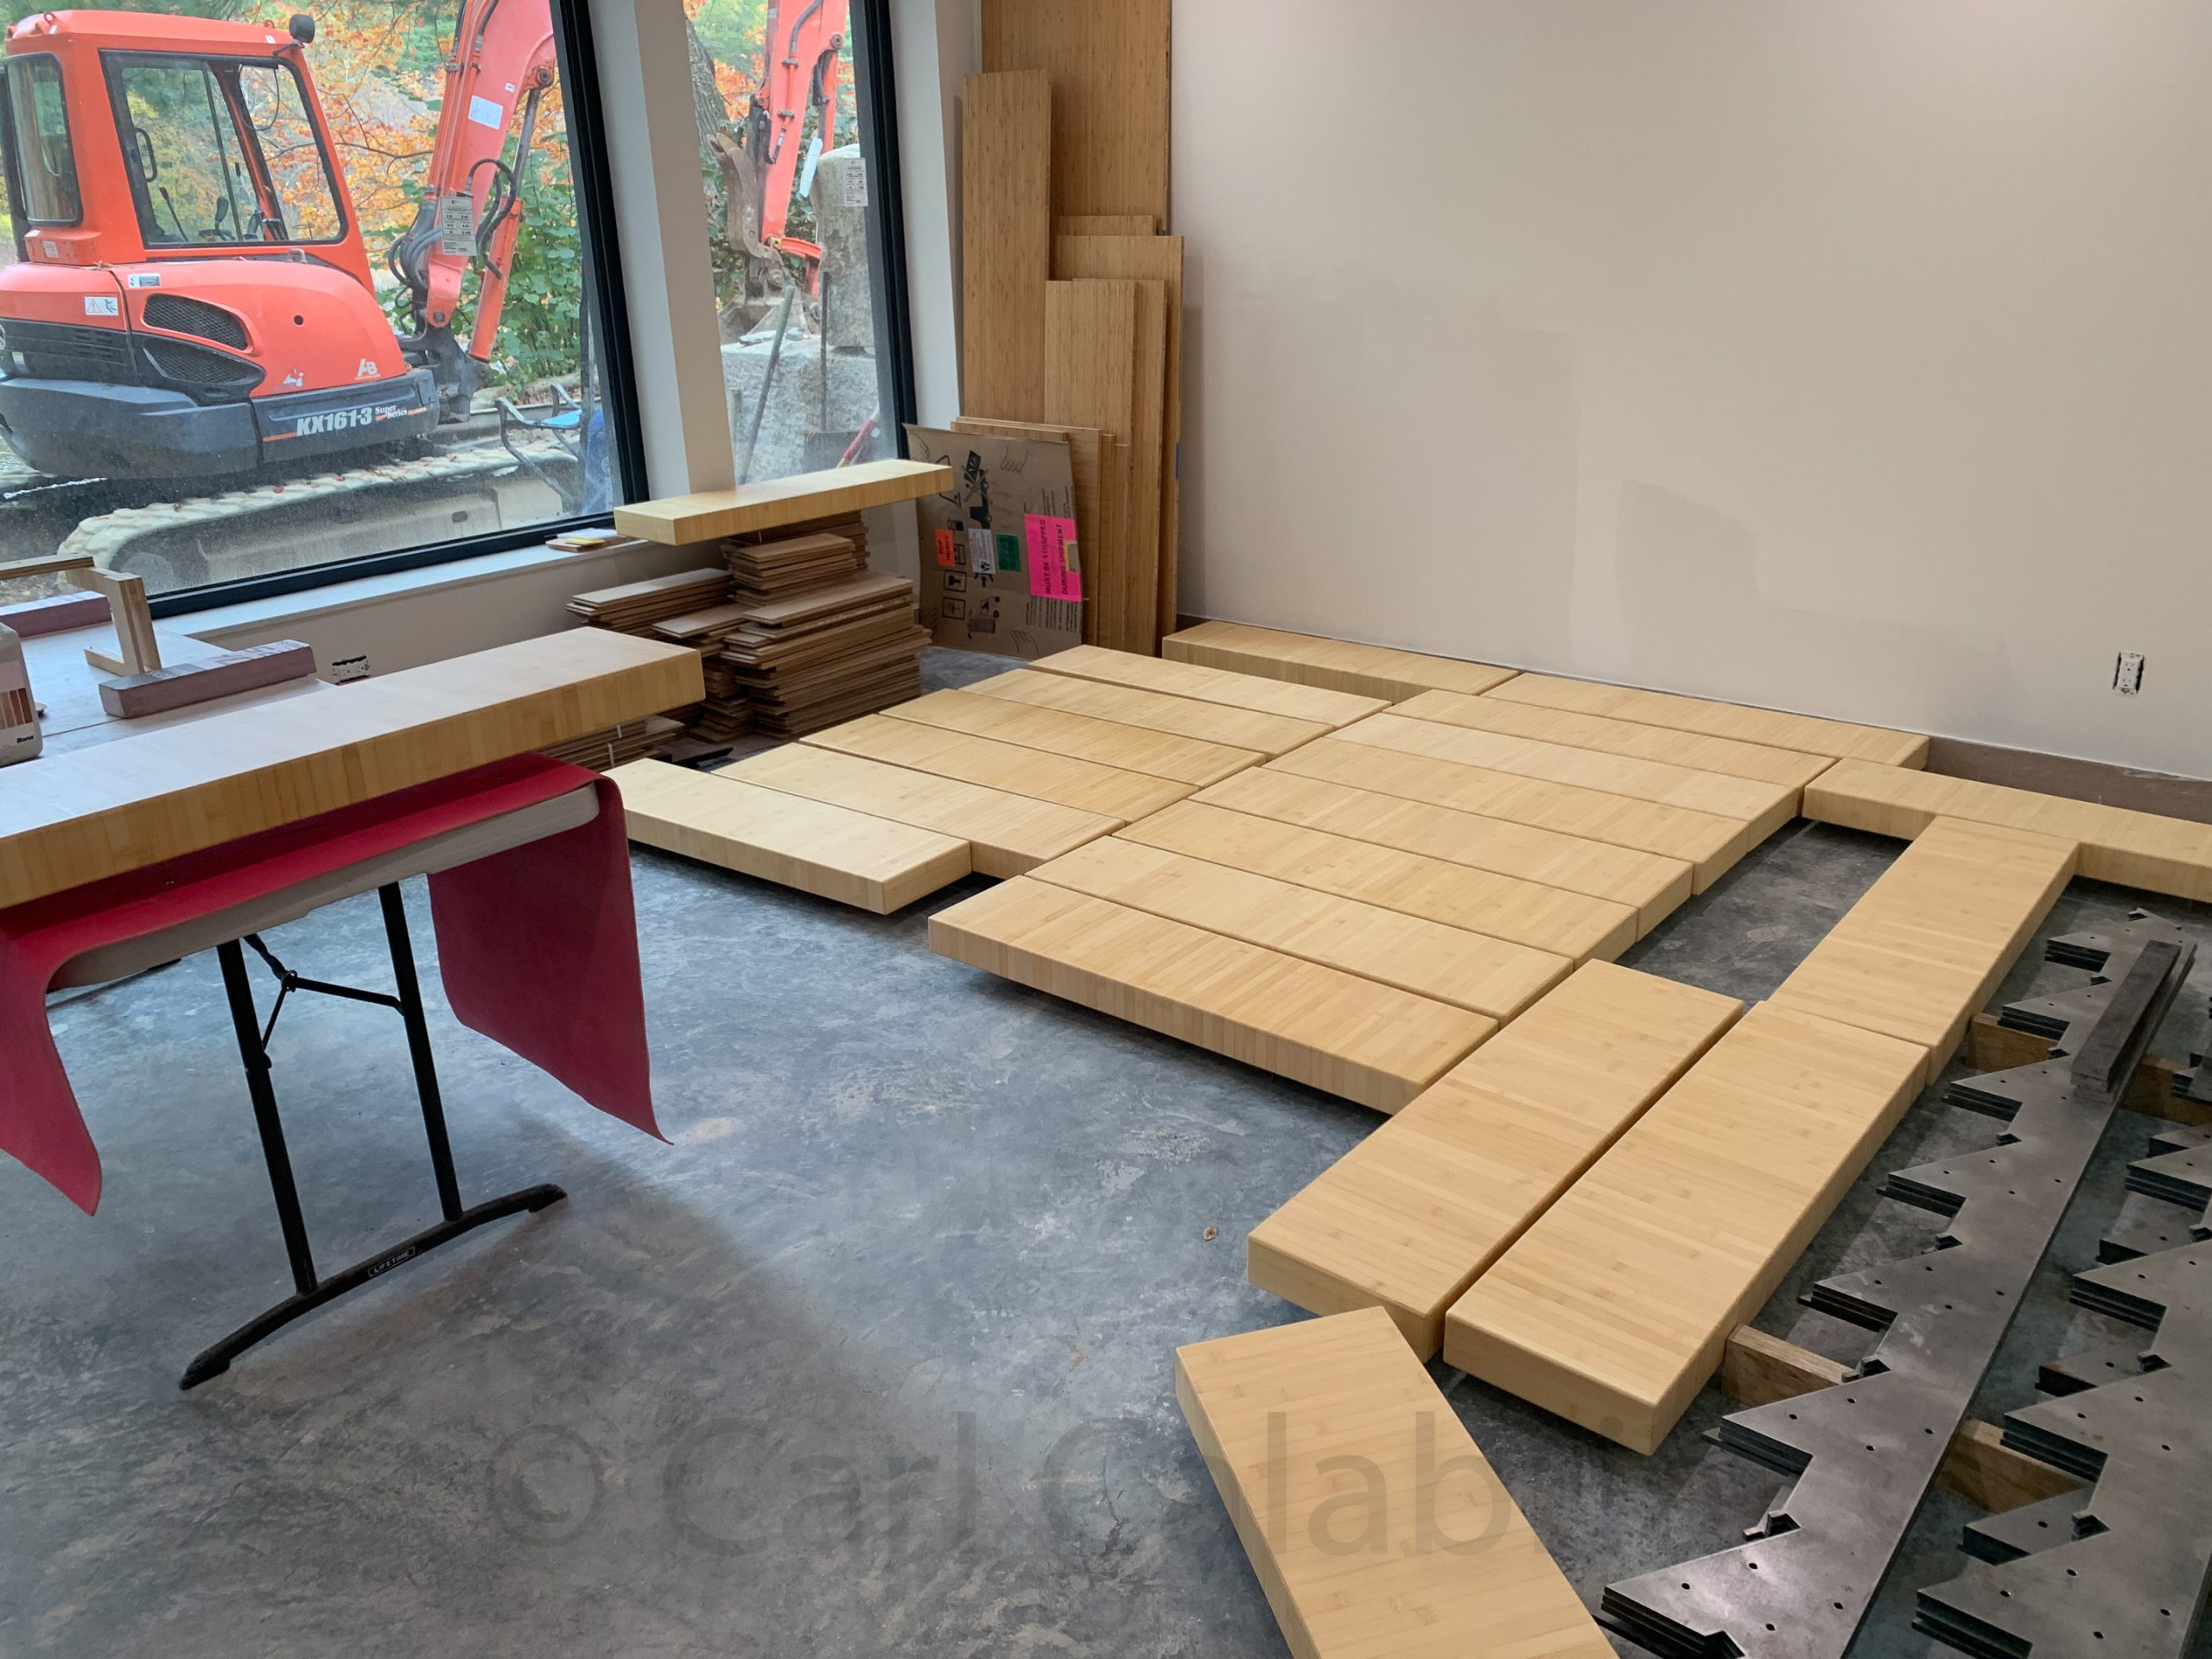
Working with Nicolai, we applied a sealer coat to all 30 stair treads over a few hours. We ran out of floor space in the room we were working and the balance had to be set in another area of the basement. Two more top coats of a protective finish will complete the treads. Pictured on the right are the stair stringers I designed and had laser cut from steel. They need to be finished as well, but that is a job for another day.