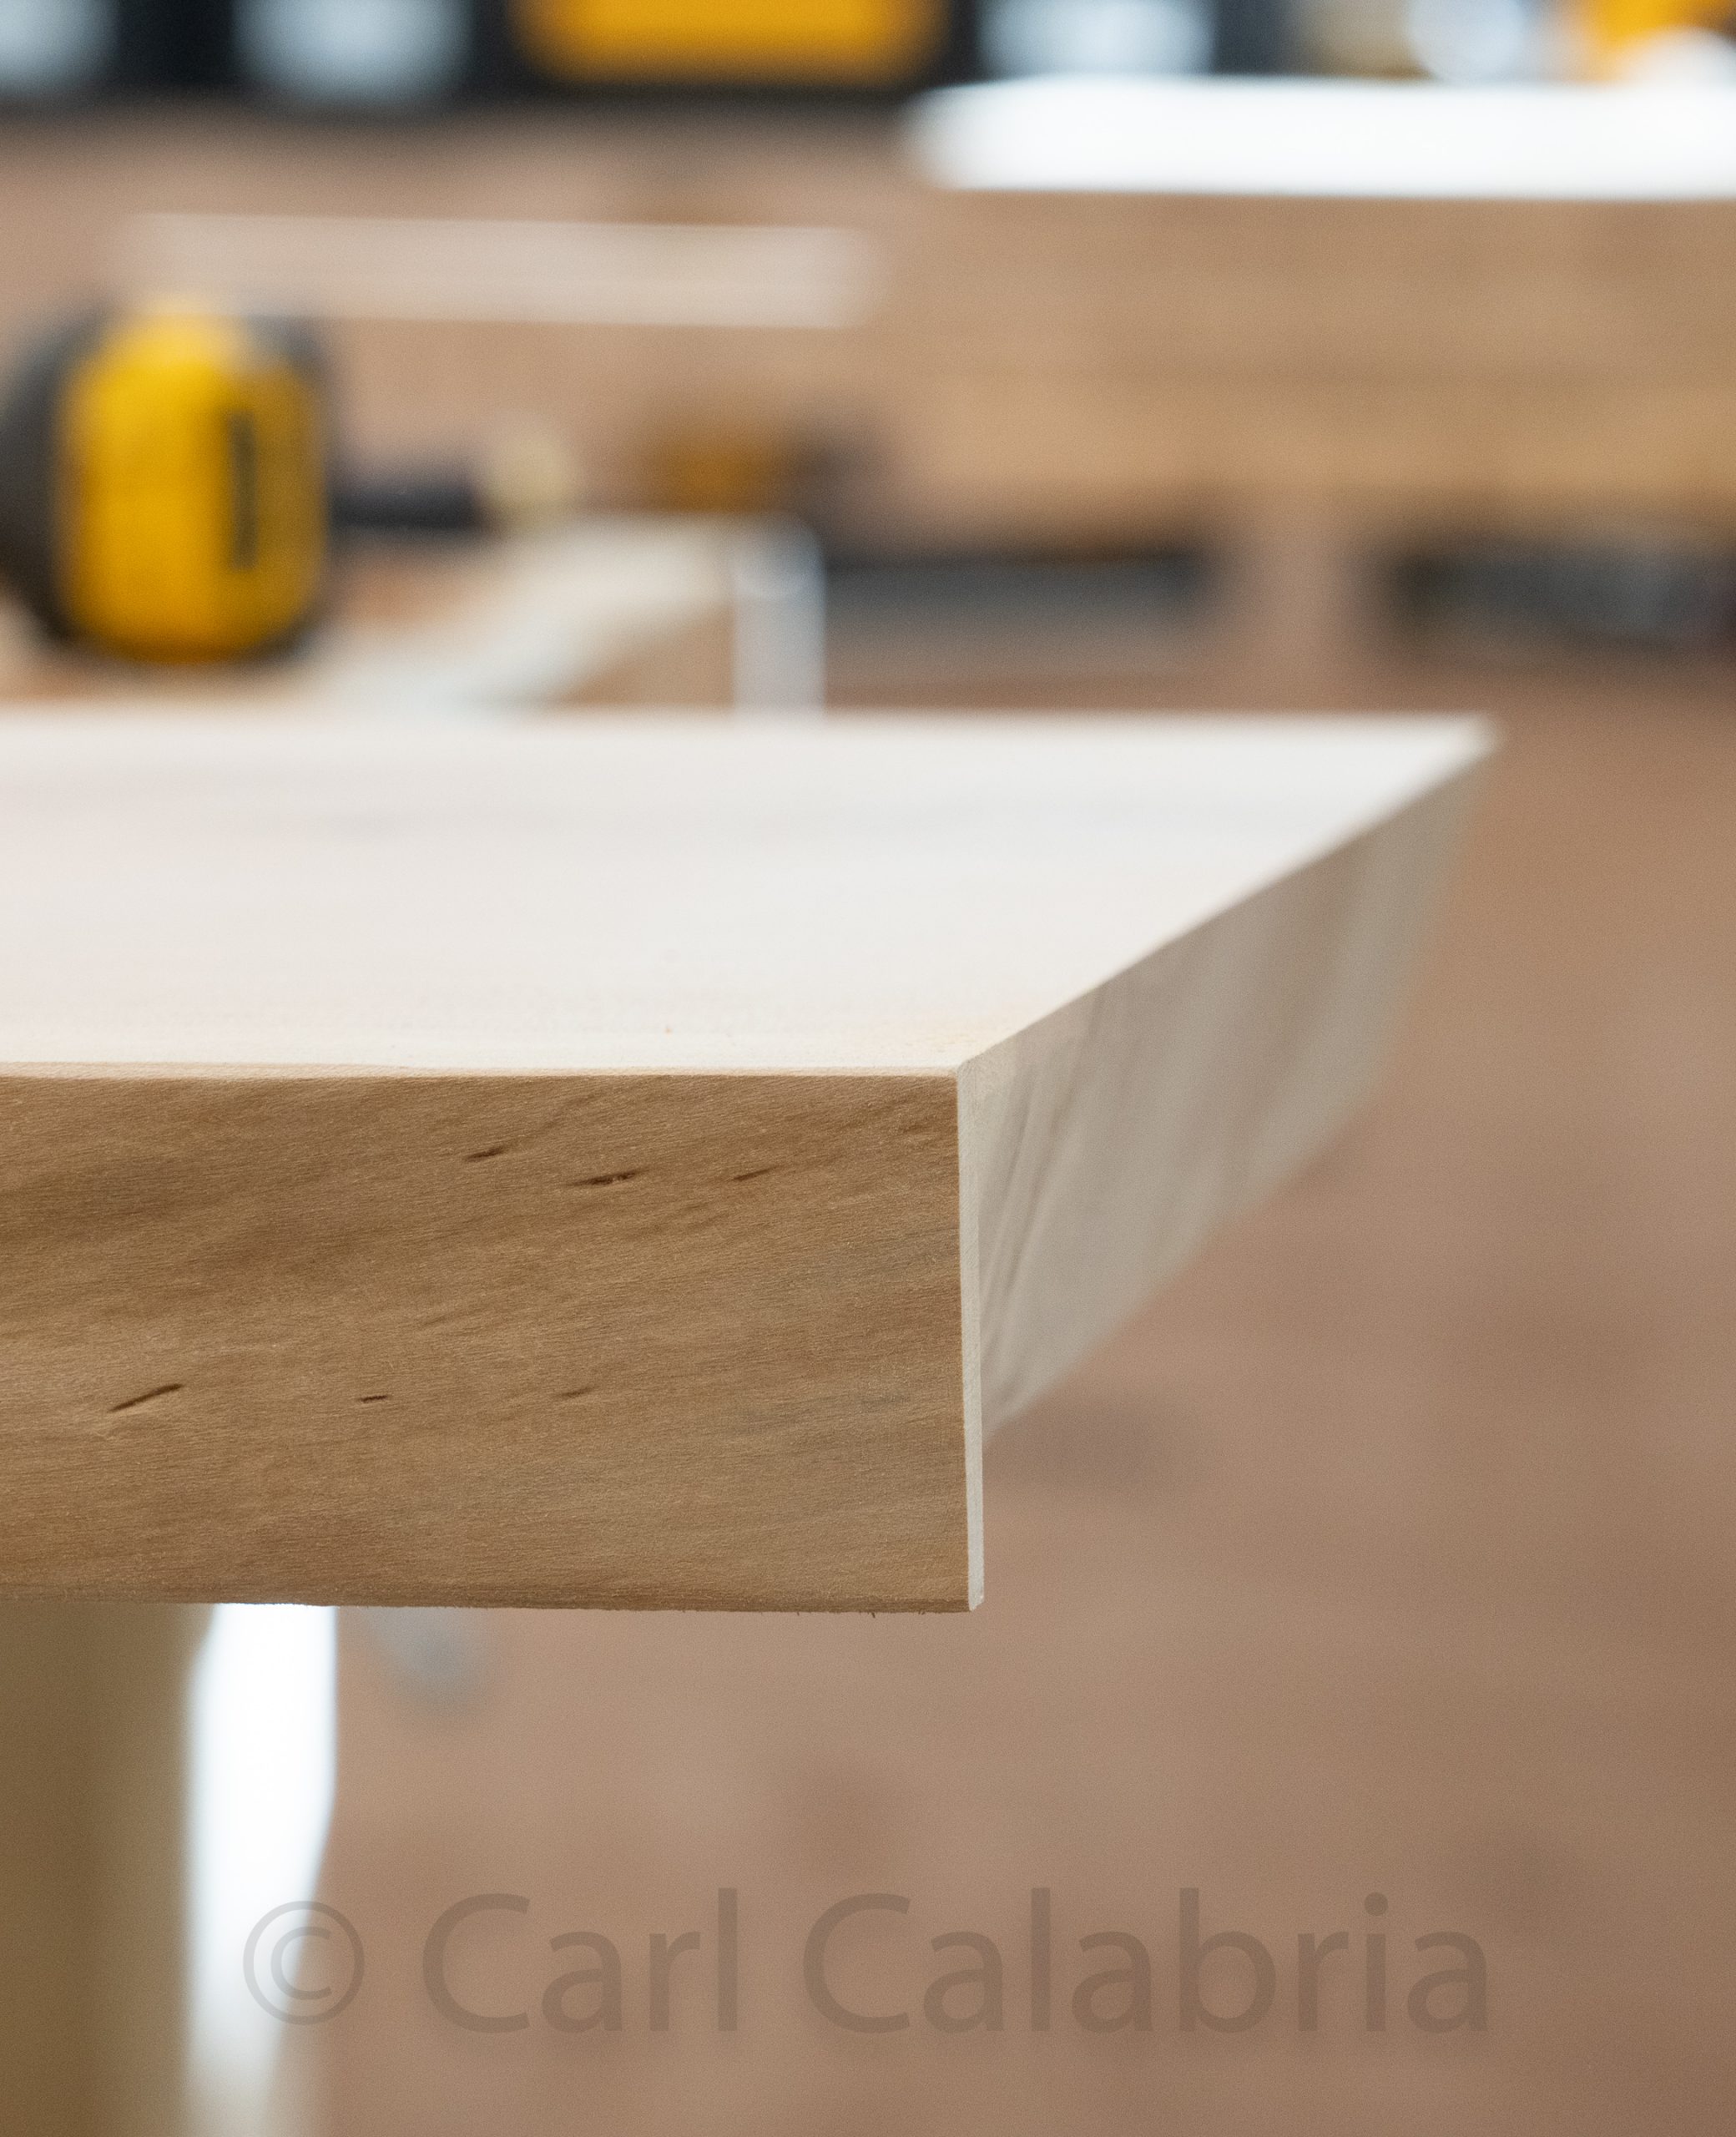
The Rive House will have a floating tread staircase with 29 stairs in total. Building codes require that a ball of 4 inches in diameter cannot pass through any opening in a stairway. With a step-to-step height of 7 inches that means that the tread thickness must be greater than 3 inches. A solid wood slab of this size and 42 inches in length would be prohibitively expensive. Off-the-shelf engineered treads in any decent species of wood run between $300-$400 per tread. I have decided to build our treads from bamboo plywood and constructed the quarter-length prototype pictured above to work out all the construction and assembly details. I really like the result and Jeanine gave her thumbs up as well. The bamboo cost will be $100 per tread so we will enjoy considerable savings as well.
A pin nailer sets a 23 gauge headless nail (pin) in wood. For the last 30+ years, I have been using a model made by Senco. I primarily use it to fasten face veneer to the edge of plywood during glue-ups to hold everything in position until I can apply clamping pressure. The pins are so small that they need not be filled later. This weekend, my Senco started spewing plastic guide bushing fragments rather than dispensing nails. I tried to locate a repair kit but had no luck with a nailer of this vintage. Pictured above is the unit I replaced it with which arrived today not a moment too soon. I really like the size and weight as well as the firing action. I will have to adjust to the double (safety) trigger. My old unit had a single trigger and would fire a nail indiscriminately whenever it was actuated whether into a piece of wood or through the air or into a body part. The new unit will do all of these things but only if you sequentially pull the first and then the second trigger. At first I found this annoying and started looking for some tape to bypass this feature. Upon further reflection, I decided the added margin of safety was worth the nuisance.
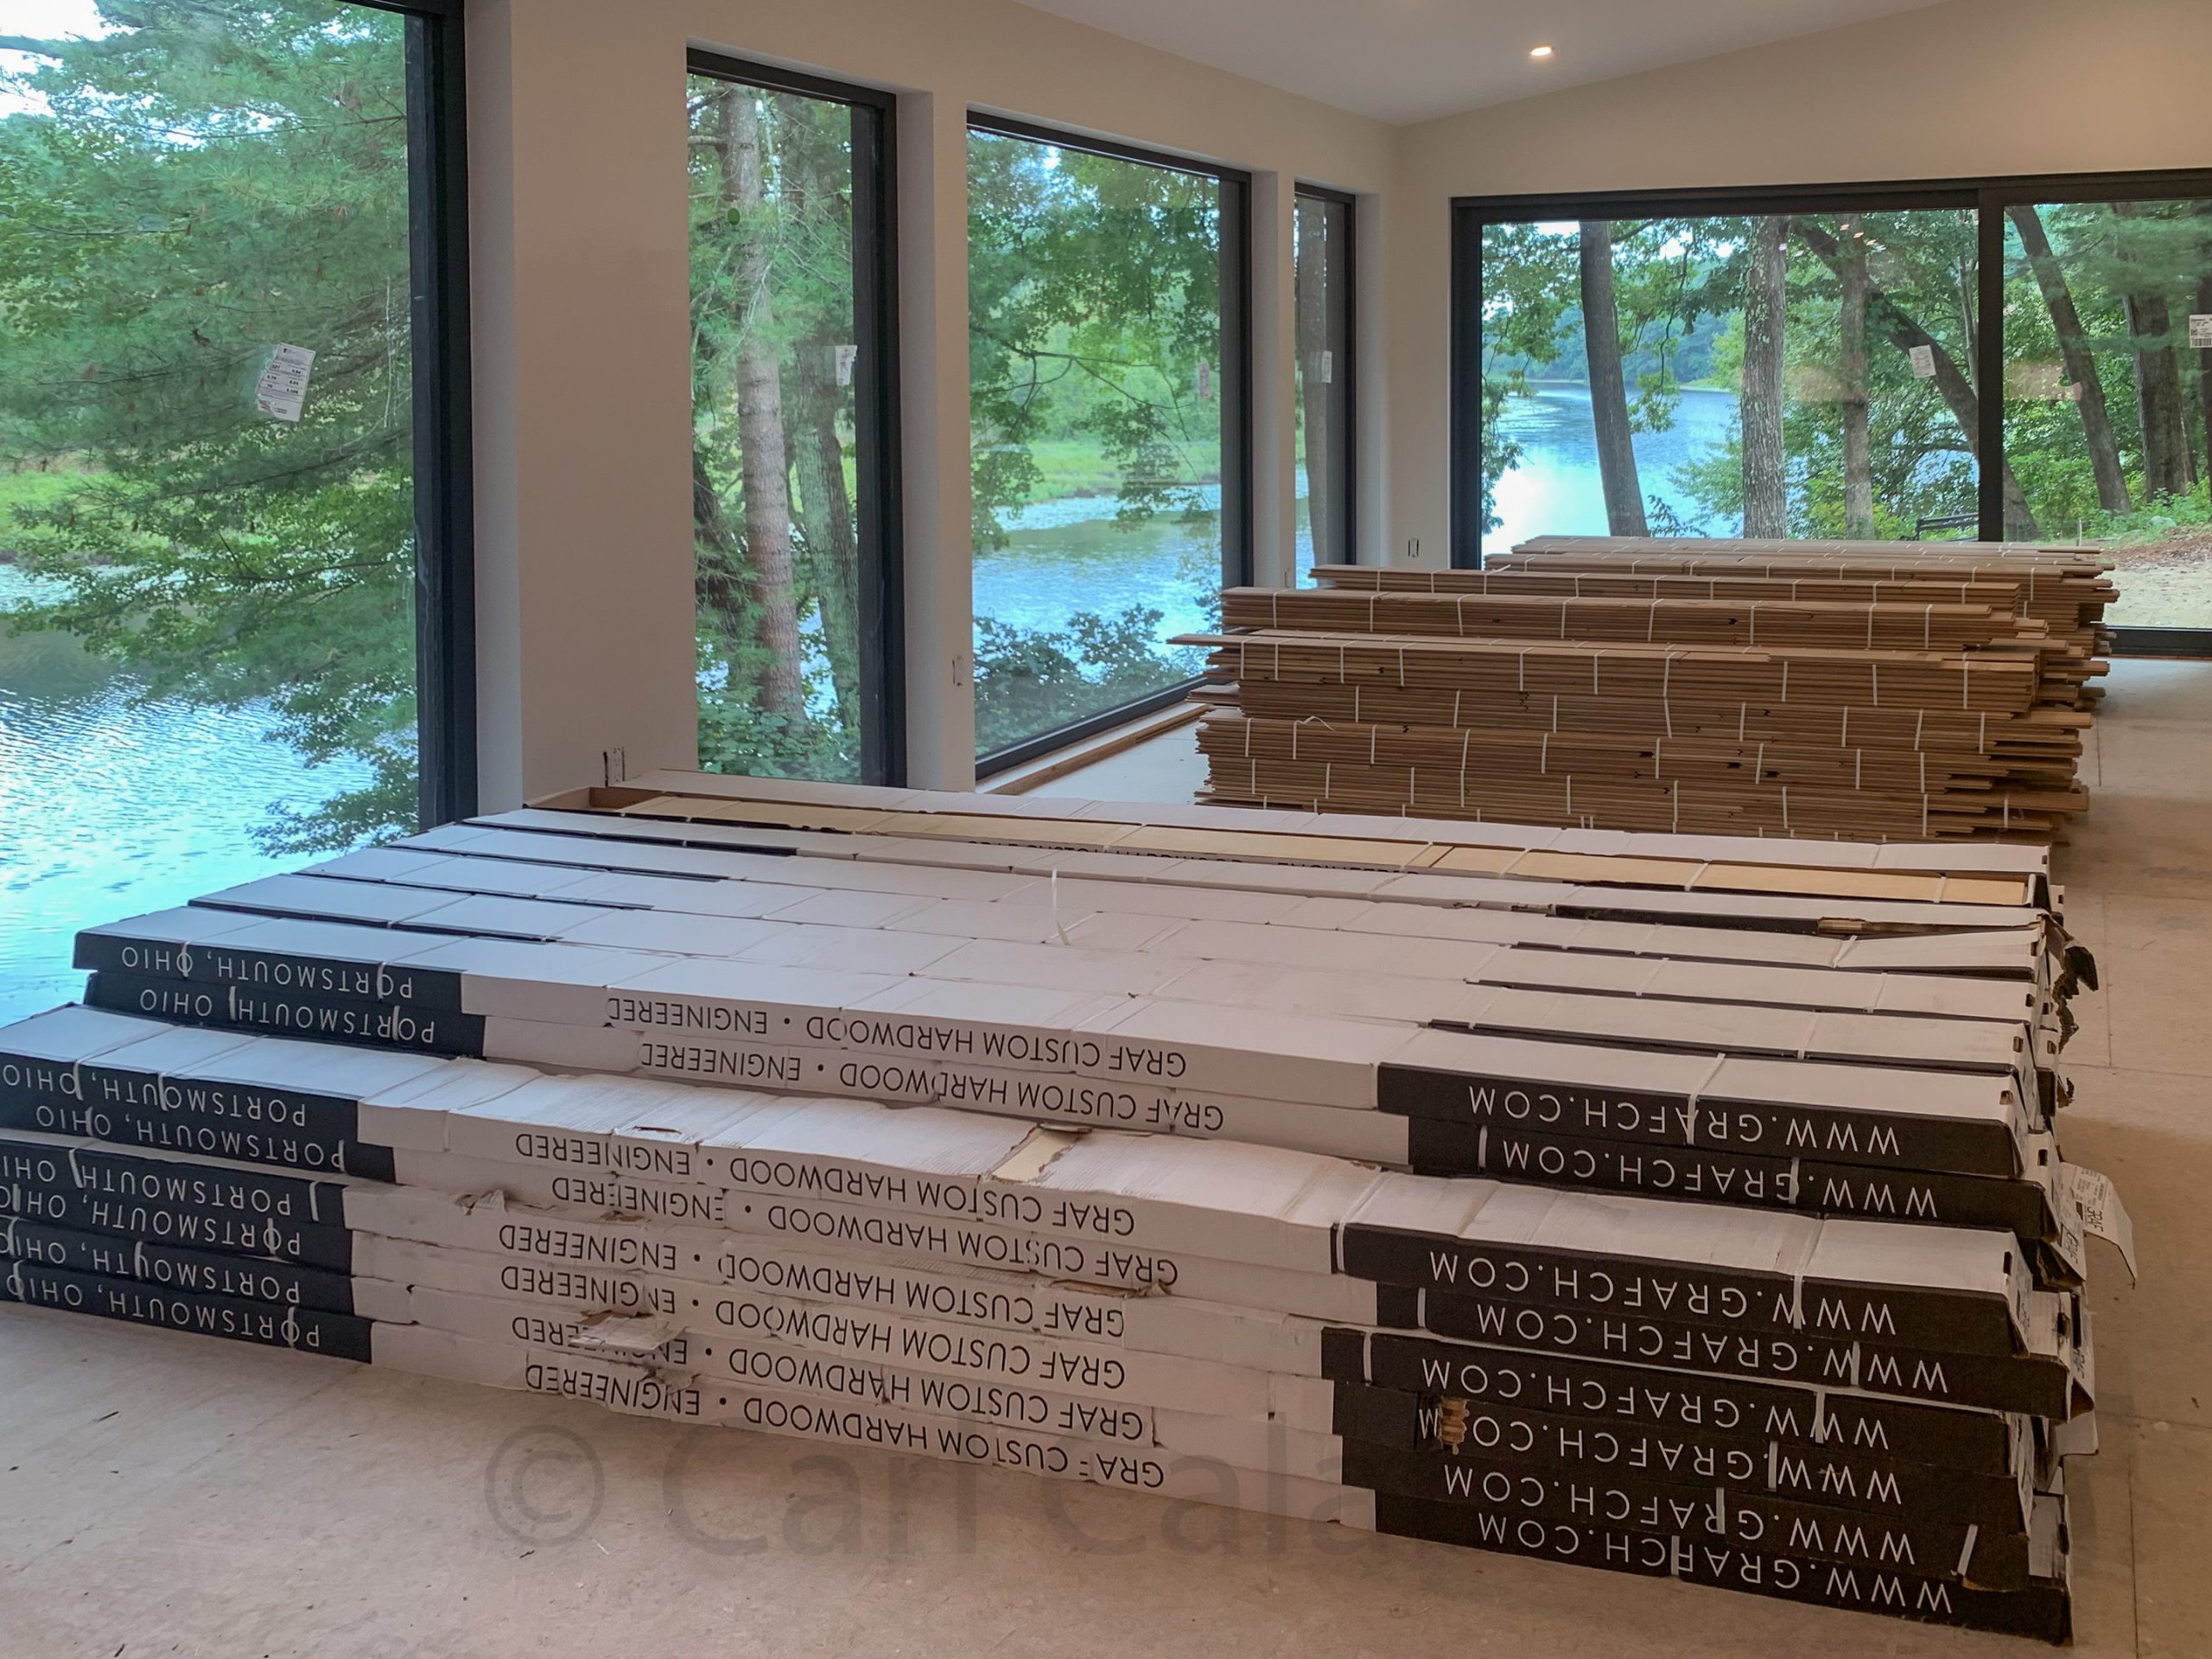
The River House will have white oak flooring throughout except for tiled areas and the basement. The great room will have 6″ wide engineered planks and the remainder of the house will be 5″ solid wood. All of this was delivered this morning and will acclimate to the humidity in the house for several days before it is installed.
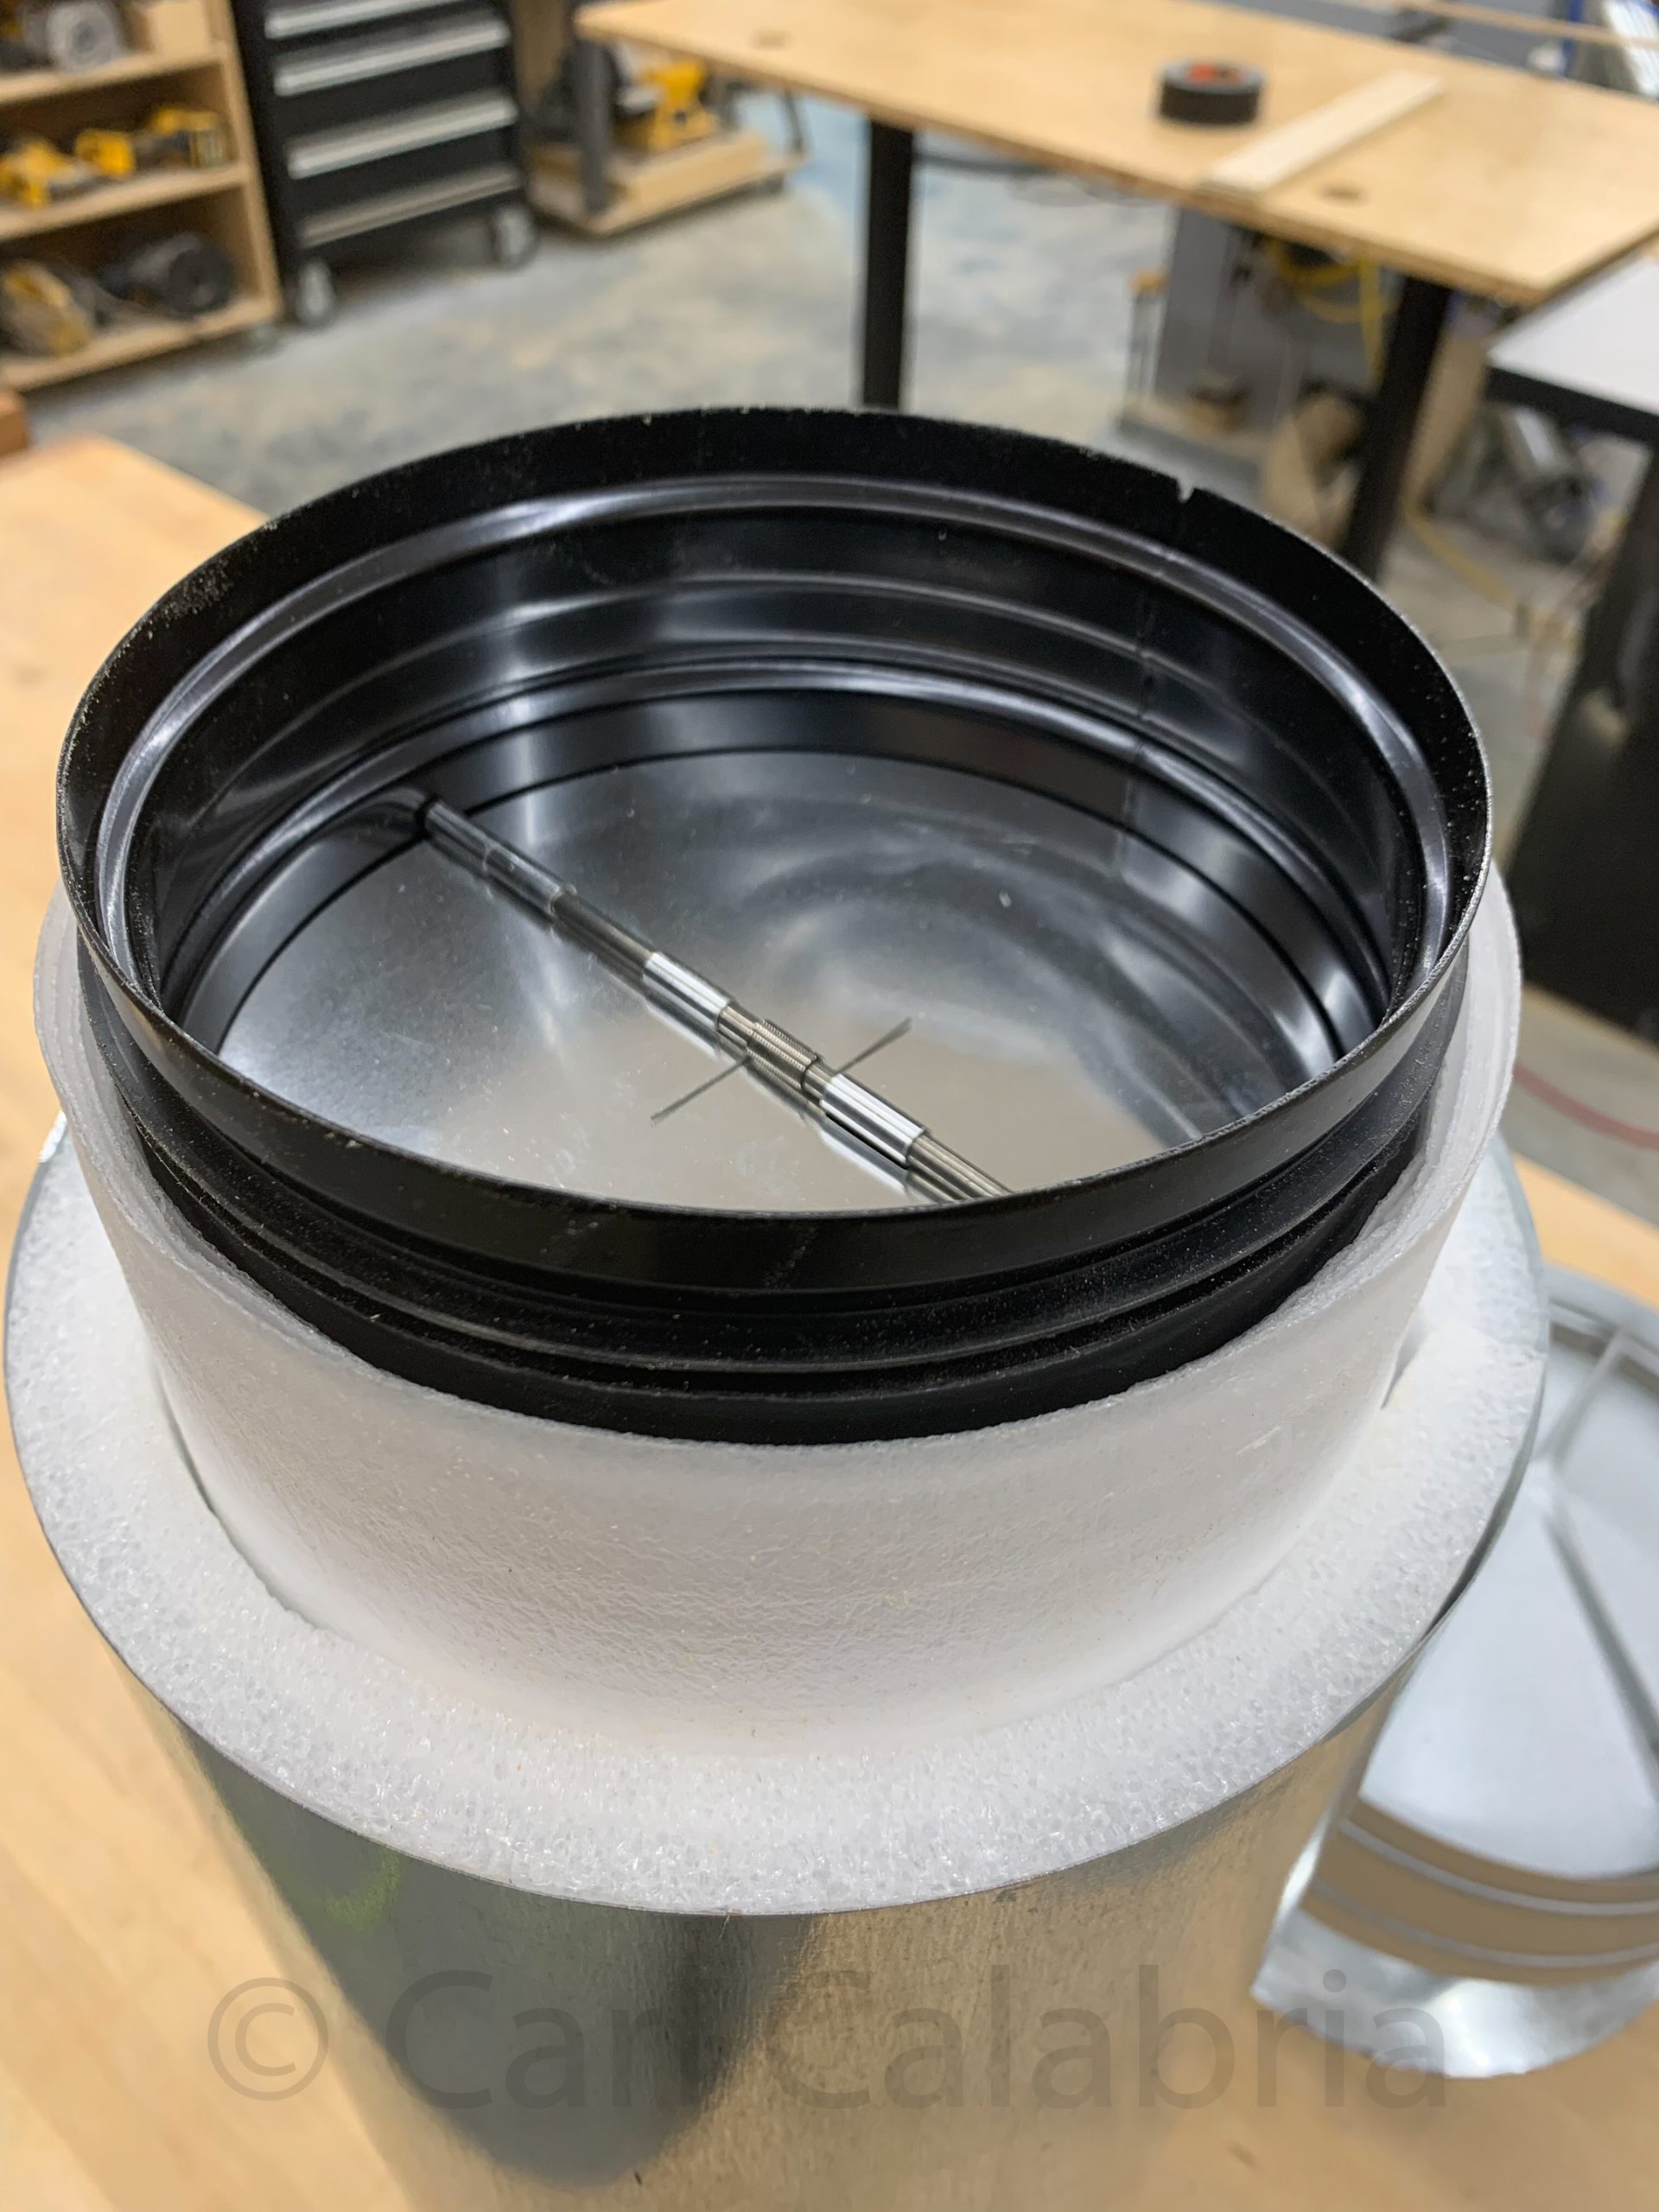
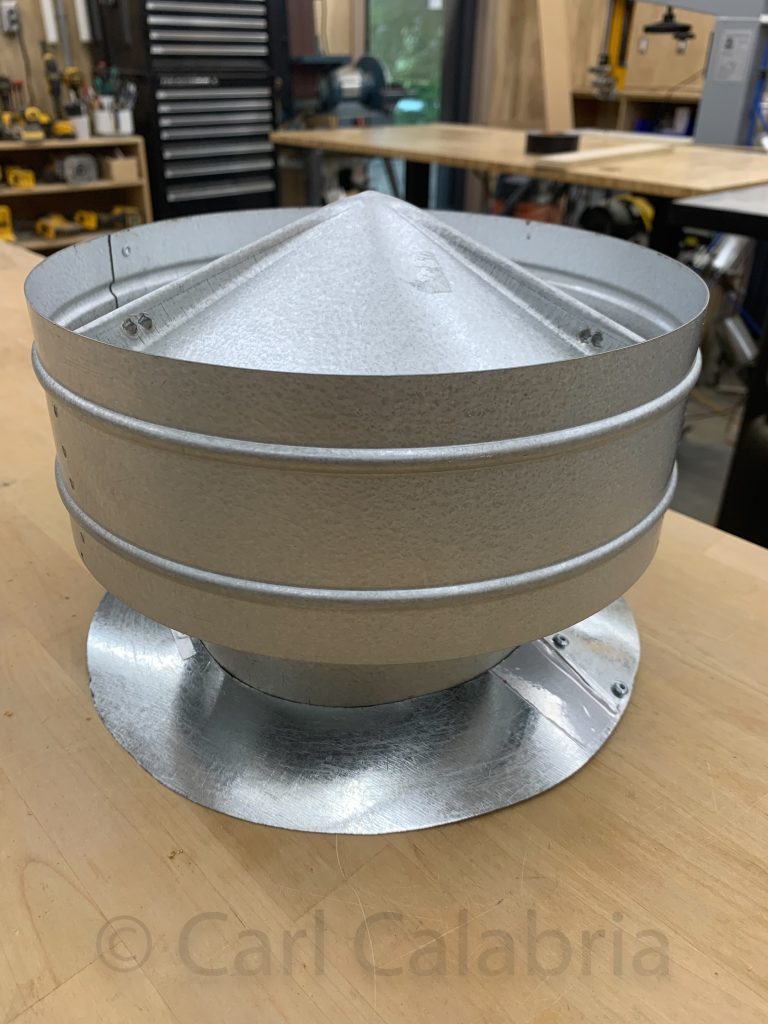
I spent much of the day engineering a solution for the cooktop vent hood roof outlet. Our vent exits the house vertically. The roofers installed a vent cap that is typically used for side wall installations. It will work OK unless there is heavy snow in which case it will become entirely blocked. Furthermore, it represents the single largest penetration of the house envelope and all that separates the inside from the outside is a butterfly valve made of a thin piece of galvanized steel. Surprisingly, neither I nor our builder could find an acceptable off-the-shelf solution for a low pitch roof such as ours. Therefore, I took it upon myself to design a solution to address four key challenges; (1) condensation management, (2) air sealing, (3) insulation, and (4) operation during and after heavy rain or snowfall. When hot humid air is vented during the winter it will come into contact with the cold galvanized pipe exiting the roof. Condensation will form and eventually drip down from the hood onto the cooktop. The butterfly valve used to prevent backdraft that was supplied with the vent hood was a cheap piece of shit with huge gaps for air to leak through.
My design includes the following elements. I used two high quality butterfly valves, one just under the roof cap and the other just after the blower motor. This results in a trapped column of air which provides a measure of insulation and reduces air infiltration by a factor of two not to mention the improvements based on the use of really well engineered butterfly valves. Second, I reduced the 8 inch exhaust pipe diameter to 6 inches at the roof exit decreasing the size of the hole from 50 in2 to 28 in2. Normally, you want to keep the pipe as large as possible to maximize airflow. Since our vent goes straight up through the roof it is already very short with no turns so the increased resistance is a non issue compared to the benefit of a much smaller opening. Once the 6 inch pipe exits the roof, I surround it with an 8″ pipe. Between the two is an inch of insulation which will keep the pipe in contact with the exhaust air much warmer. The external pipe will rise 24 inches above the roof. If the snow ever gets that high, I will need to remove it for weight considerations anyway. Finally, I am using an off the shelf cap that has a built in insect screen and is designed to prevent infiltration from lateral rain. I added a sloped skirt at the bottom to shed rain and snow from the larger 8 inch pipe. I am fairly confident that this solution will address the key challenges. I am 100% sure that it represents a huge improvement from what was initially installed.
I should also mention that we will be operating the house under very slight positive pressure. This is done by adjusting our ERV to provide slightly more fresh air than the amount we extract. Doing so should help prevent dirt and insects from getting in when doors are opened and when they are not, the excess air will exit up through the exhaust hood preventing any cold air drafts from entering the kitchen.
Jeanine decided on the spur of the moment to drive to Burlington where she arrived just in time to watch her sister Susan leading the Vermont Pride Parade as its Grand Marshall. Susan was instrumental in establishing the first Vermont Pride Parade 40 years ago.
On the home front, I enjoyed an evening with the boys who came over to watch the Patriots game. Nicolai prepared salmon and vegetables which we enjoyed during halftime.
This morning, at the request of my former soccer team manager, I attended their match. He asked if I would record a video of any inappropriate behavior by their opponent. In their last match, one of the opposing players assaulted our goalie only to deny anything happened. Fortunately, no such confrontation was repeated although I did capture this unsportsmanlike takedown, resulting in a red card ejection.
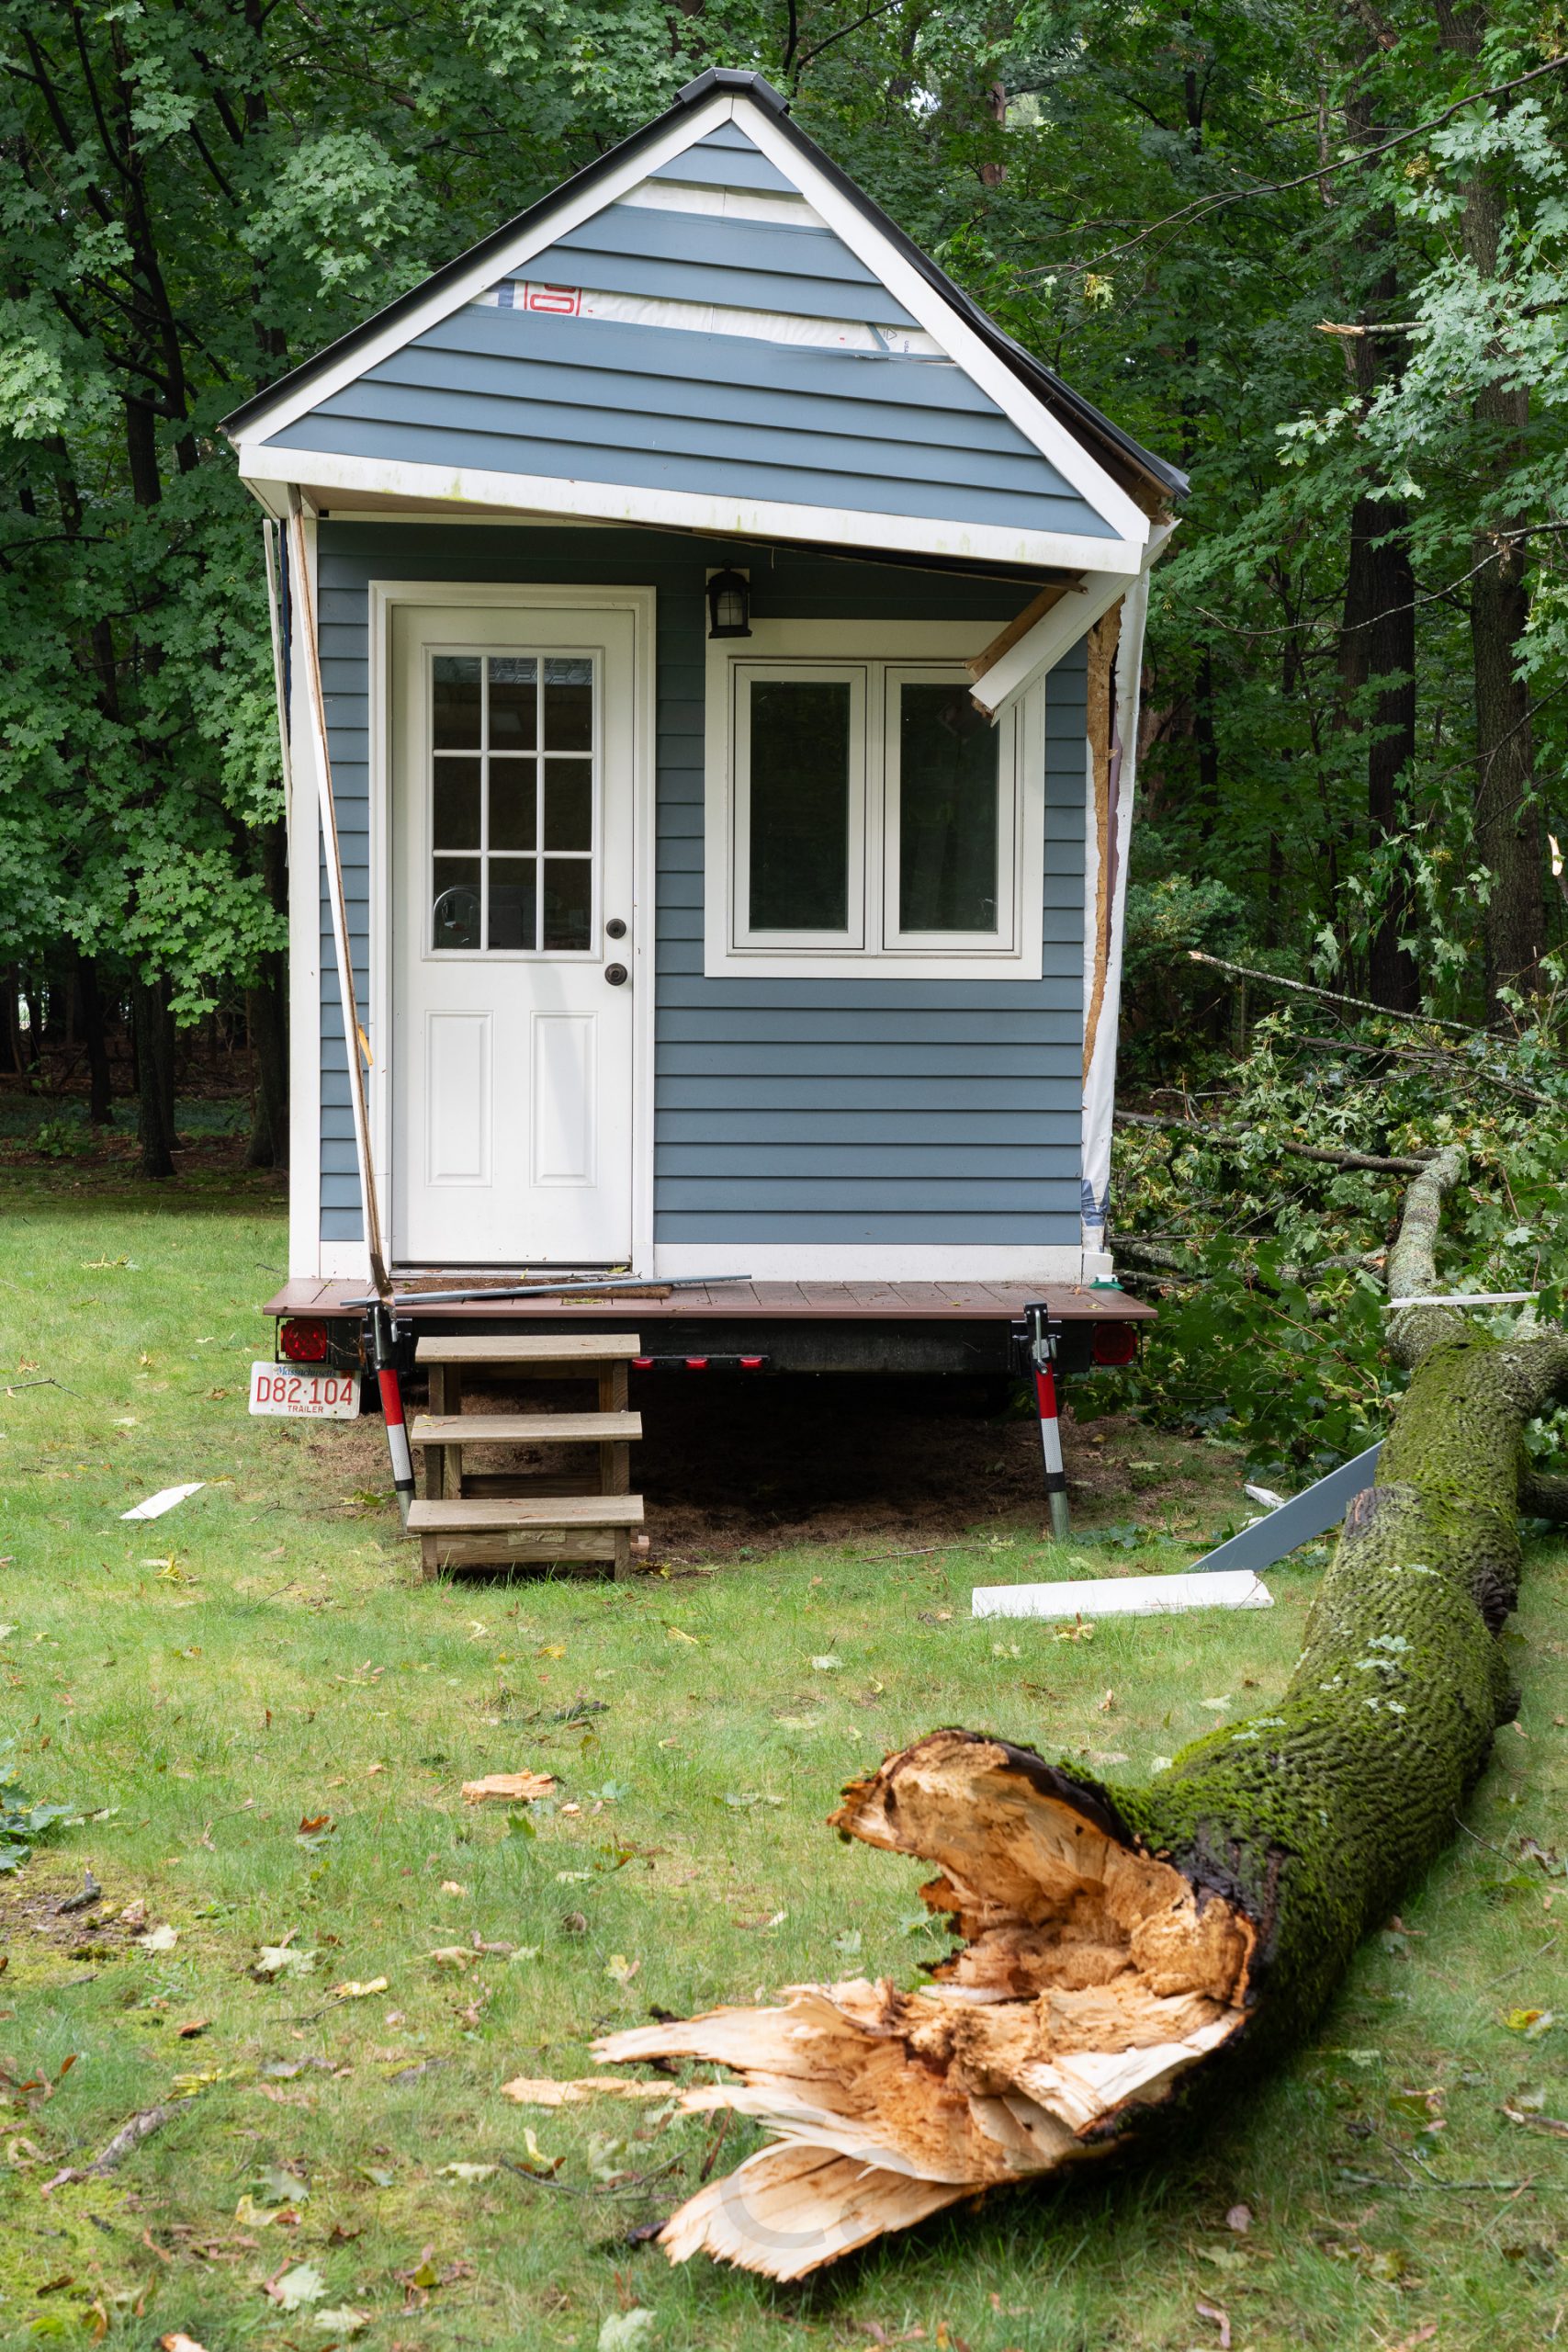
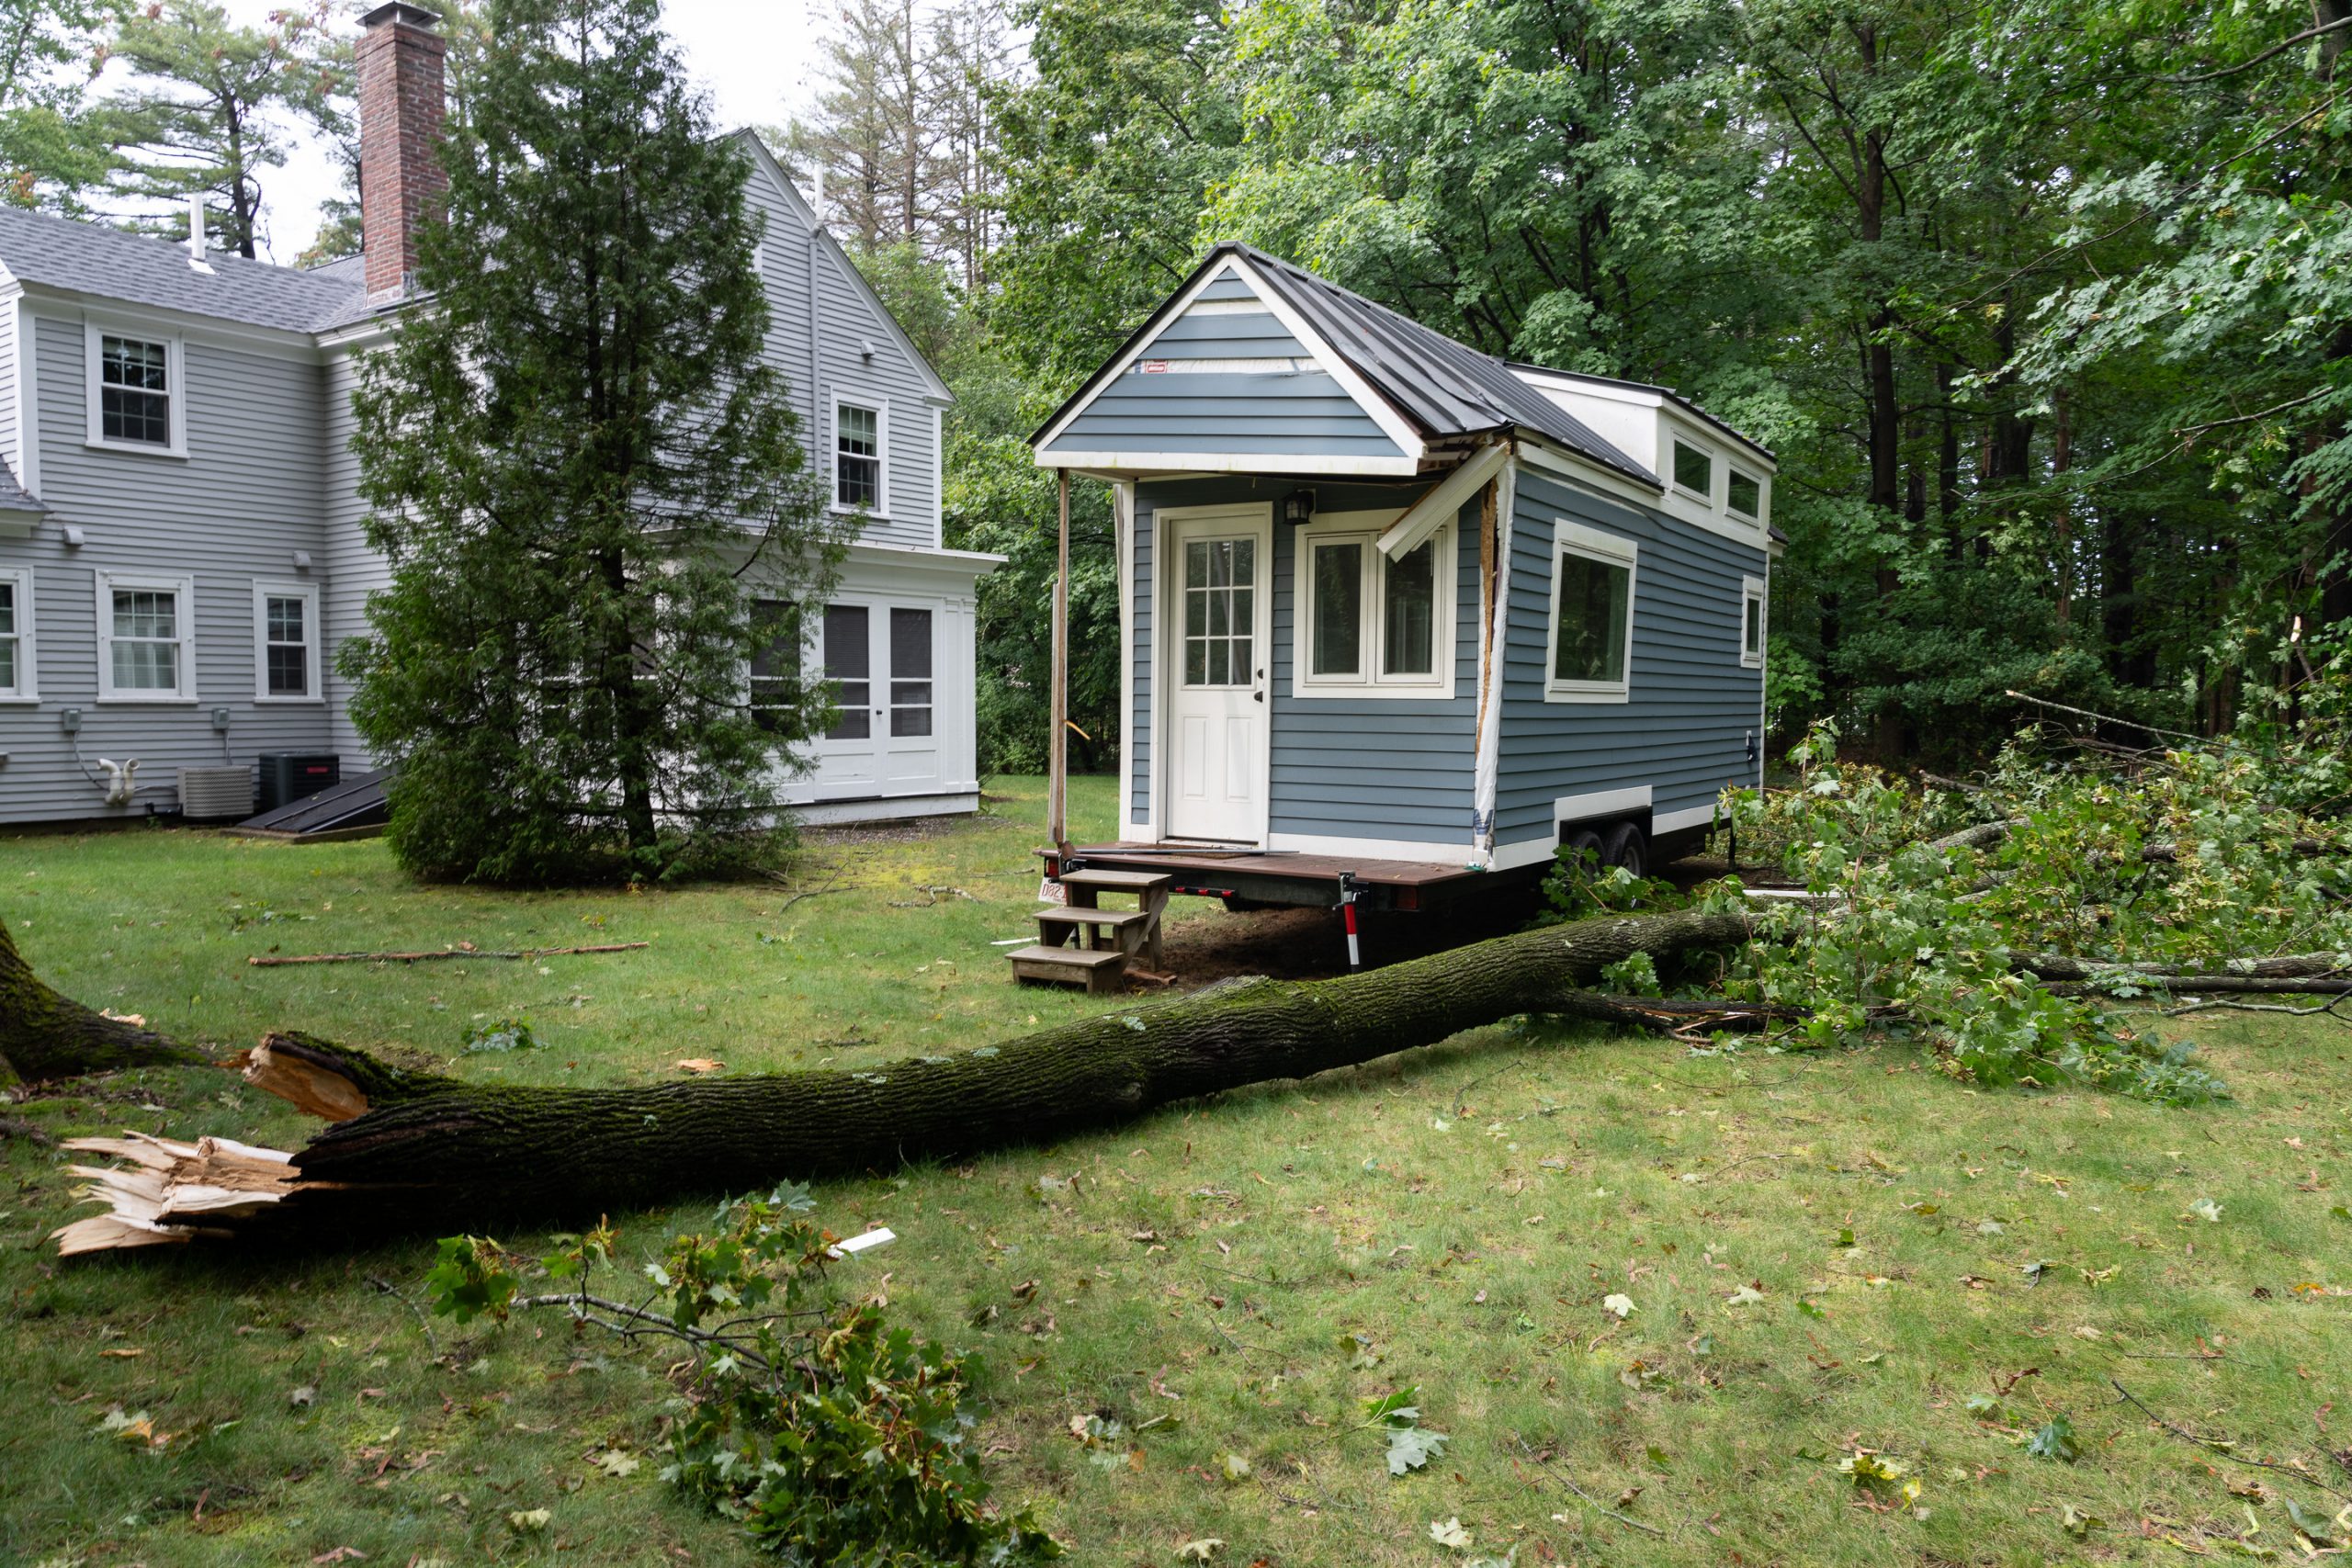
High winds from a brief but very intense thunderstorm took down a massive limb from the maple tree in our Road House backyard. Unfortunately, Maya’s tiny house was in its path and sustained significant damage from a glancing blow that struck the right side of the front porch overhang. I was working at the River House at the time and became sick to my stomach when Jeanine called with the news. Maya is in Seattle for the weekend, hiking in the Olympic National Forest, and is offline. Having recently been working to complete the last remaining items on her punch list, she is going to be devastated to hear the news which we will share upon her return (or if she reads this post first). Had the branch fallen directly across the house it would have been a total loss. As it stands, I believe all the damage can be repaired. None of the windows were broken, the trailer is undamaged, the HVAC system, plumbing, electrical, and all of the appliances and cabinetry are unscathed. The cantilevered beam which supports the front porch roof will need to be replaced, the right outside wall will need to be reset to plumb, and some of the cedar siding will need to be replaced. The standing seam roof is still in tact but a small section may need to be replaced for cosmetic reasons. This could not have happened at a more inopportune time. Maya is very busy at work and I with the River House. Even so, I am confident we will find a way to repair all the damage in short order.
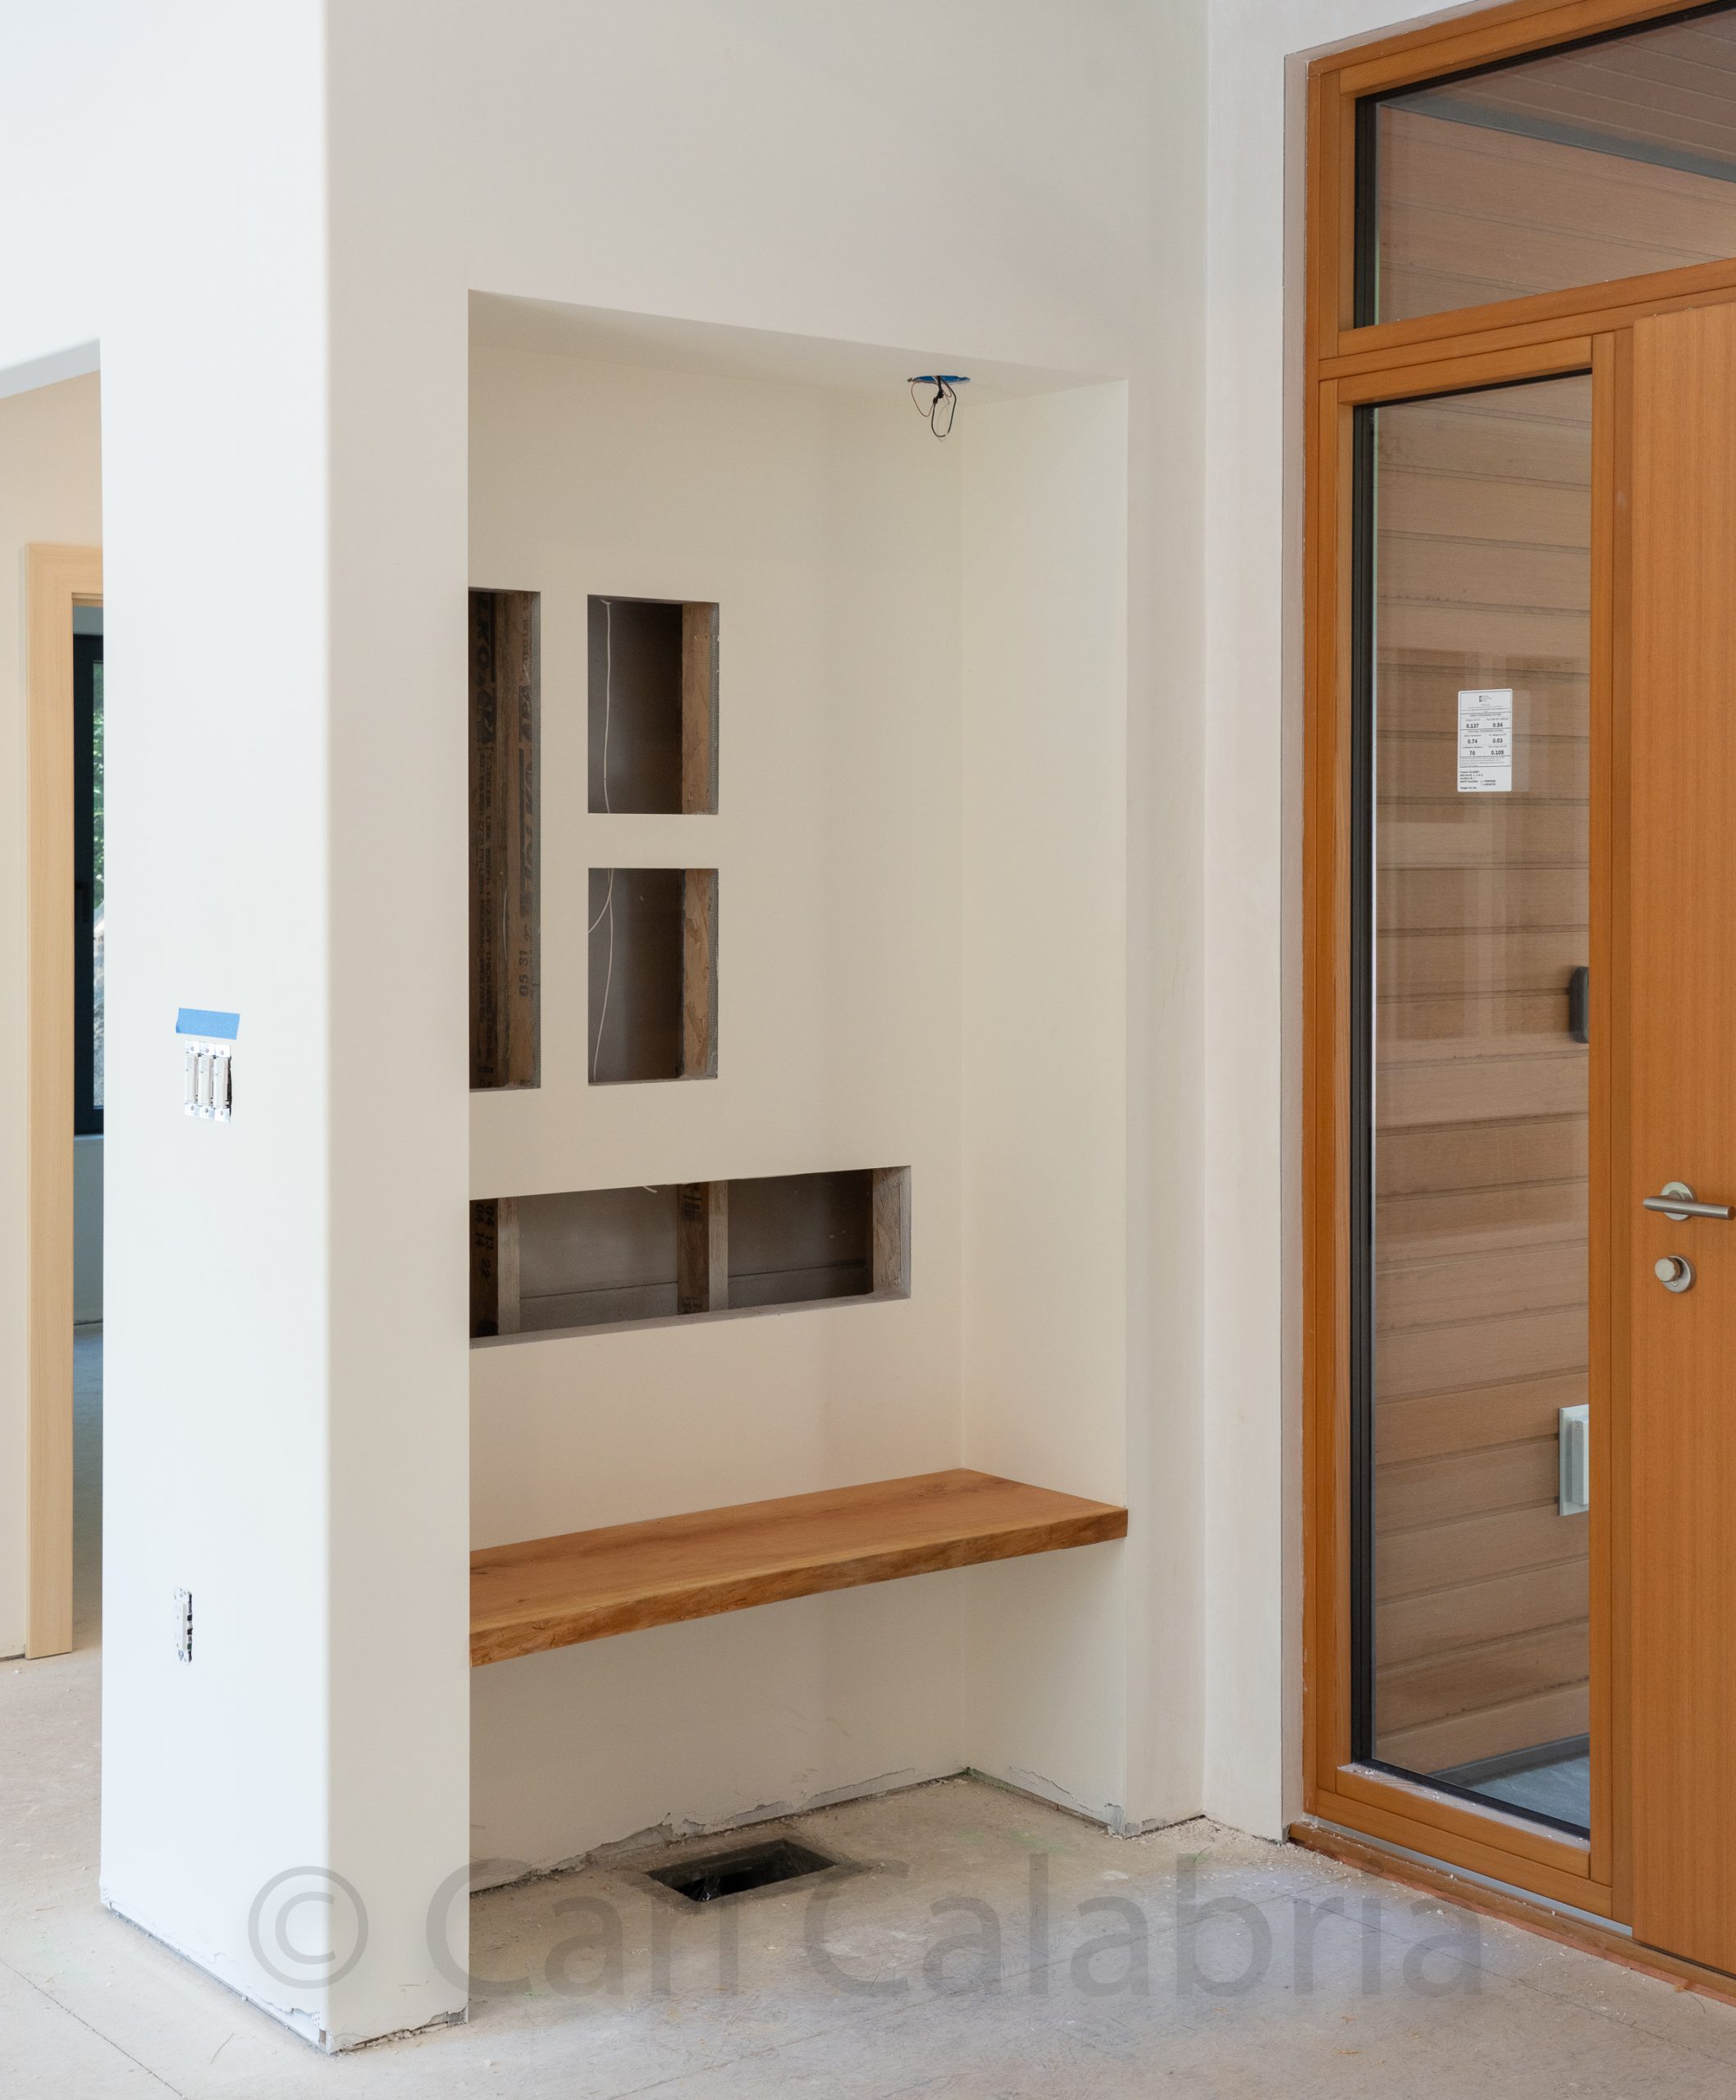
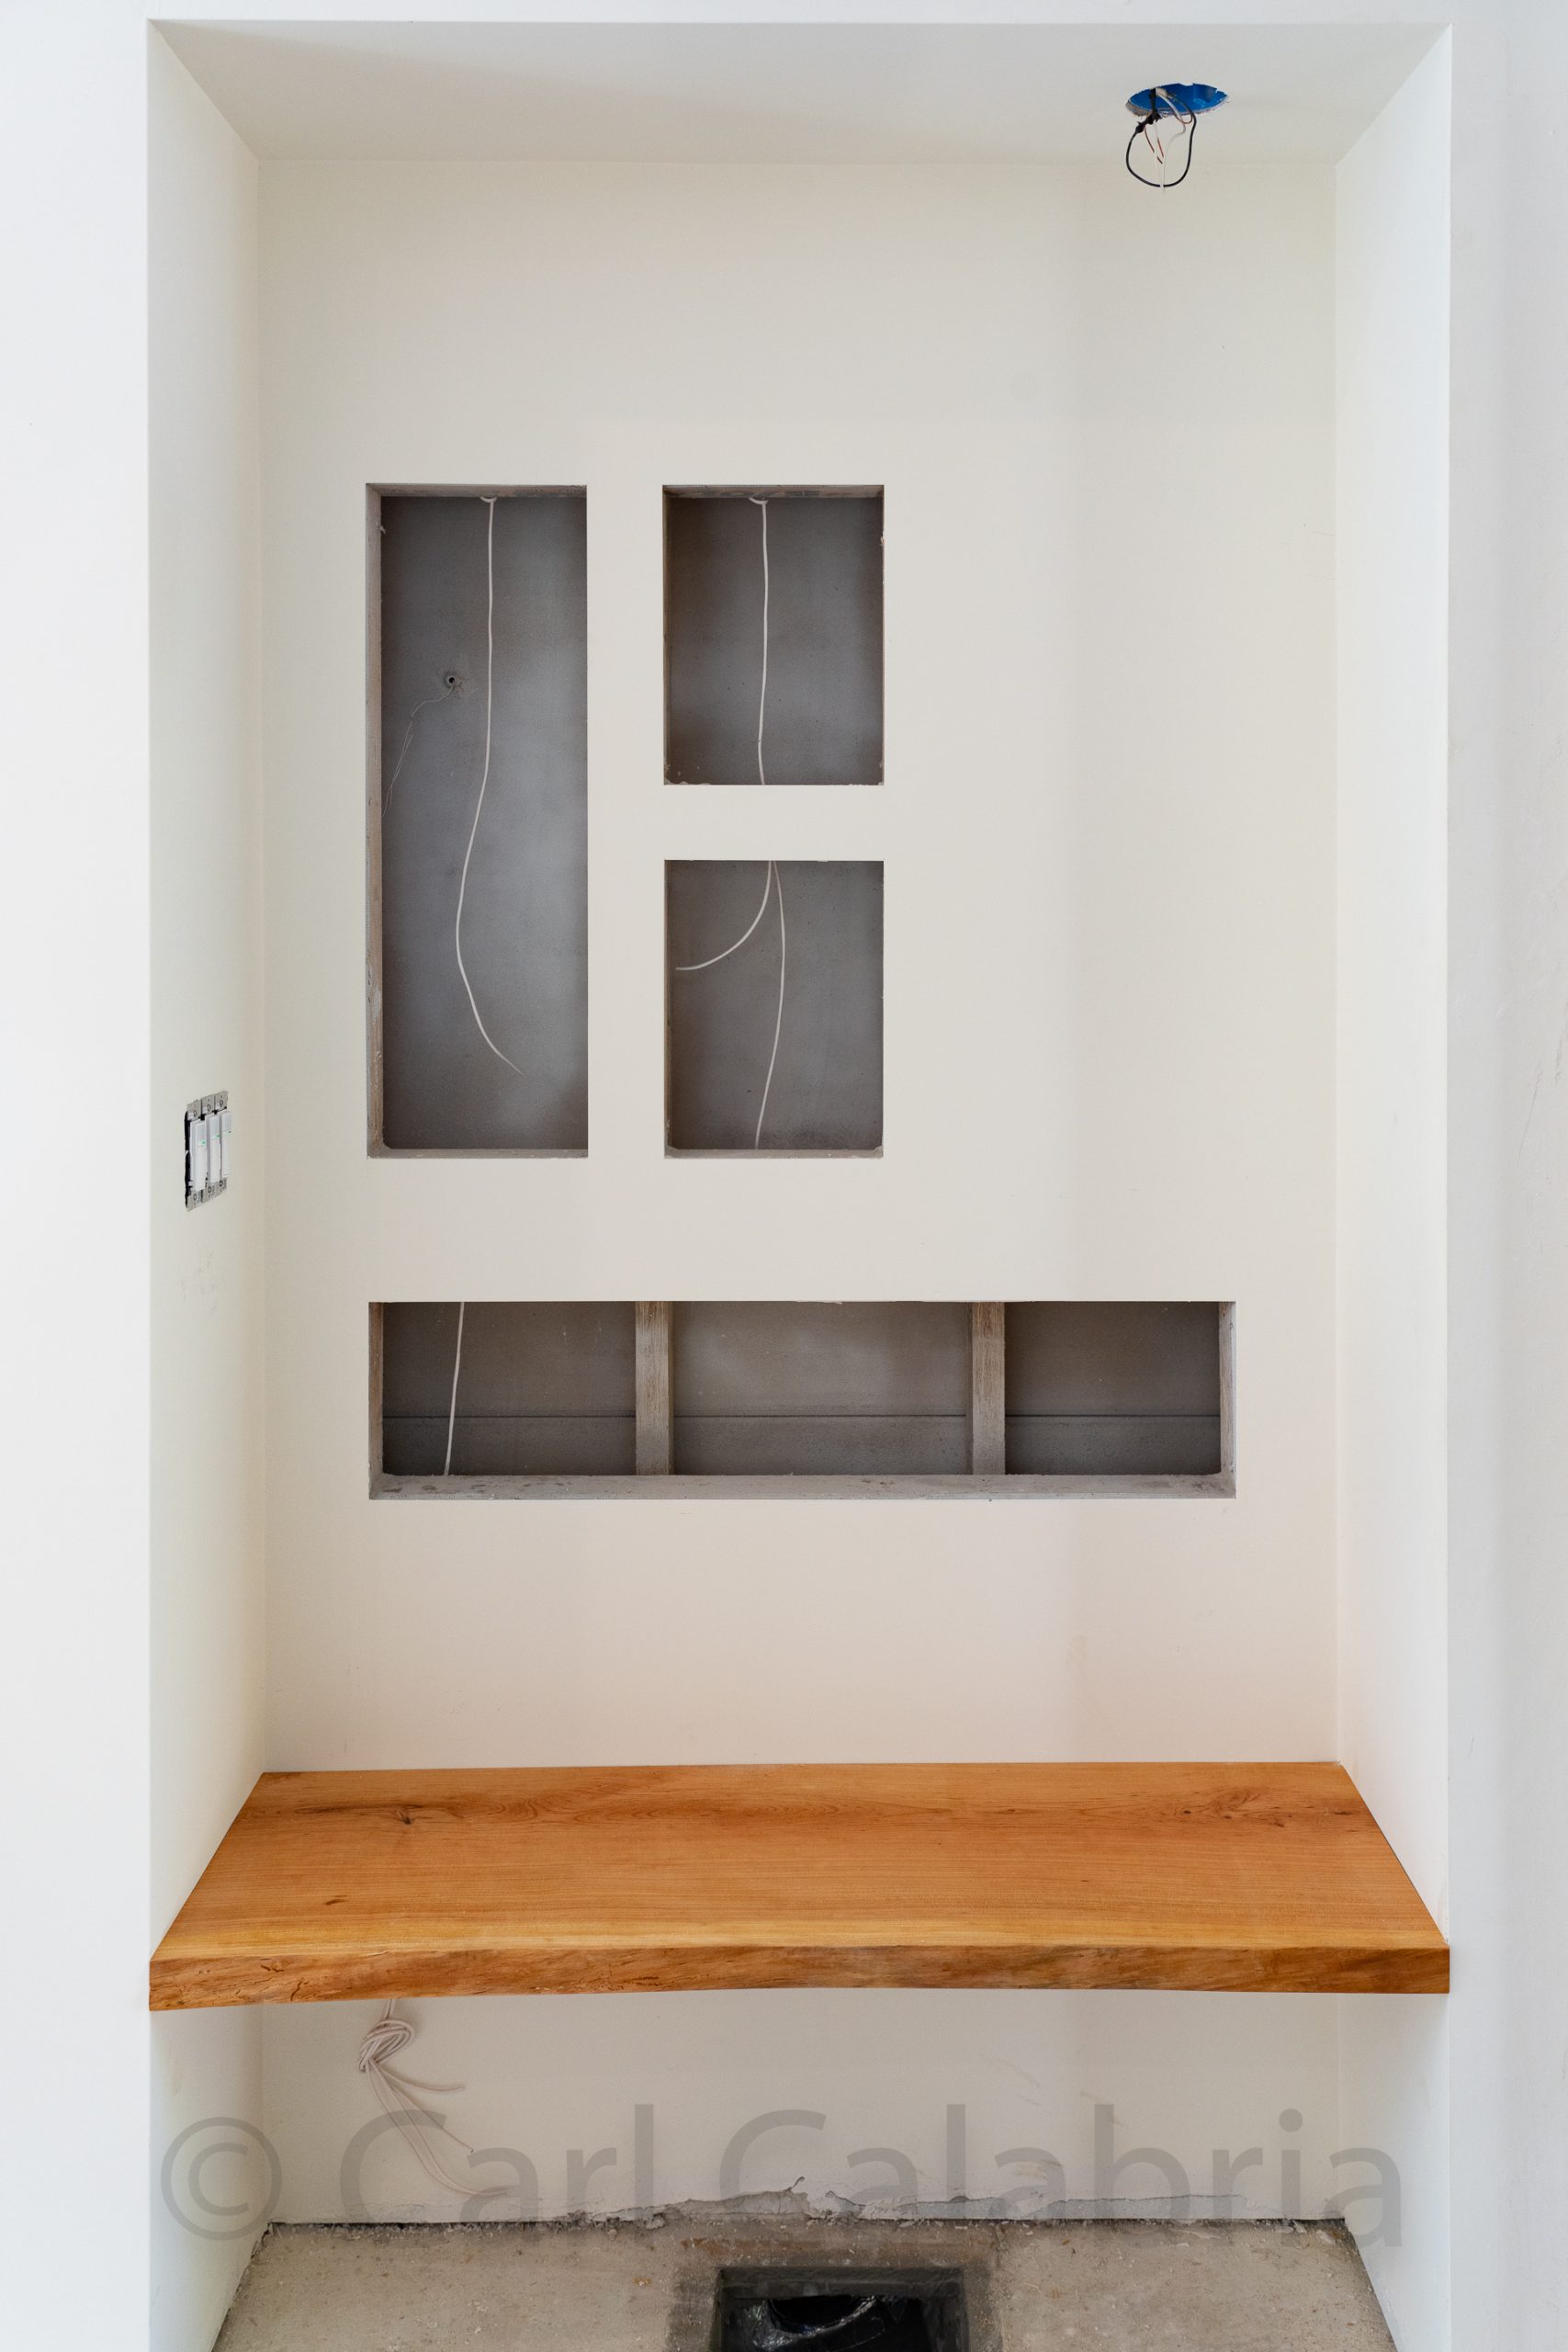
Our family has been seeing Dr. Asarkof since we moved to Concord nearly twenty years ago. He is a great dentist who also shares my interest in woodworking. One of the things he does in his spare time to relax is slicing logs into thick slabs. When he learned that we were hoping to make our foyer bench out of a live edge slab he invited us to his home to have a look at his collection. We picked out a lovely piece of cherry and one of hard maple which he gifted to us. When we returned to the River House, Jeanine and I worked together on applying finish to a bunch of cabinet parts which took us until dinner time. I then started to work on the slab. It had a significant twist so I made a sled so I could run it through my planer. I used every last bit of the 16″ capacity and it made all the work of moving the behemoth into my shop worth it. Then next challenge that I tackled this morning, was figuring out how to install it. The cavity where it resides has a longer back than front dimension. That means if you size the board to slide in from the front then you will have a big gap in the sides at the back. Because the slab is so thick, rotating into place won’t work either because the front face diagonal is longer the the width of the opening. To solve this problem I did a back bevel on all but the first 1/4″ of the right side. This provided the clearance to rotate while leaving enough material on the face to have a flush fit. I am very pleased with the result and from hereforth, this will be called Keith’s bench in honor of our dentist.
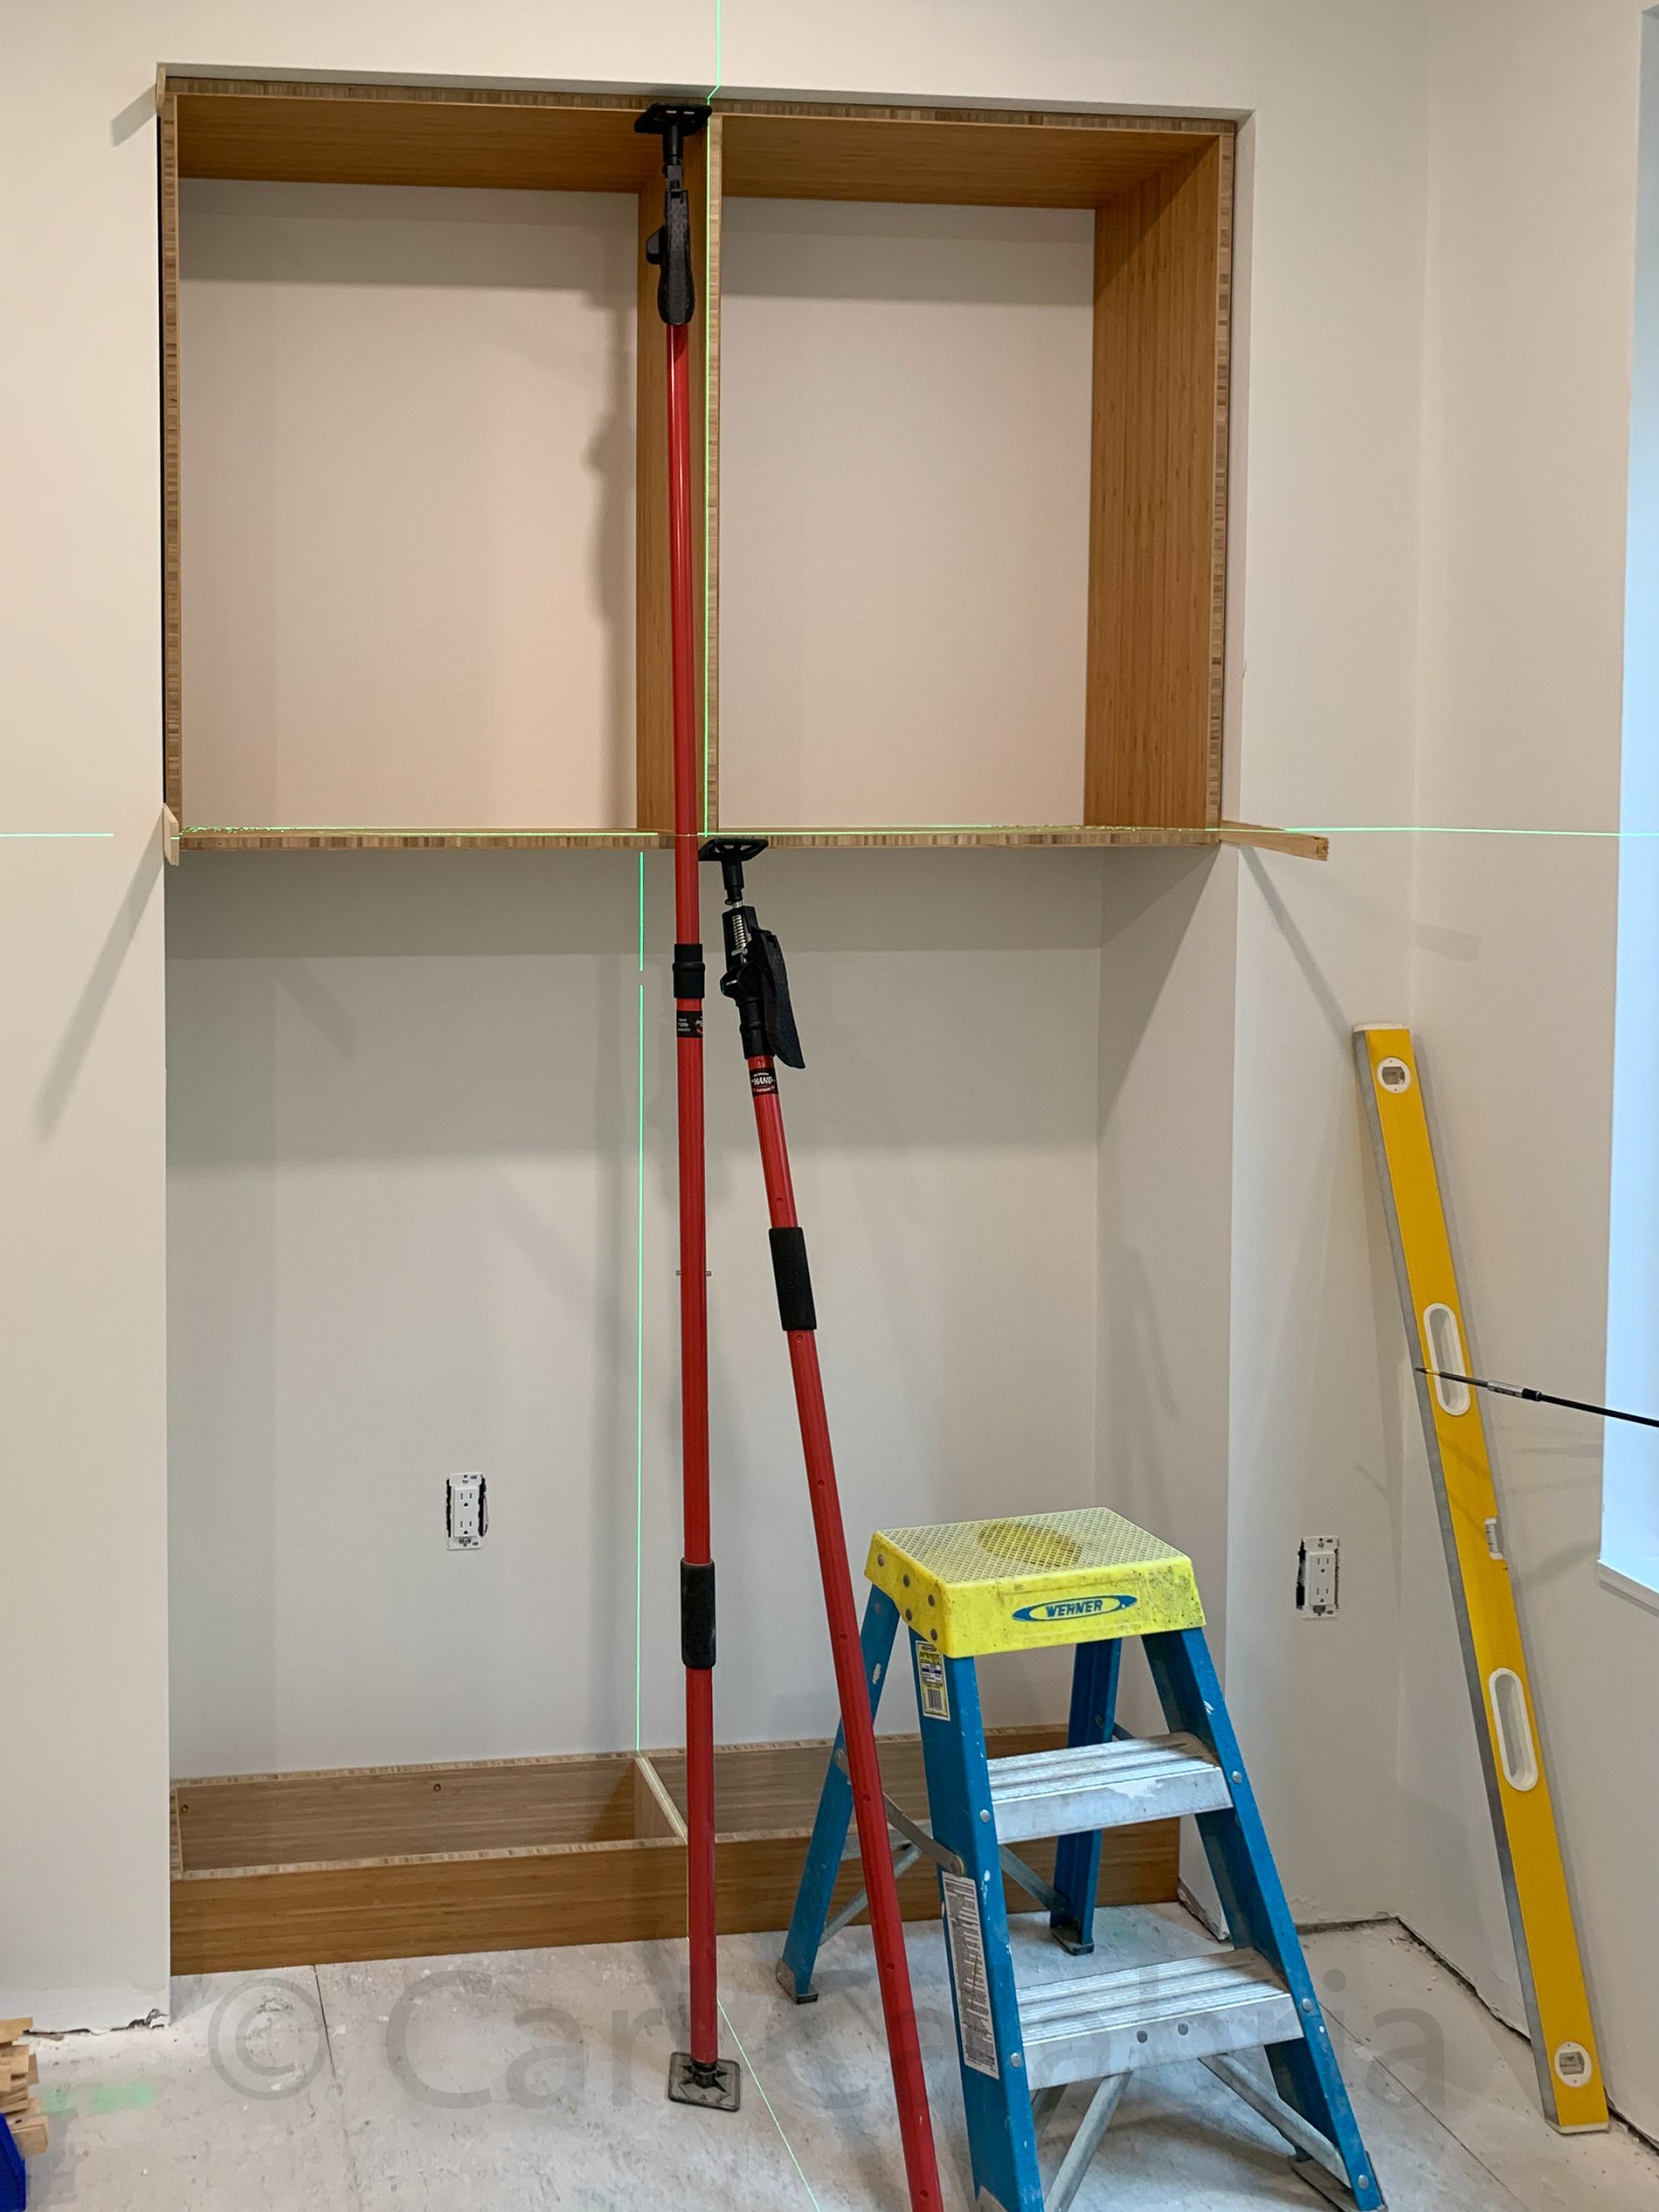
As someone who primarily works alone, I have come to rely on a number of tools without which it is hard to imagine how I could get anything done. One such tool is the adjustable jack stand shown here providing temporary support for a wall-hung cabinet in my future office. One is being used to support the weight while the other is keeping the cabinet pressed against the wall. The laser level is another indispensable tool. With this setup, I am able to leisurely set my shims to square everything up and then drive the hanging fasteners without having to worry about anything else.
Despite having a rather large collection of clamps, occasionally I am faced with a situation where none of them will do the job. As pictured above, I used some salvaged lumber to fashion an expansion clamp so that I could secure a piece of wall trim to the cabinet frame. I added two more after exiting the pantry so as not to trap myself inside. As of today, I am done with all the casework for the four bathrooms, laundry, kitchen, and pantry. I feel good about where things stand but have much more work ahead. Our plans include built-in cabinetry in the living room, both offices, the mudroom, the foyer, and two walk-in closets. Let’s not forget all the drawers and doors that are needed or the 29 stair treads. I think it is safe to say I will not be running out of work anytime soon.
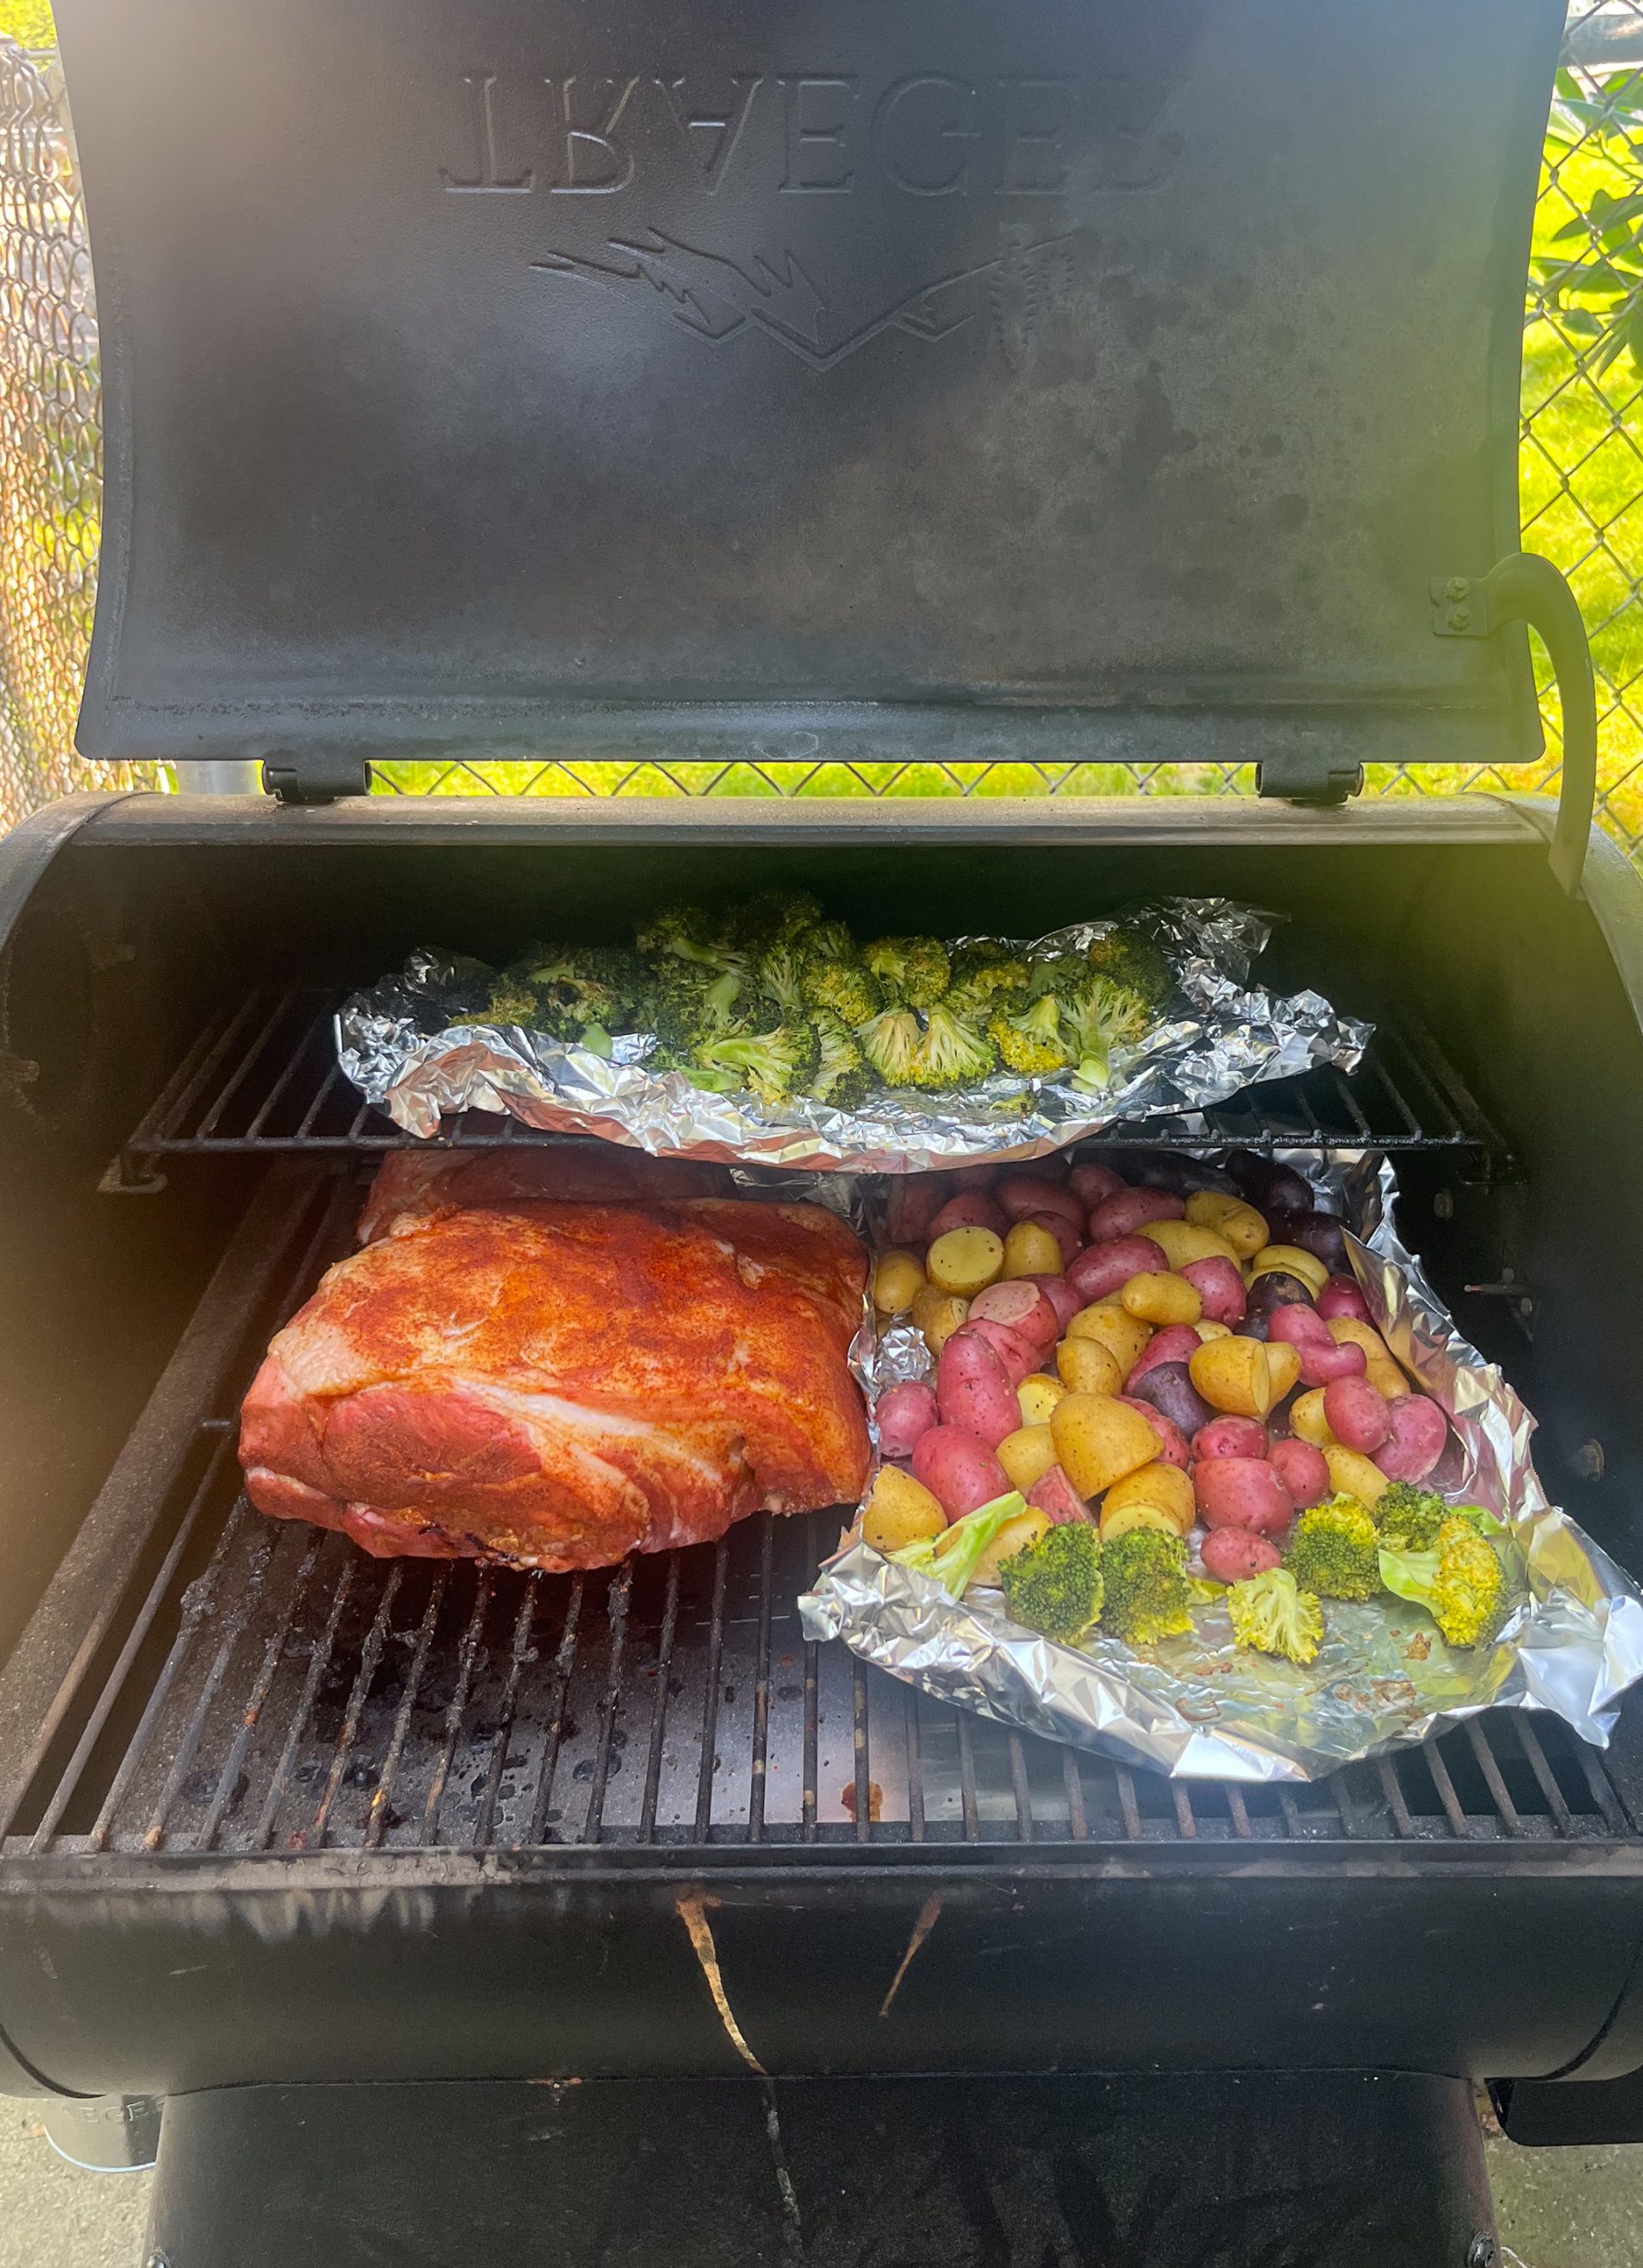
Kyle recently purchased a Traeger wood pellet smoker and decided to grill a pork shoulder and vegetables this afternoon. He shared this photo with the family. I have several things to say about this. (1) Kyle is definitely his mother’s son and I am sure she is thrilled to see him developing skills as a cook (a statement that applies equally to his siblings). (2) If he sends this photo to my brother, he can expect to spend an hour on the phone learning all the finer points of smoking meat. (3) It is possible his family will heretofore refer to him as Meat Boy, since this was the label used on the iPhone app he uses to monitor the status of the smoker. (4) This seems like a lot of food for one person so I am guessing the meal may have been prepared for the benefit of a date. (5) I am free for lunch tomorrow as I understand there are plenty of leftovers.
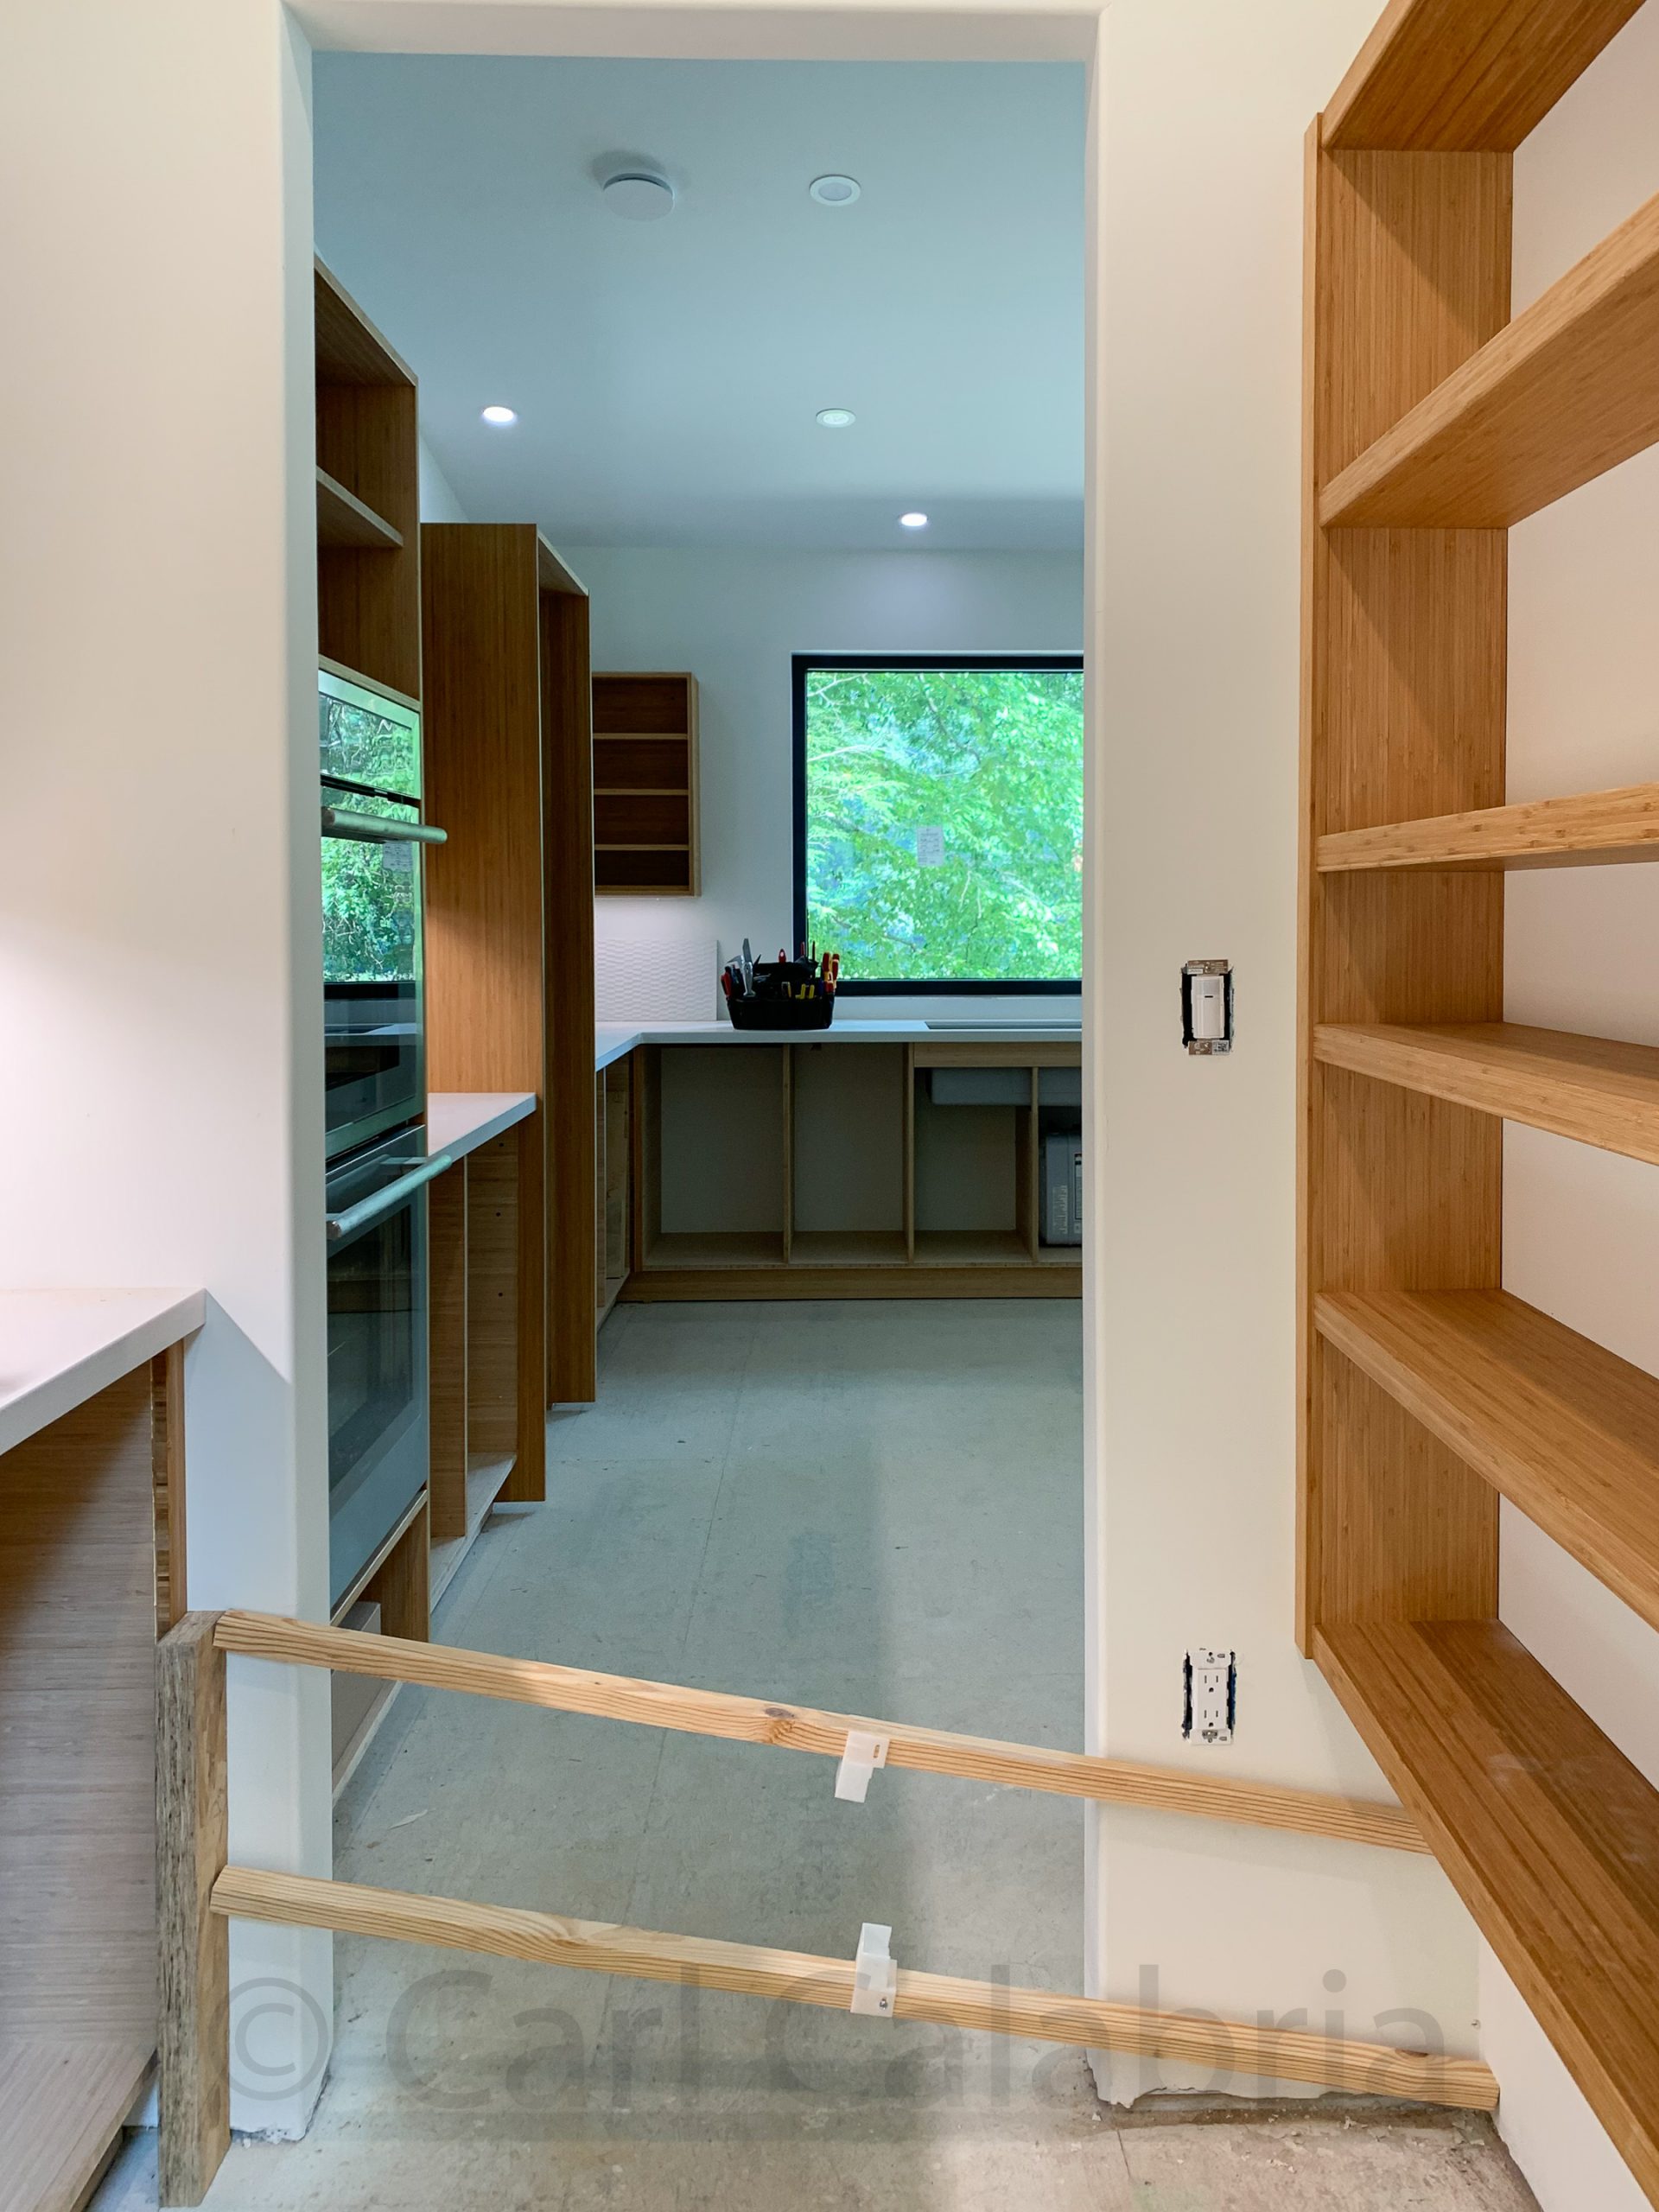
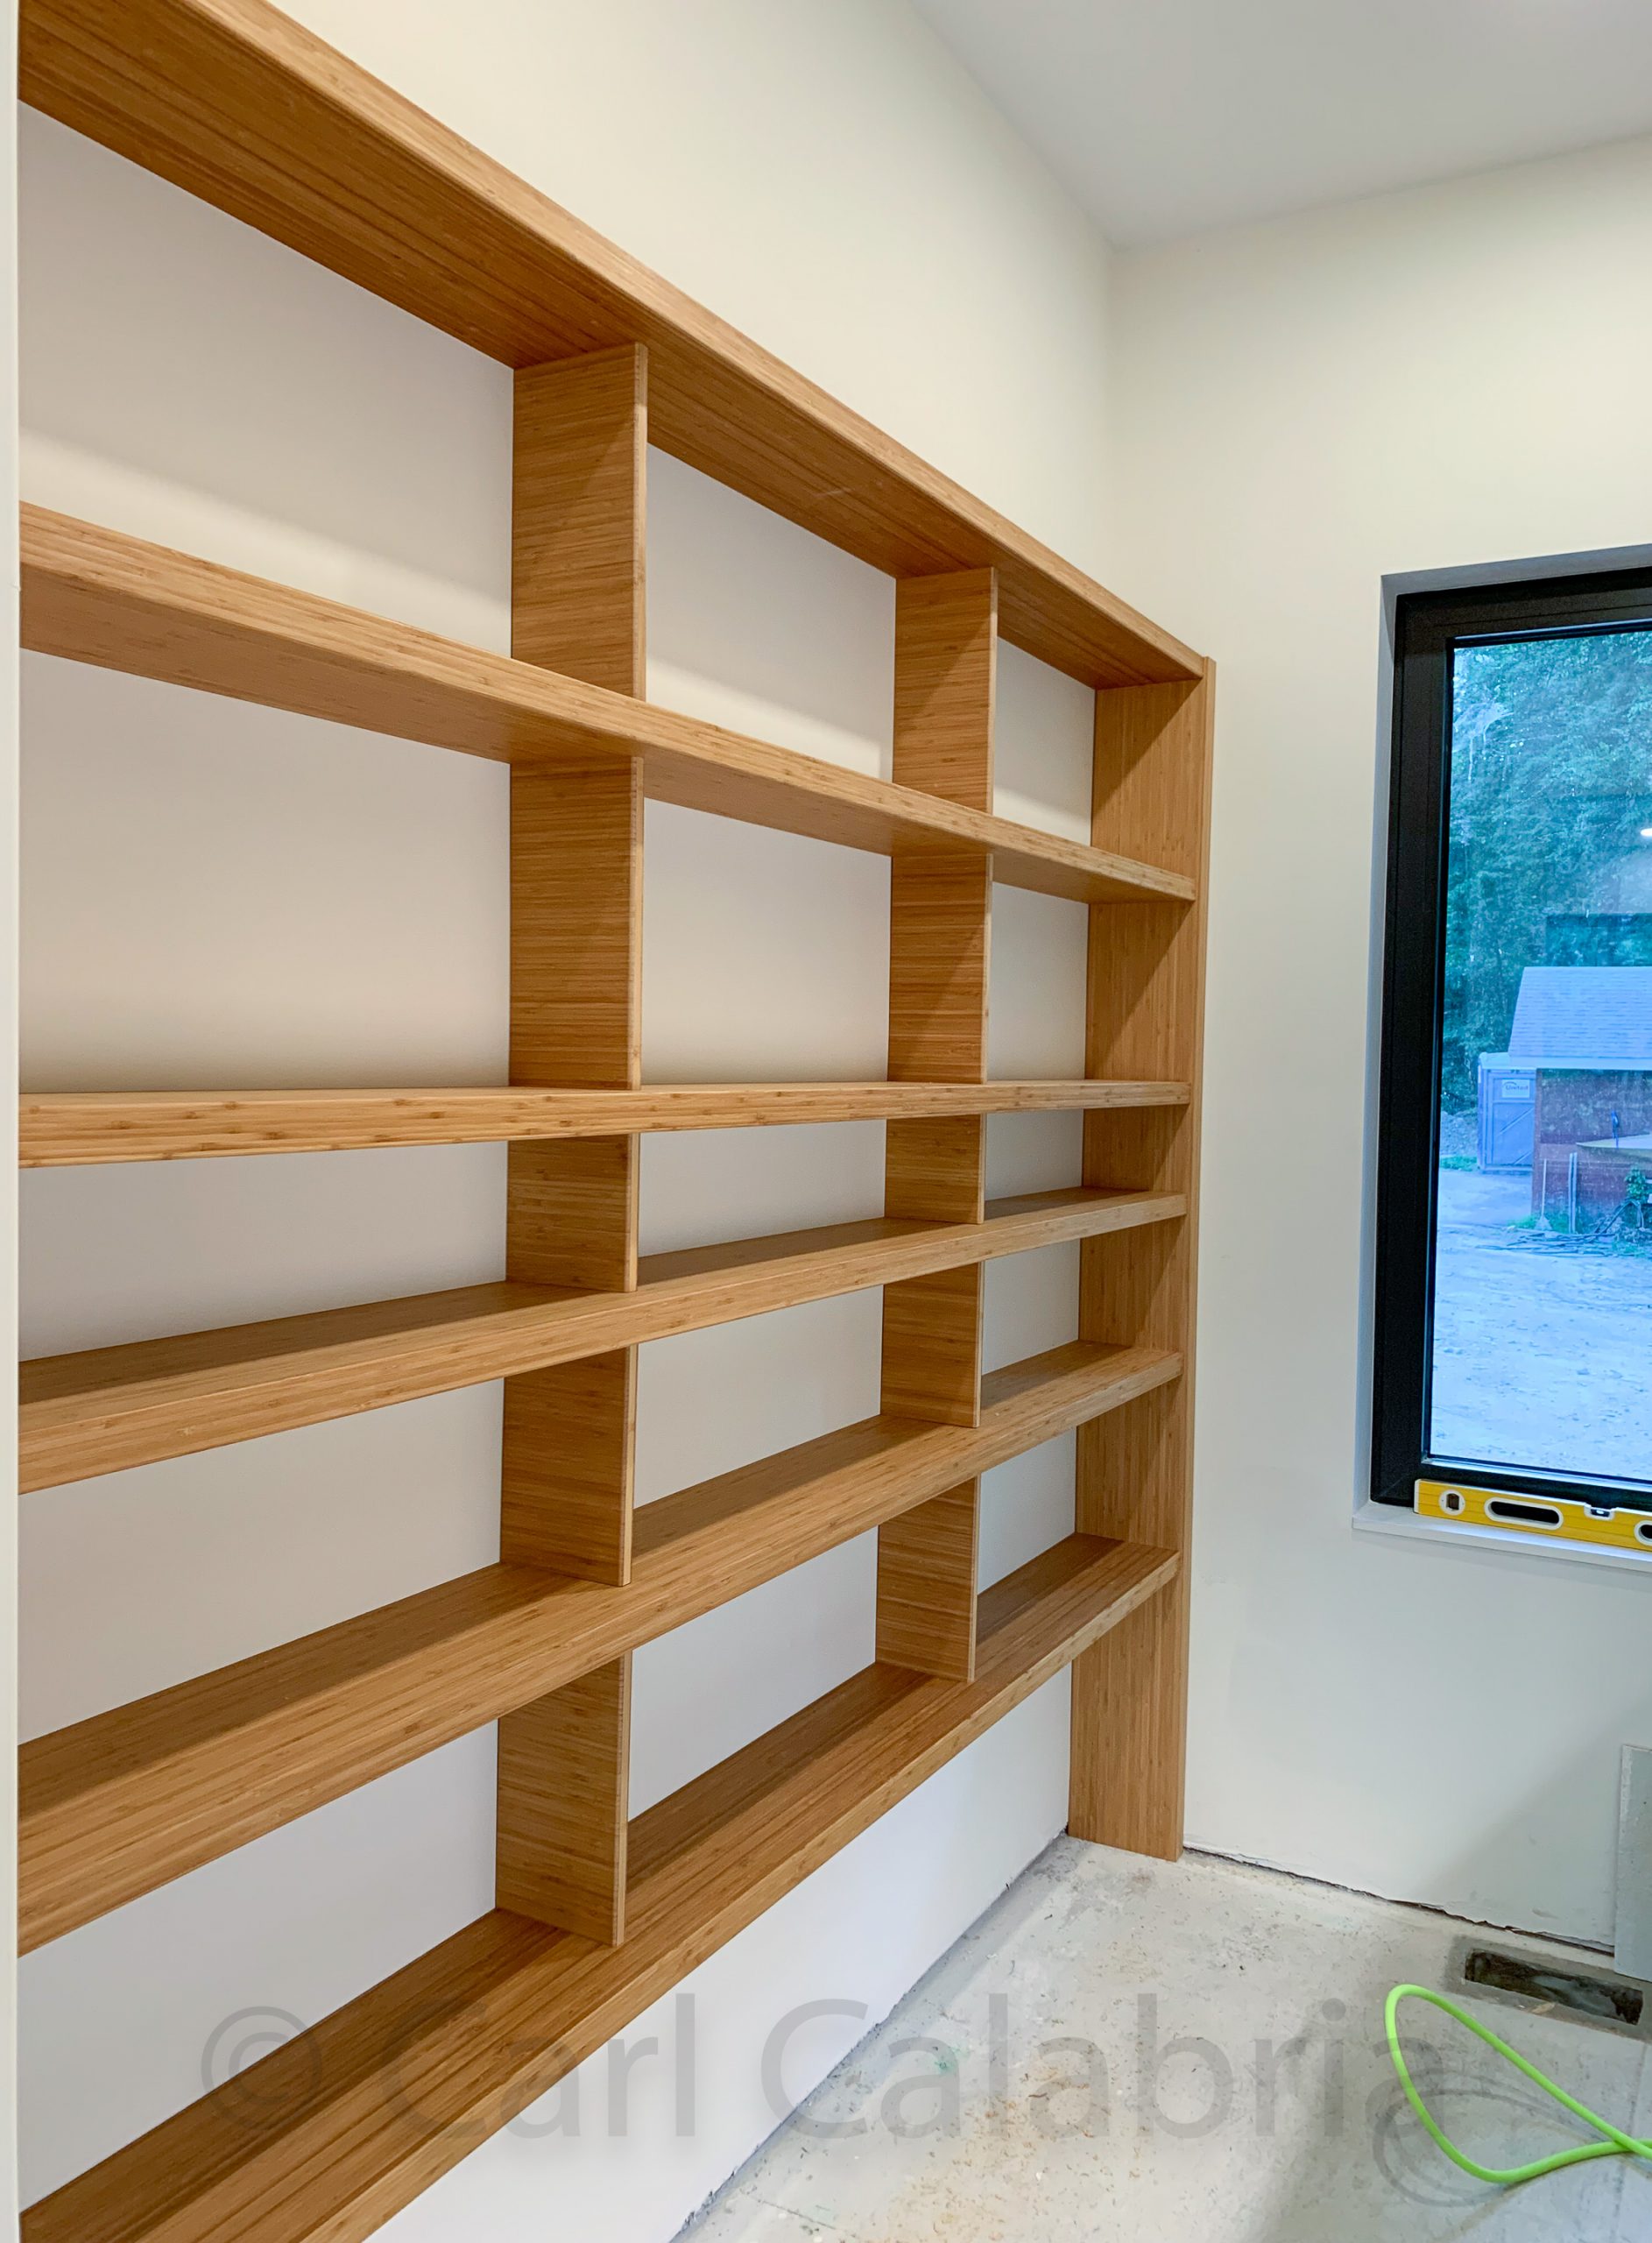
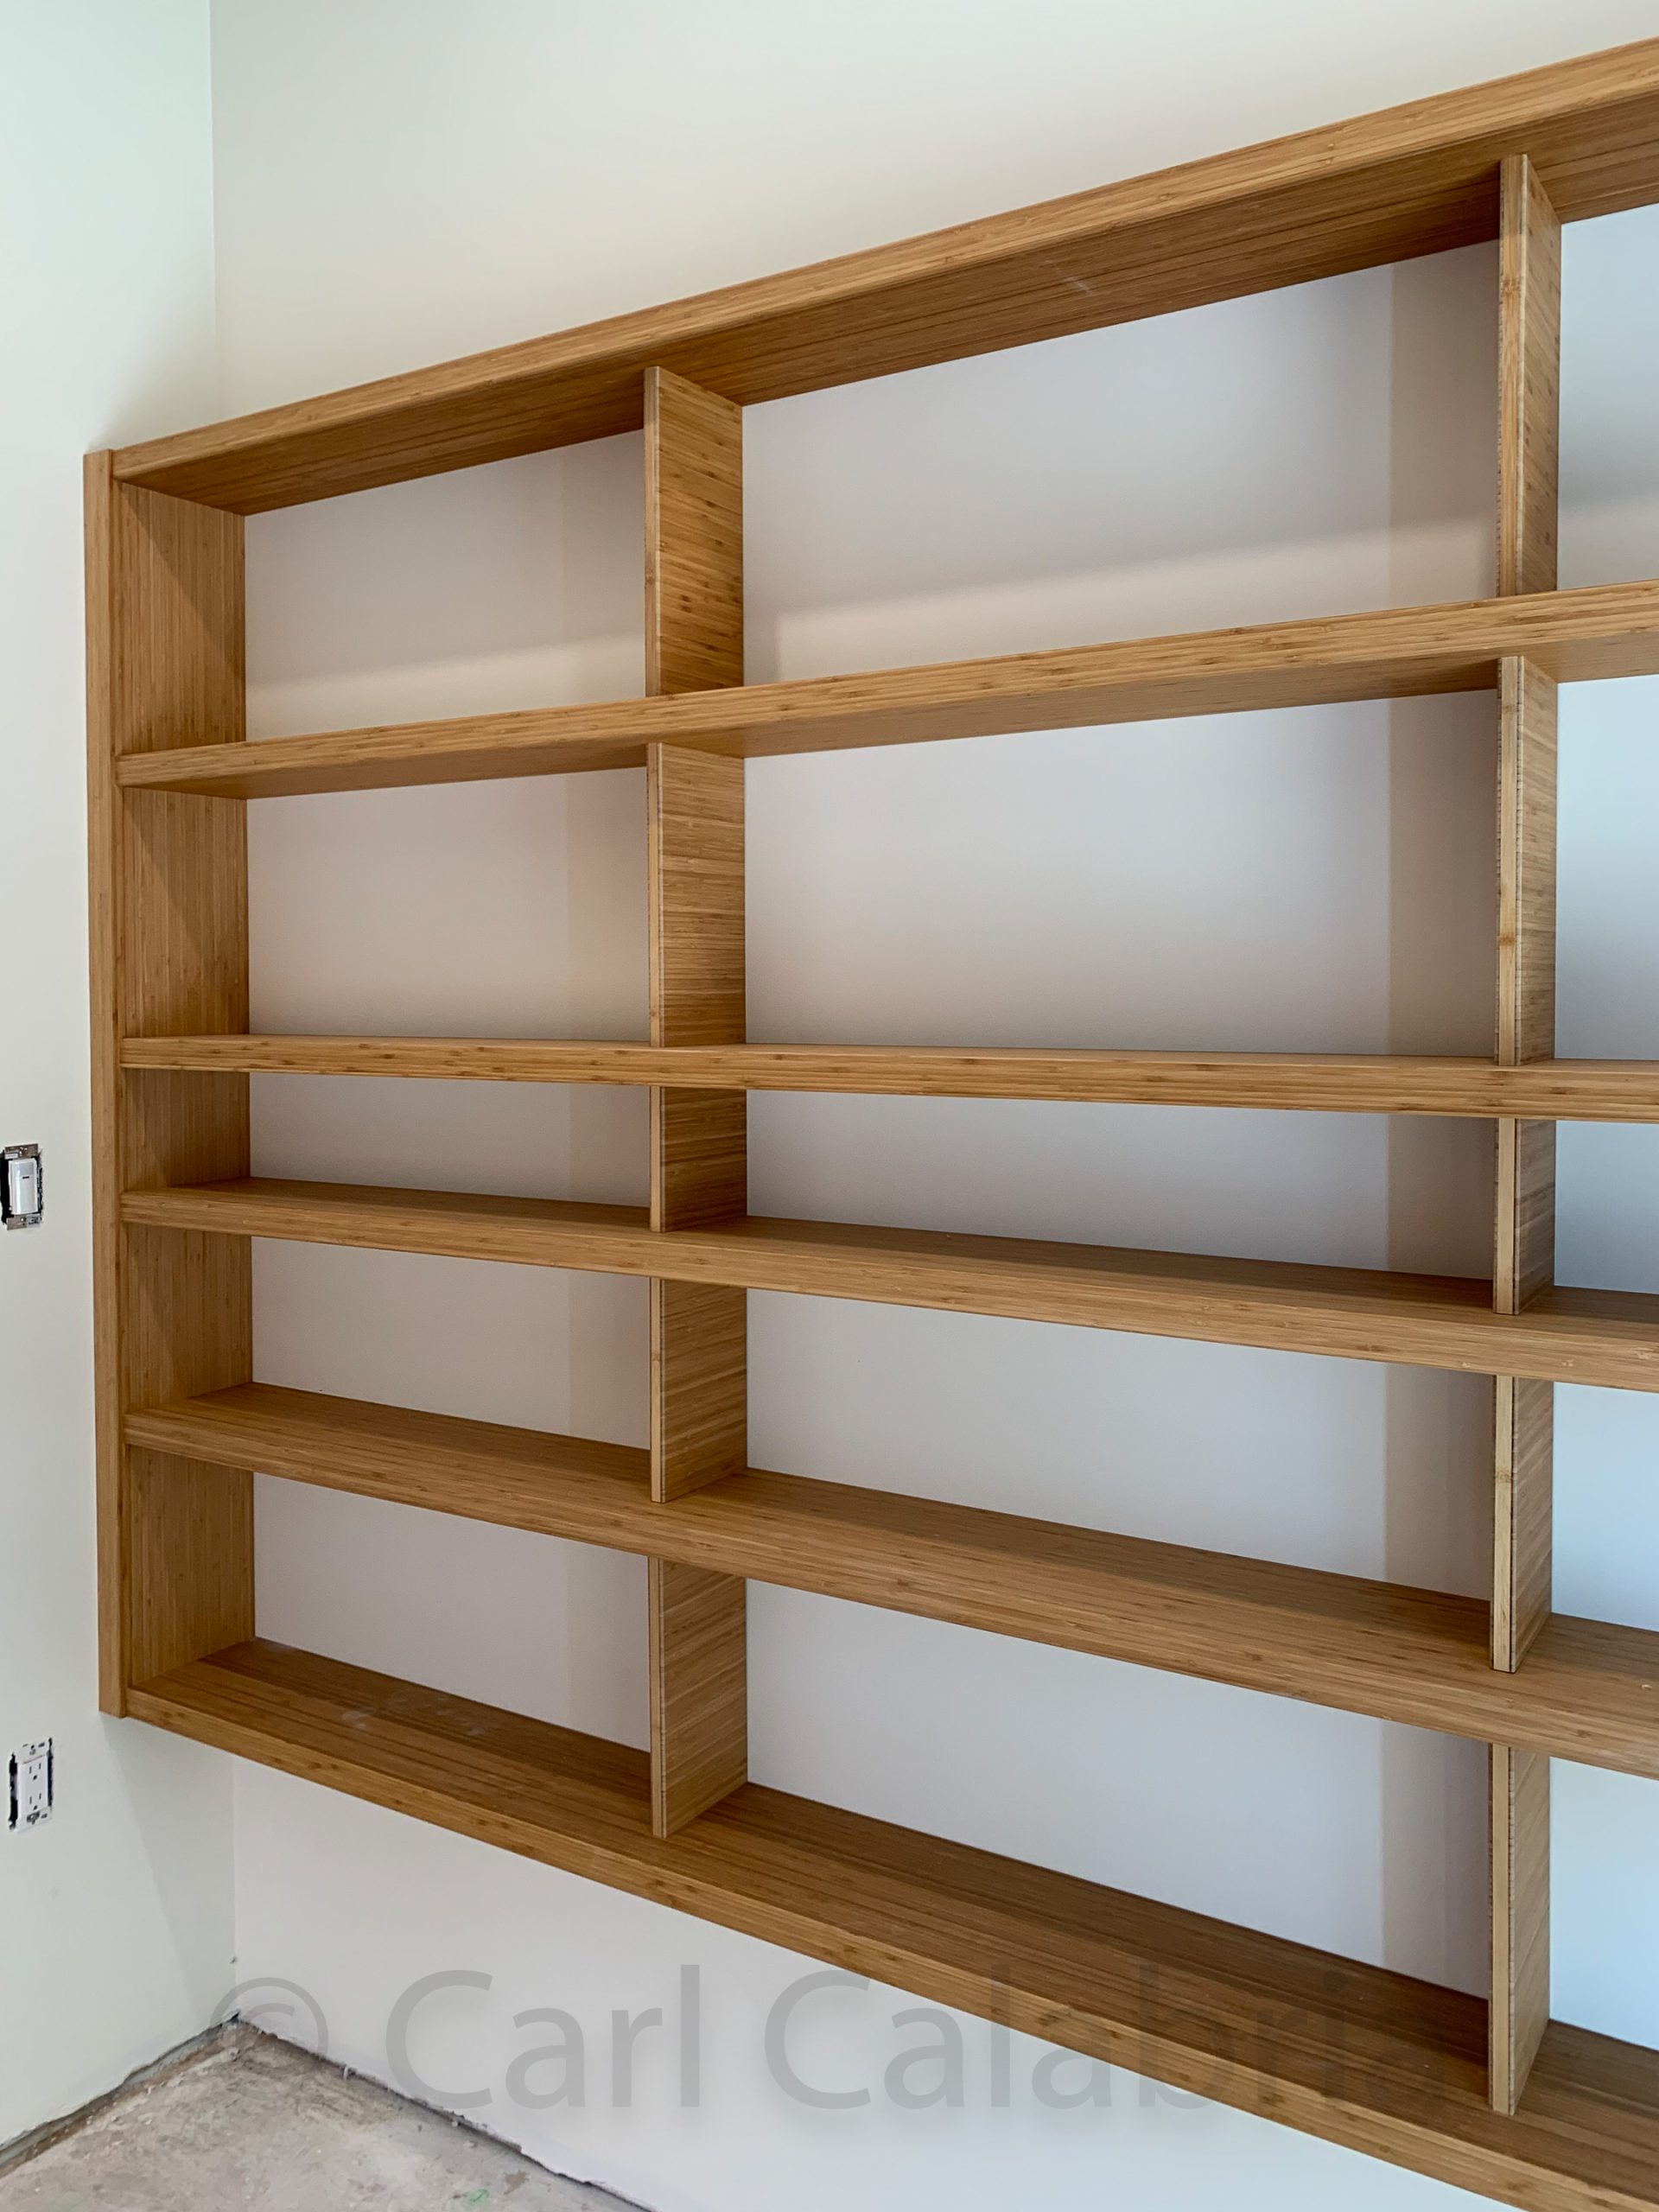
The kitchen in our new house includes a walk-in pantry. On one side there are base and wall cabinets, an area for a flush-mount integrated freezer, and a nook for storing a step ladder and broom. Today, I completed an entire wall of open shelving located on the other side. Surprisingly, these built-ins took significantly longer to build than much of the cabinetry. The shelves are each 1-1/2 inches thick, 8 inches deep and 8 feet long weighing 25 pounds a piece. Their size and weight made it necessary to construct the assembly in place. The biggest challenge was to come up with a design that would support the anticipated shelf loading and to do so without any visible fasteners. Key to both of these are the short vertical supports. Each one conceals within its width a 3-1/2 inch pocket hole screw that secures the shelf to a 2×4 behind the wall, a biscuit joint that locates and secures the vertical support to the shelf, and a recessed screw that captures the vertical support below. Not visible is a horizontal cleat that supports the bottom shelf from below. Now that I see the shelving installed, I may go back and cut off the portion of the end supports that go down to the floor. They are not necessary to support the shelves and I feel like they diminish the visual appeal of the otherwise cantilevered design.
UPDATE: I removed the “legs” as planned and am much happier with the appearance.
Maya decided that she needed to get back on the horse, or rather a mountain bike, since the crash that badly injured her shoulder. It was meant to be a way of moving past any lingering fear she might be harboring since the traumatic event. Instead, she sustained an equally serious injury to her other shoulder and a nice set of bruises as well. Her brothers and parents who all gathered today for lunch at the Road House suggested to her that maybe mountain biking was not a good sport for her. On the bright side, she reports that she already knows all the right specialists to see and has satisfied her medical insurance deductible. I am beginning to regret the “brave Maya” training I did with her when she was a small child. She has turned out to be quite fearless but it remains to be seen what she learns from her injuries.
Here is some fatherly wisdom that may apply to this situation: If at first you don’t succeed then skydiving may not be for you.
I am belatedly memorializing a delicious meal that Jeanine prepared earlier this week. Since she rarely makes the same dish twice in a year, I am saving this image to suggest that this is one worth repeating on a more frequent basis.
This website is dedicated to sharing, with family and friends, the day-to-day adventures of the Calabria family.